Adding a new employee
Written for Managers Administrators
Creating the employee record
Step
From My Dashboard, click on Pick workspace and select the site where you want to add the employee.


Step
From the site inbox, click the Switch to Manage Mode button.


Step
Click Employee records on the manage sidebar.


Step
Click the +New employee button at the top of the page.


Step
Fill in the employee's details:
Full name


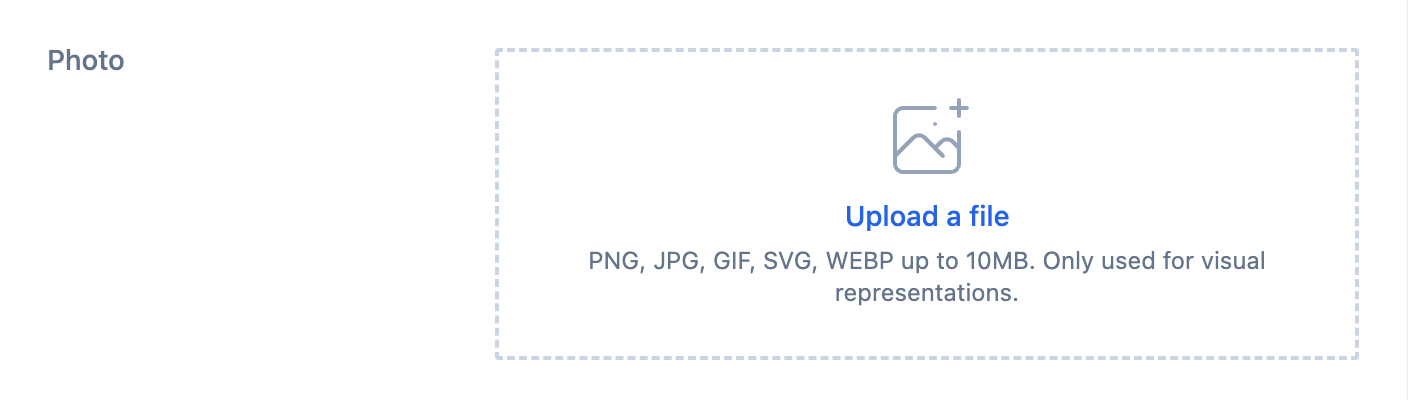
Photo
Upload a photo for this employee record.
Roles
Select the role(s) for this employee.


Warning
Please ensure you select the appropriate roles, as these determine the employee's required training, e-learning modules, and checklist items. You may select multiple roles where required.
Tip
Additional supplementary roles may be available, typically indicated with a "+" prefix (e.g. "+Fire Marshal"). These are designed to be used alongside a core role. To view the specific requirements for each role, hover over the ellipsis (…) to the right of the role title.
Step
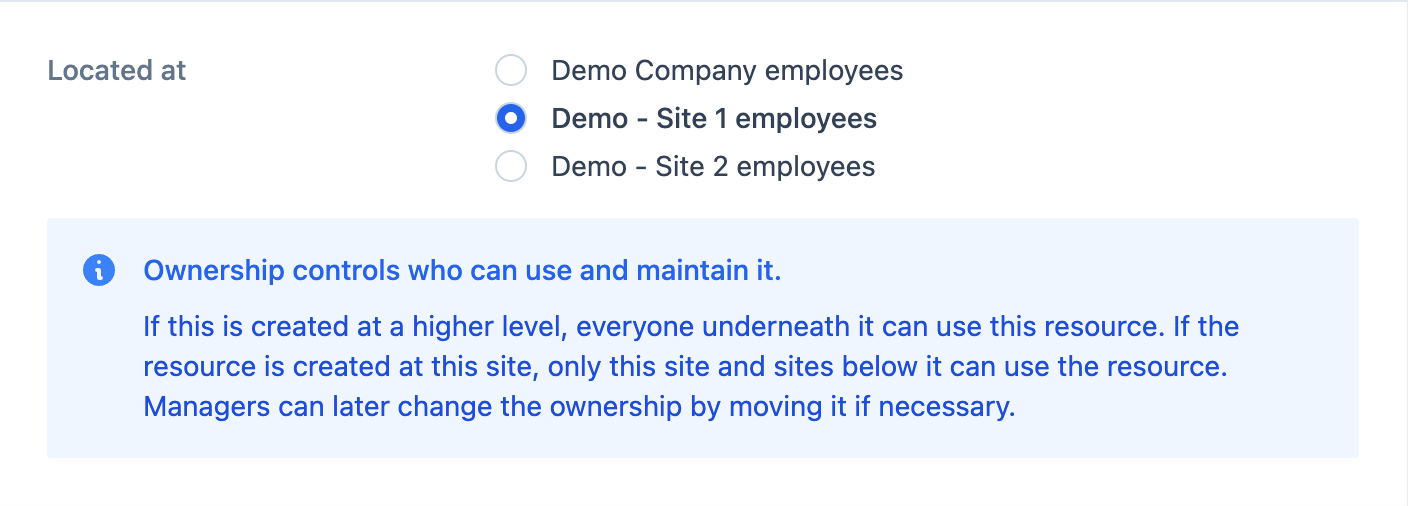
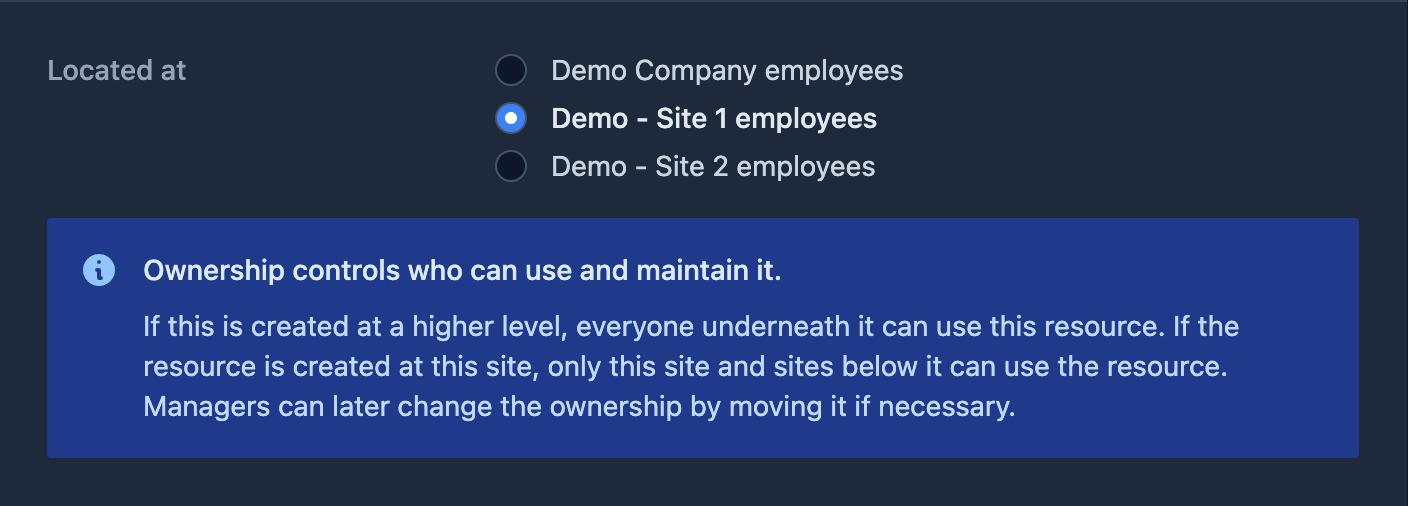
Under Located at, choose where the employee is located. By default, the employee will be located at the site you selected in Step 1, but you can change the location here if needed.
Depending on your site configuration, you may only have one option. If multiple options are available, select the employee's primary place of work.
Step
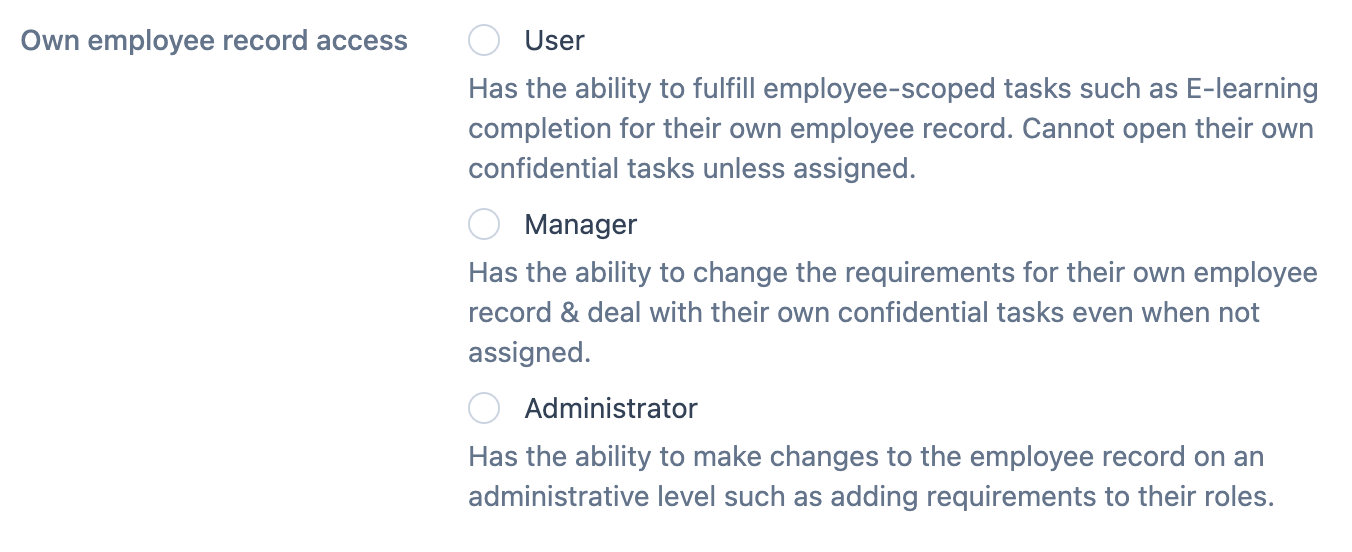
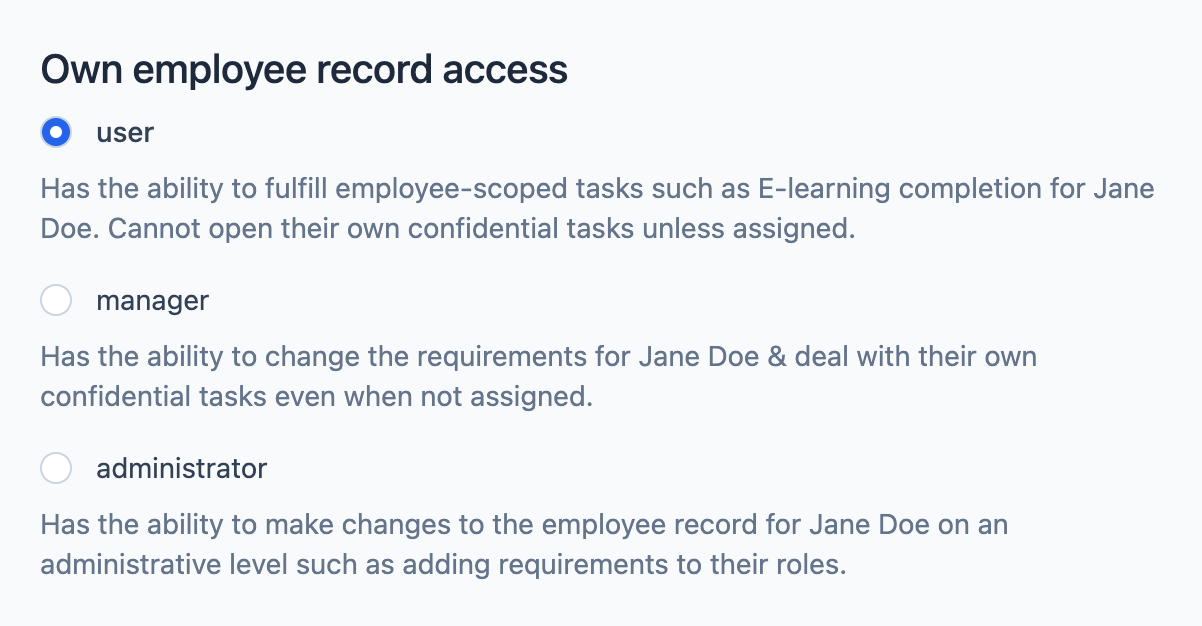
Under Own employee record access, select which level of access the employee should be granted against their own employee record.
Step
Under Site access to mirror employee access:
- Yes (recommended) — automatically grants the employee the same access rights for their site as selected in Step 7.
- No — access will need to be configured manually instead.


Enable Site access fine-tune if you need to customise the employee's access settings further — for example, if they require access to multiple sites or need additional authorisations.


Step
Click Save employee at the bottom of the page.
After saving, you will be redirected to the employee's access page.


Fine-tune site access
Optional
This section only applies if you selected the fine-tune option in Step 9.
Step
After creating the employee record with the fine-tune option selected, you will be redirected to the employee site access page.


Step
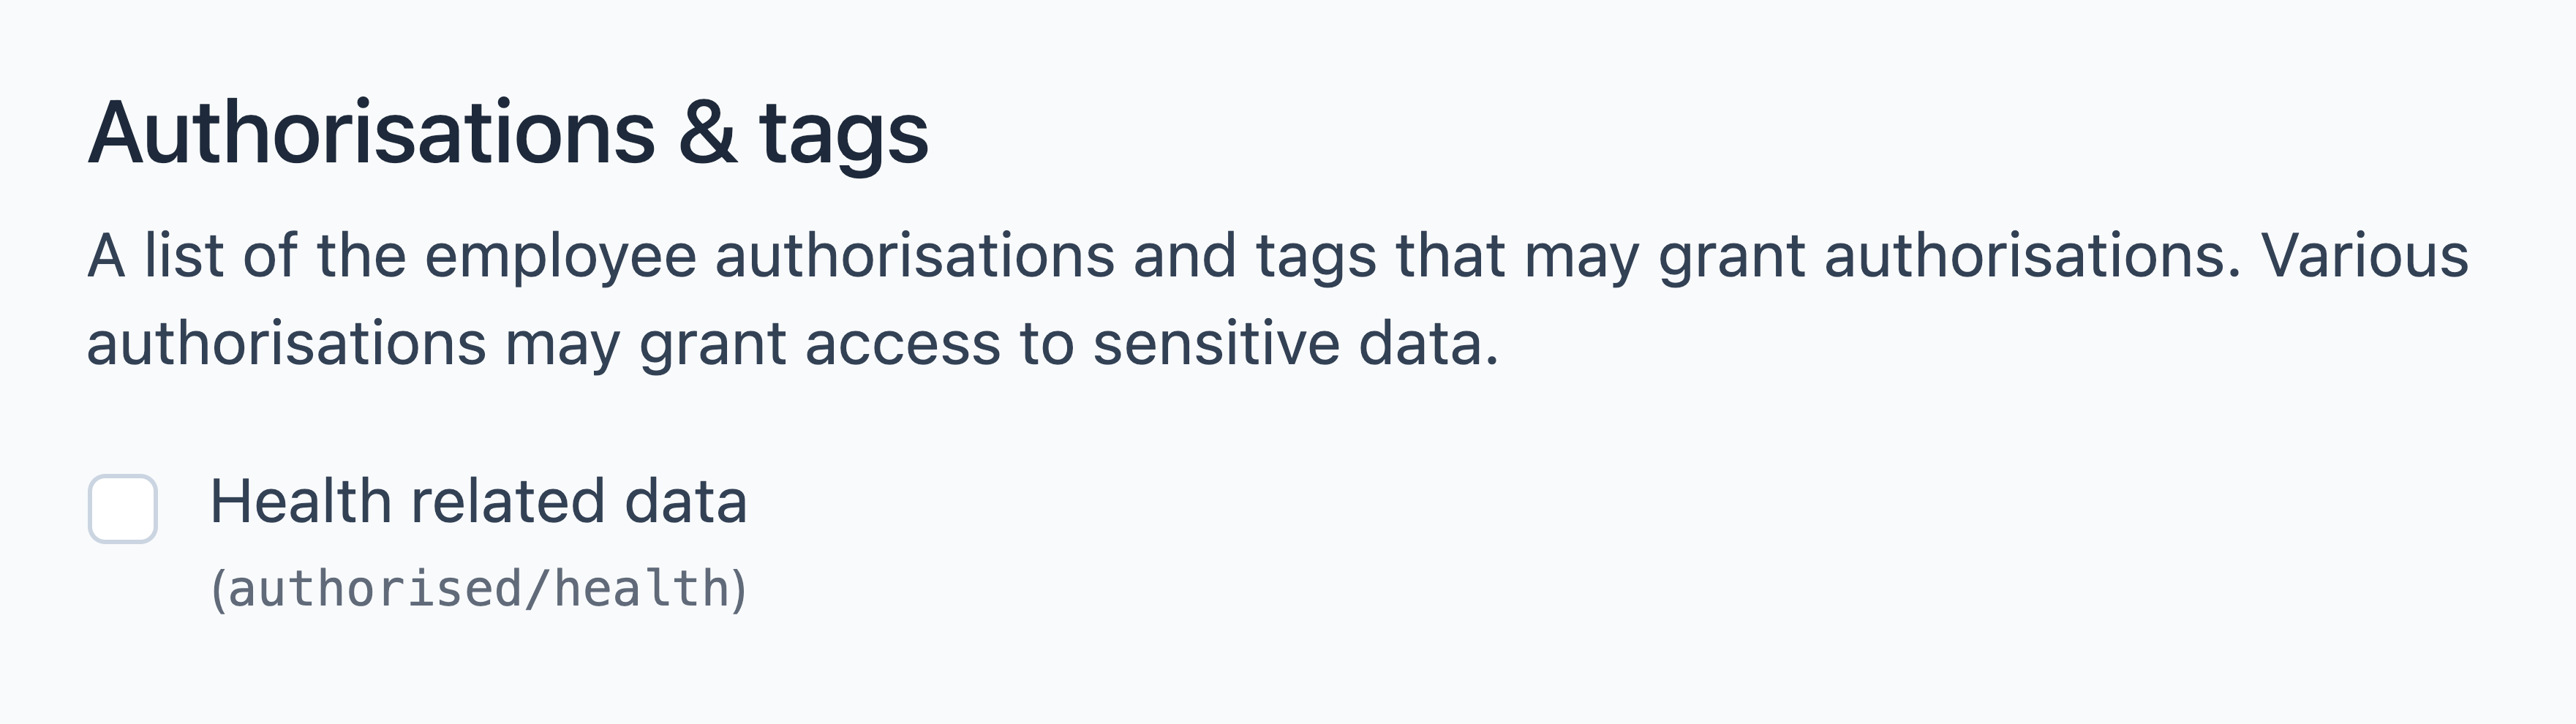
Grant the relevant authorisations or tags if the employee needs them (you can only configure this if you possess the tag yourself).
authorised/health — Assigning this tag grants the employee authorisation to access sensitive health data (e.g. Health Surveillance corrective actions) for the employees they manage.
Note
By default, all sites will have the authorised/health tag available, but depending on your site configuration you may have more.
Step
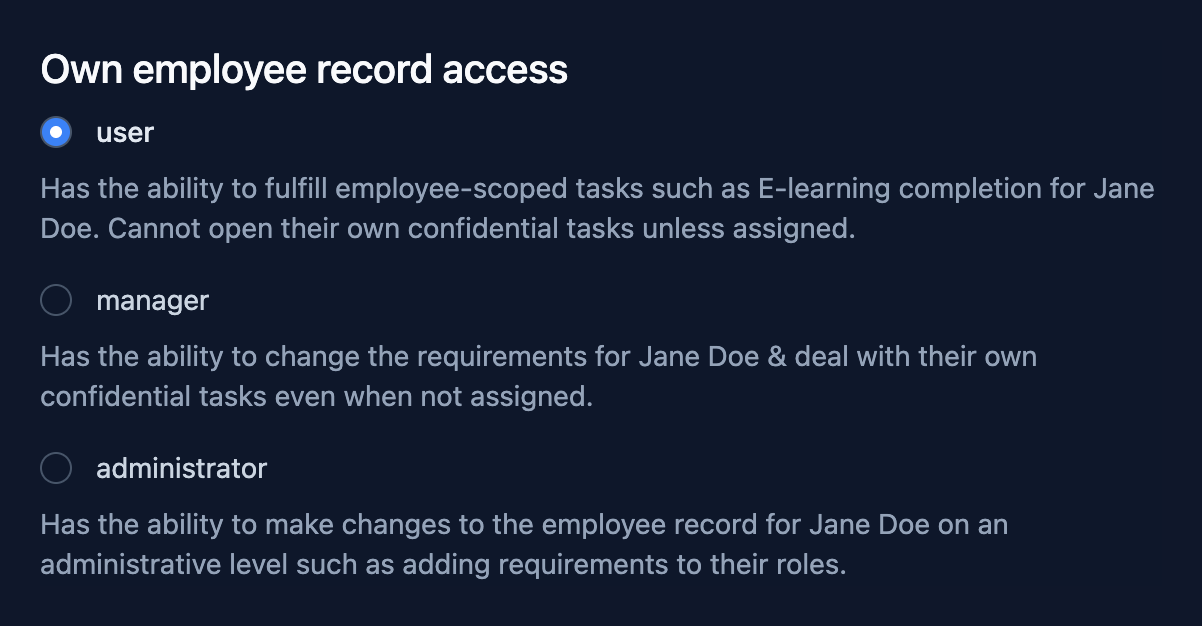
Configure whether this employee can manage their own record. Defaults to user.
user- Can fulfil employee-scoped tasks such as their own e-learning completion. Cannot open their own confidential tasks unless assigned.
manager- Can change their own requirements and deal with their own confidential tasks even when not assigned.
administrator- Can make administrative-level changes to the employee record, such as adding requirements to their roles.
Step
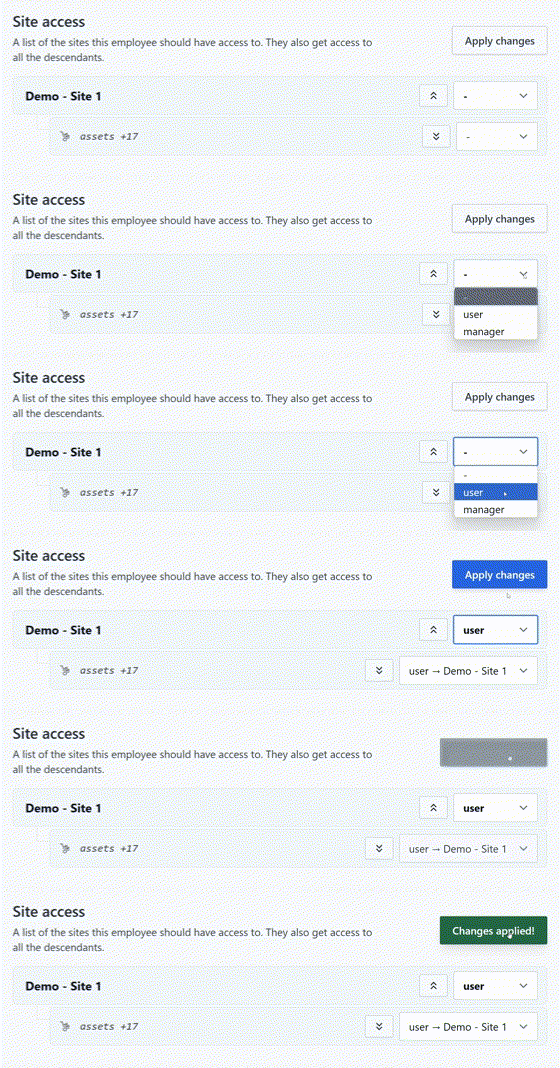
Choose whether the employee should access the site as a user, manager, or administrator using the drop-down menu. To remove access, select the - option.
Note
Granting user access automatically gives user access to assets, allowing employees to report defects, view asset documentation, and complete checklists where required.
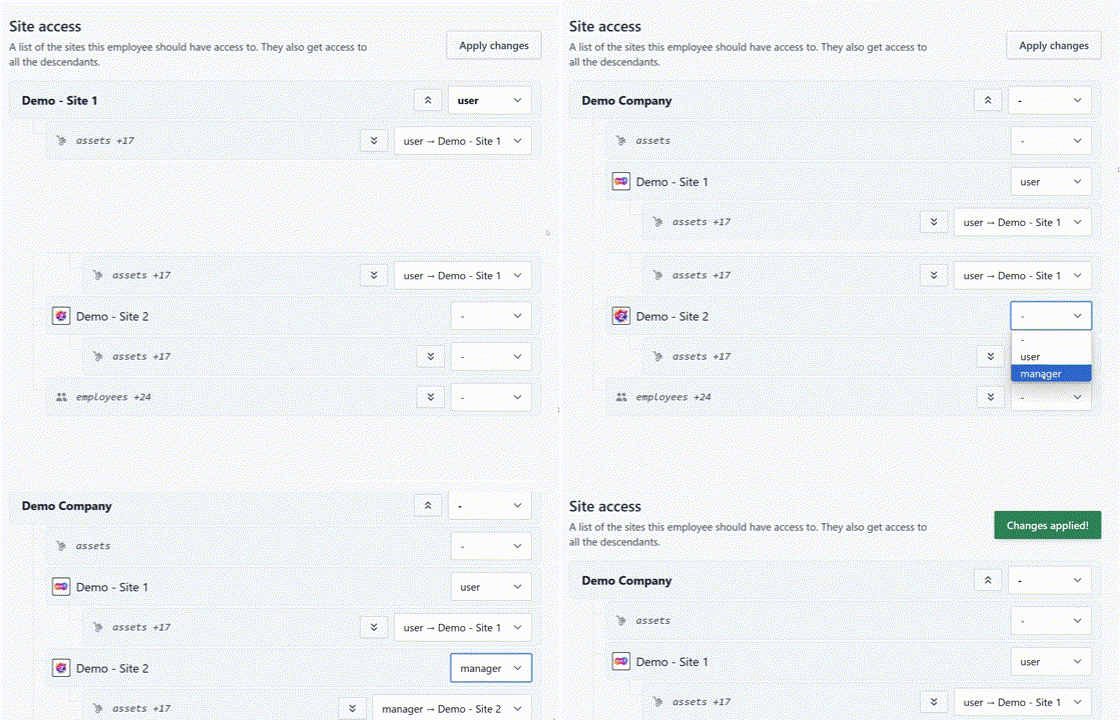
Click the double up-arrows next to the site name to give access higher up your organisational hierarchy — across other sites, regions, or your entire organisation.
Tip
Access cascades down the site hierarchy. Granting access at a site automatically applies the same access to all of its sub-sites.
Step
Once you have made the changes, click Apply changes.


Next steps
Next Step: Register the Employee
Now that you've added an employee, you may want to know how to give them access to the system to complete tasks such as their E-Learning or Checklists. Below are the ways you can do this: