Revising a document
Written for Managers Administrators
Every document requirement in Opus Compliance Cloud holds a history of uploaded files, known as revisions.
Follow this guide to learn how to upload a document revision.
Document doesn't exist yet?
Revising only applies to a document requirement that already exists. If there is nothing to revise, follow our guide on adding a new document instead.
Revising a due document
When a document is due for revision, the system creates a reminder task for it in the site inbox. This is often the best way to revise documents as you can take advantage of the site inbox and its prioritisation.
Step
From My Dashboard, click on Pick workspace and select the site where the document (or asset/employee that holds the document) exists.


Step
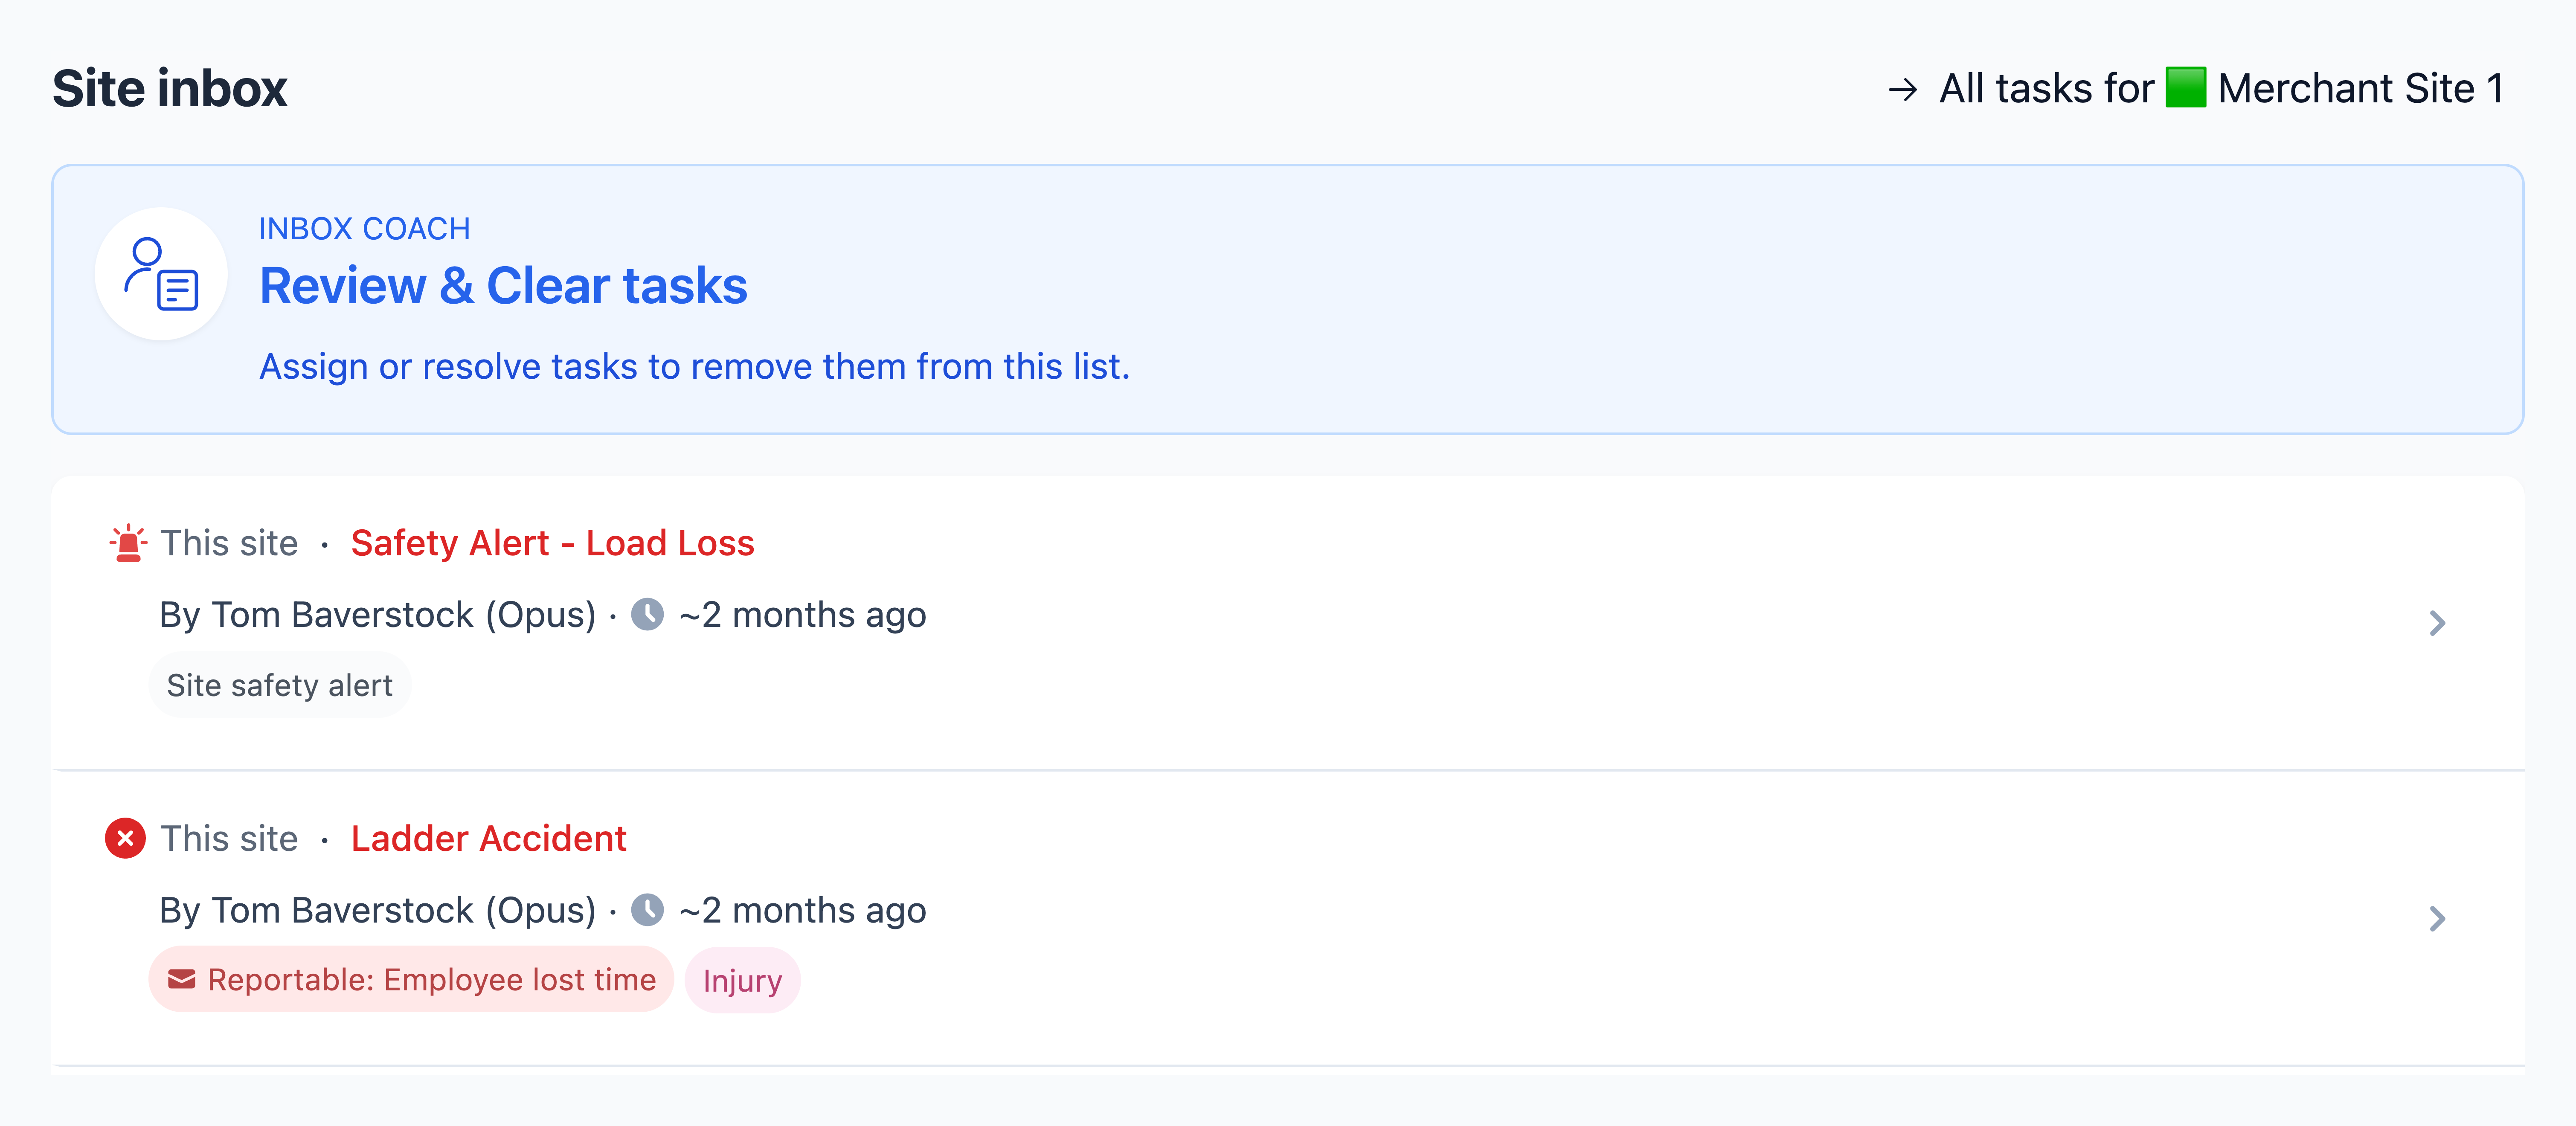
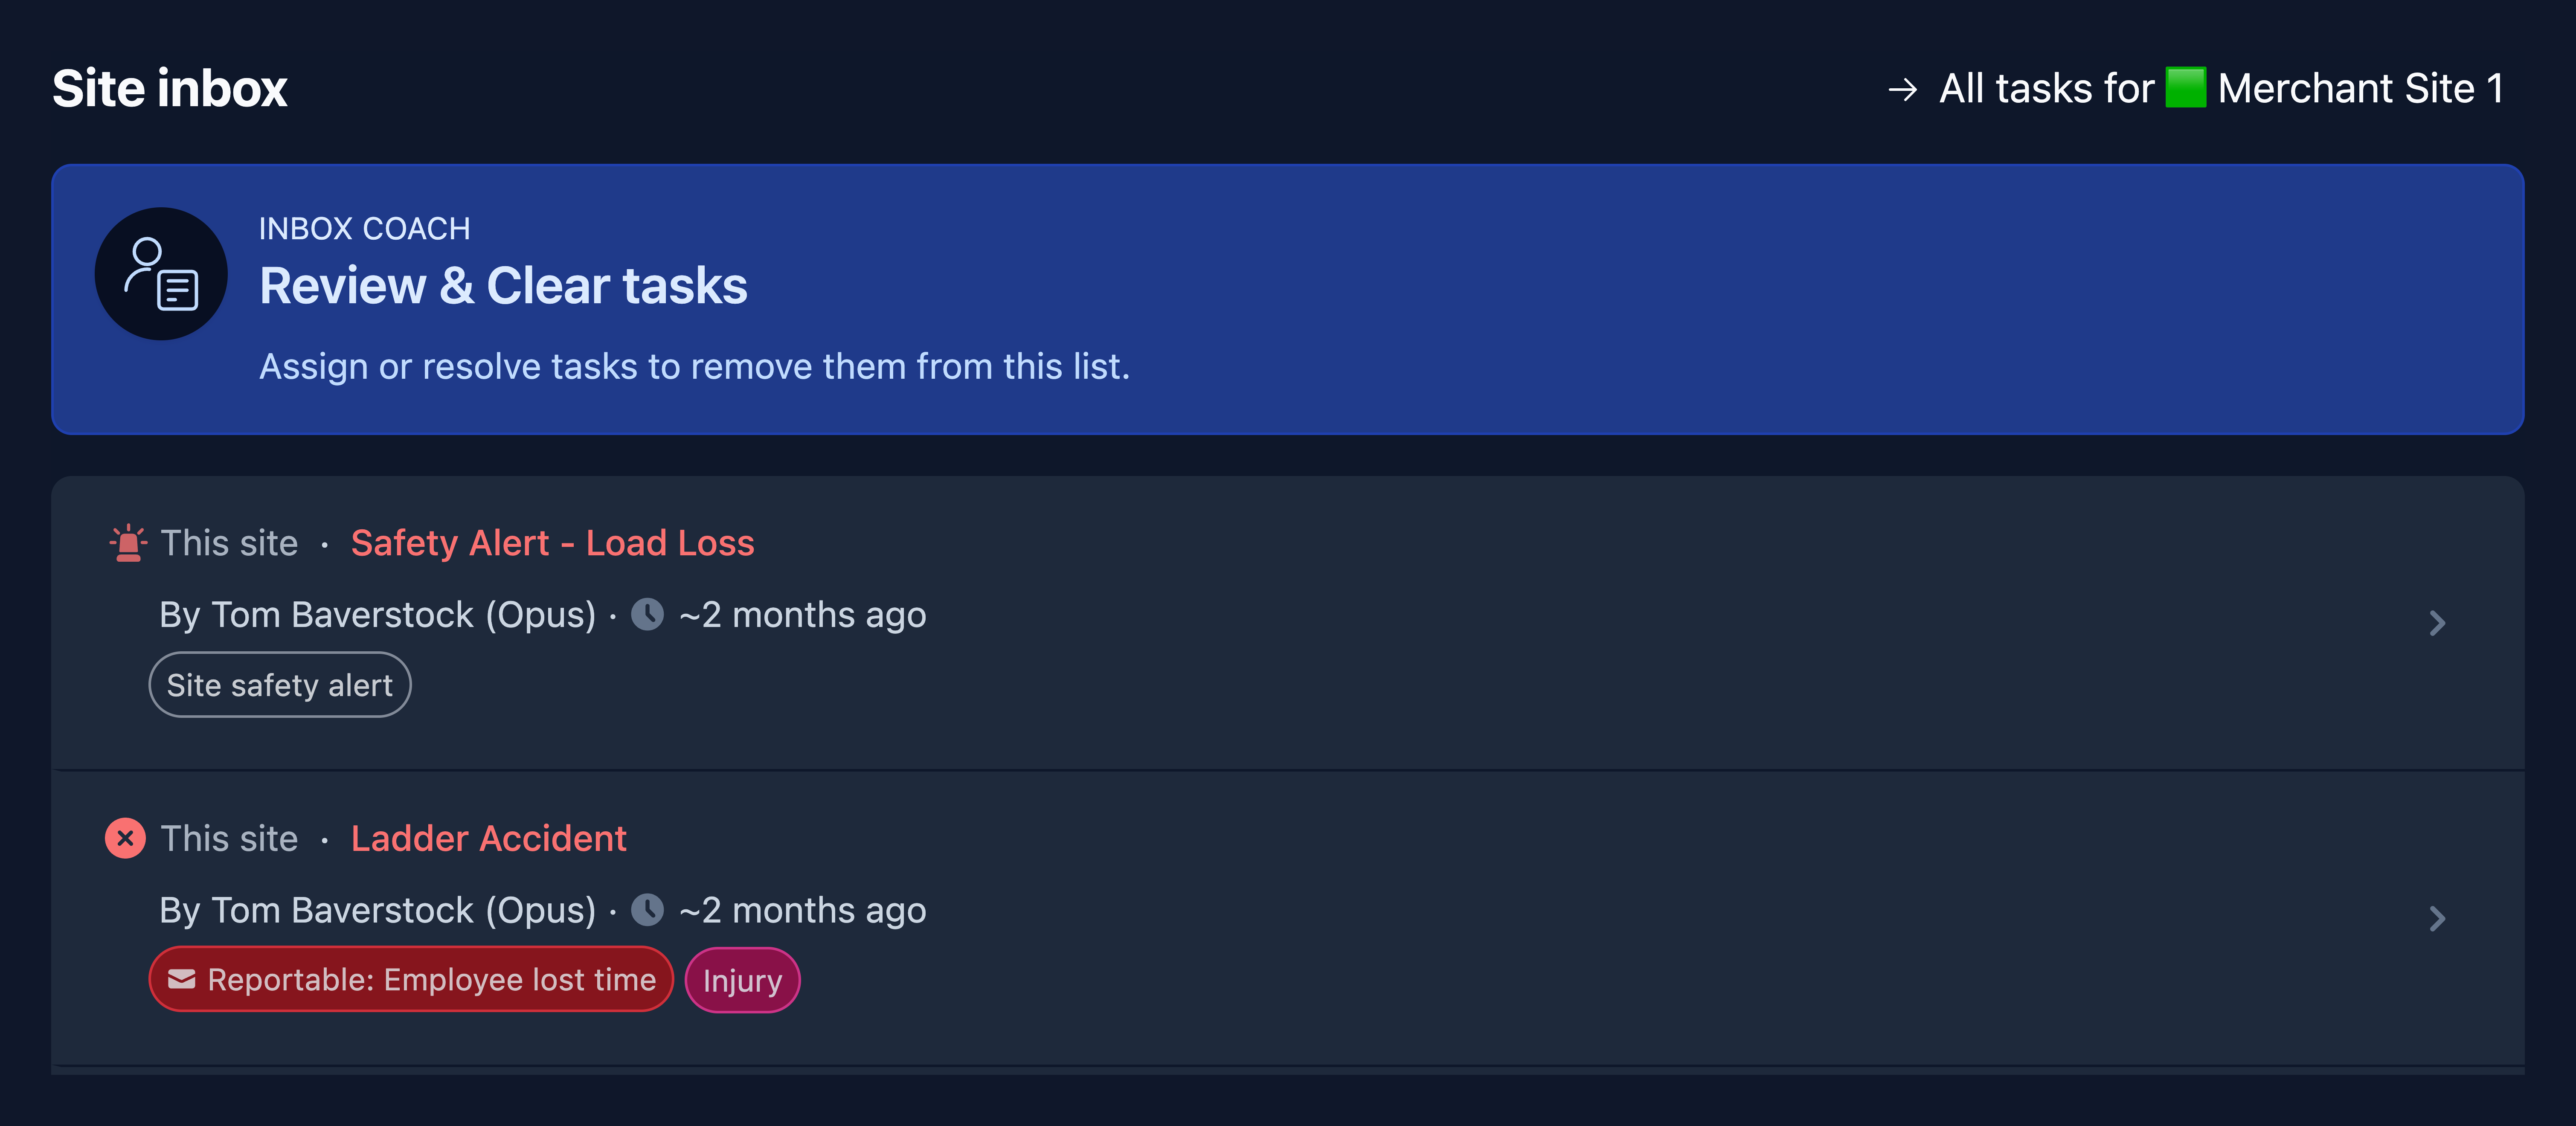
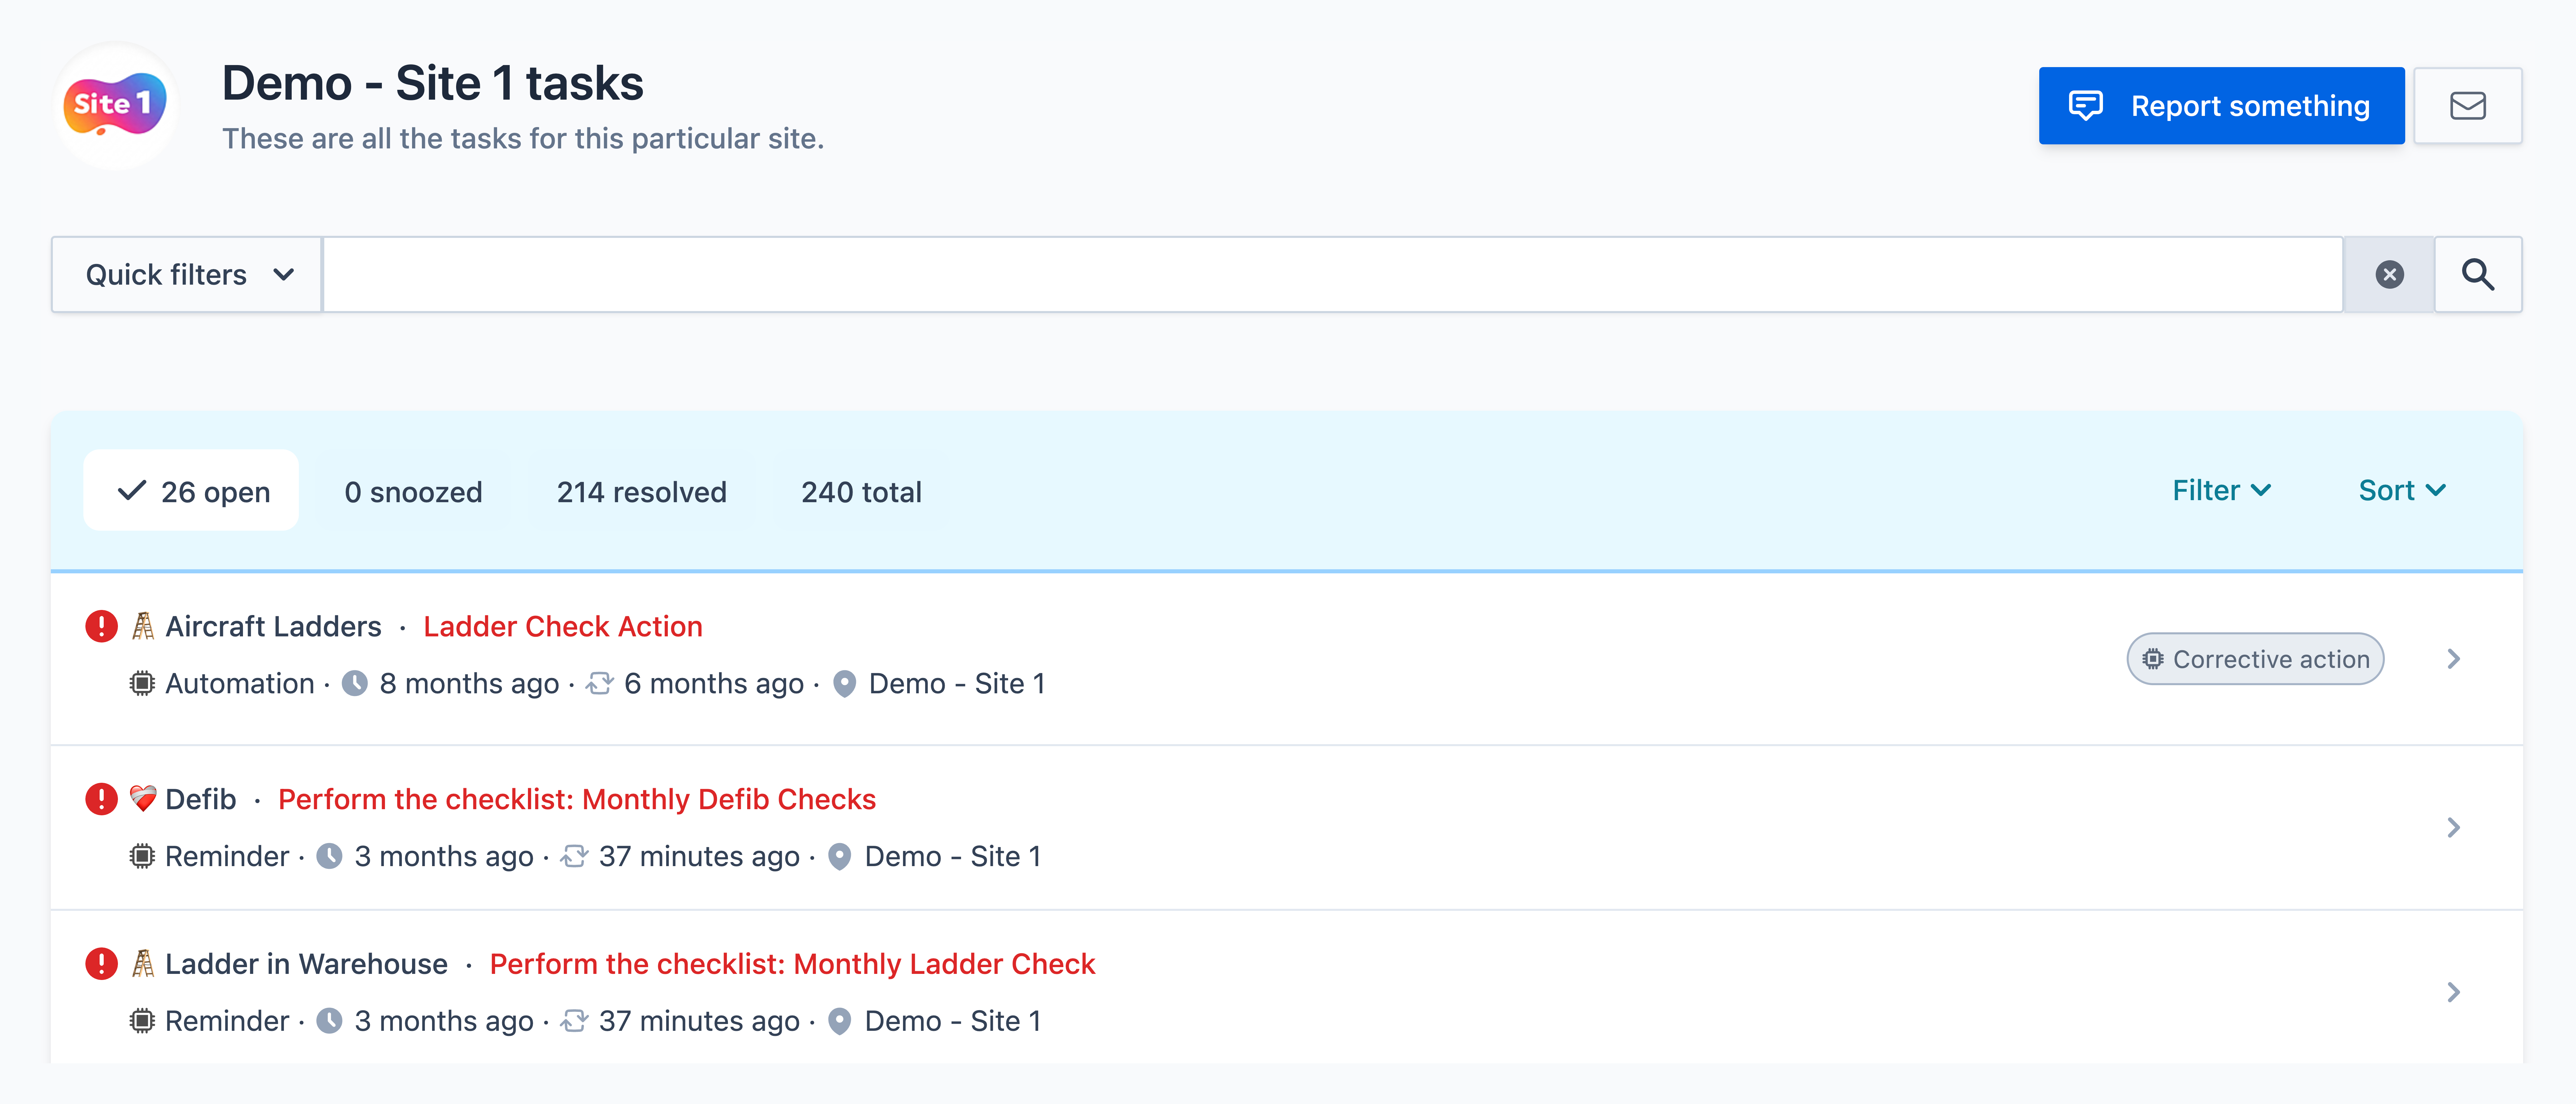
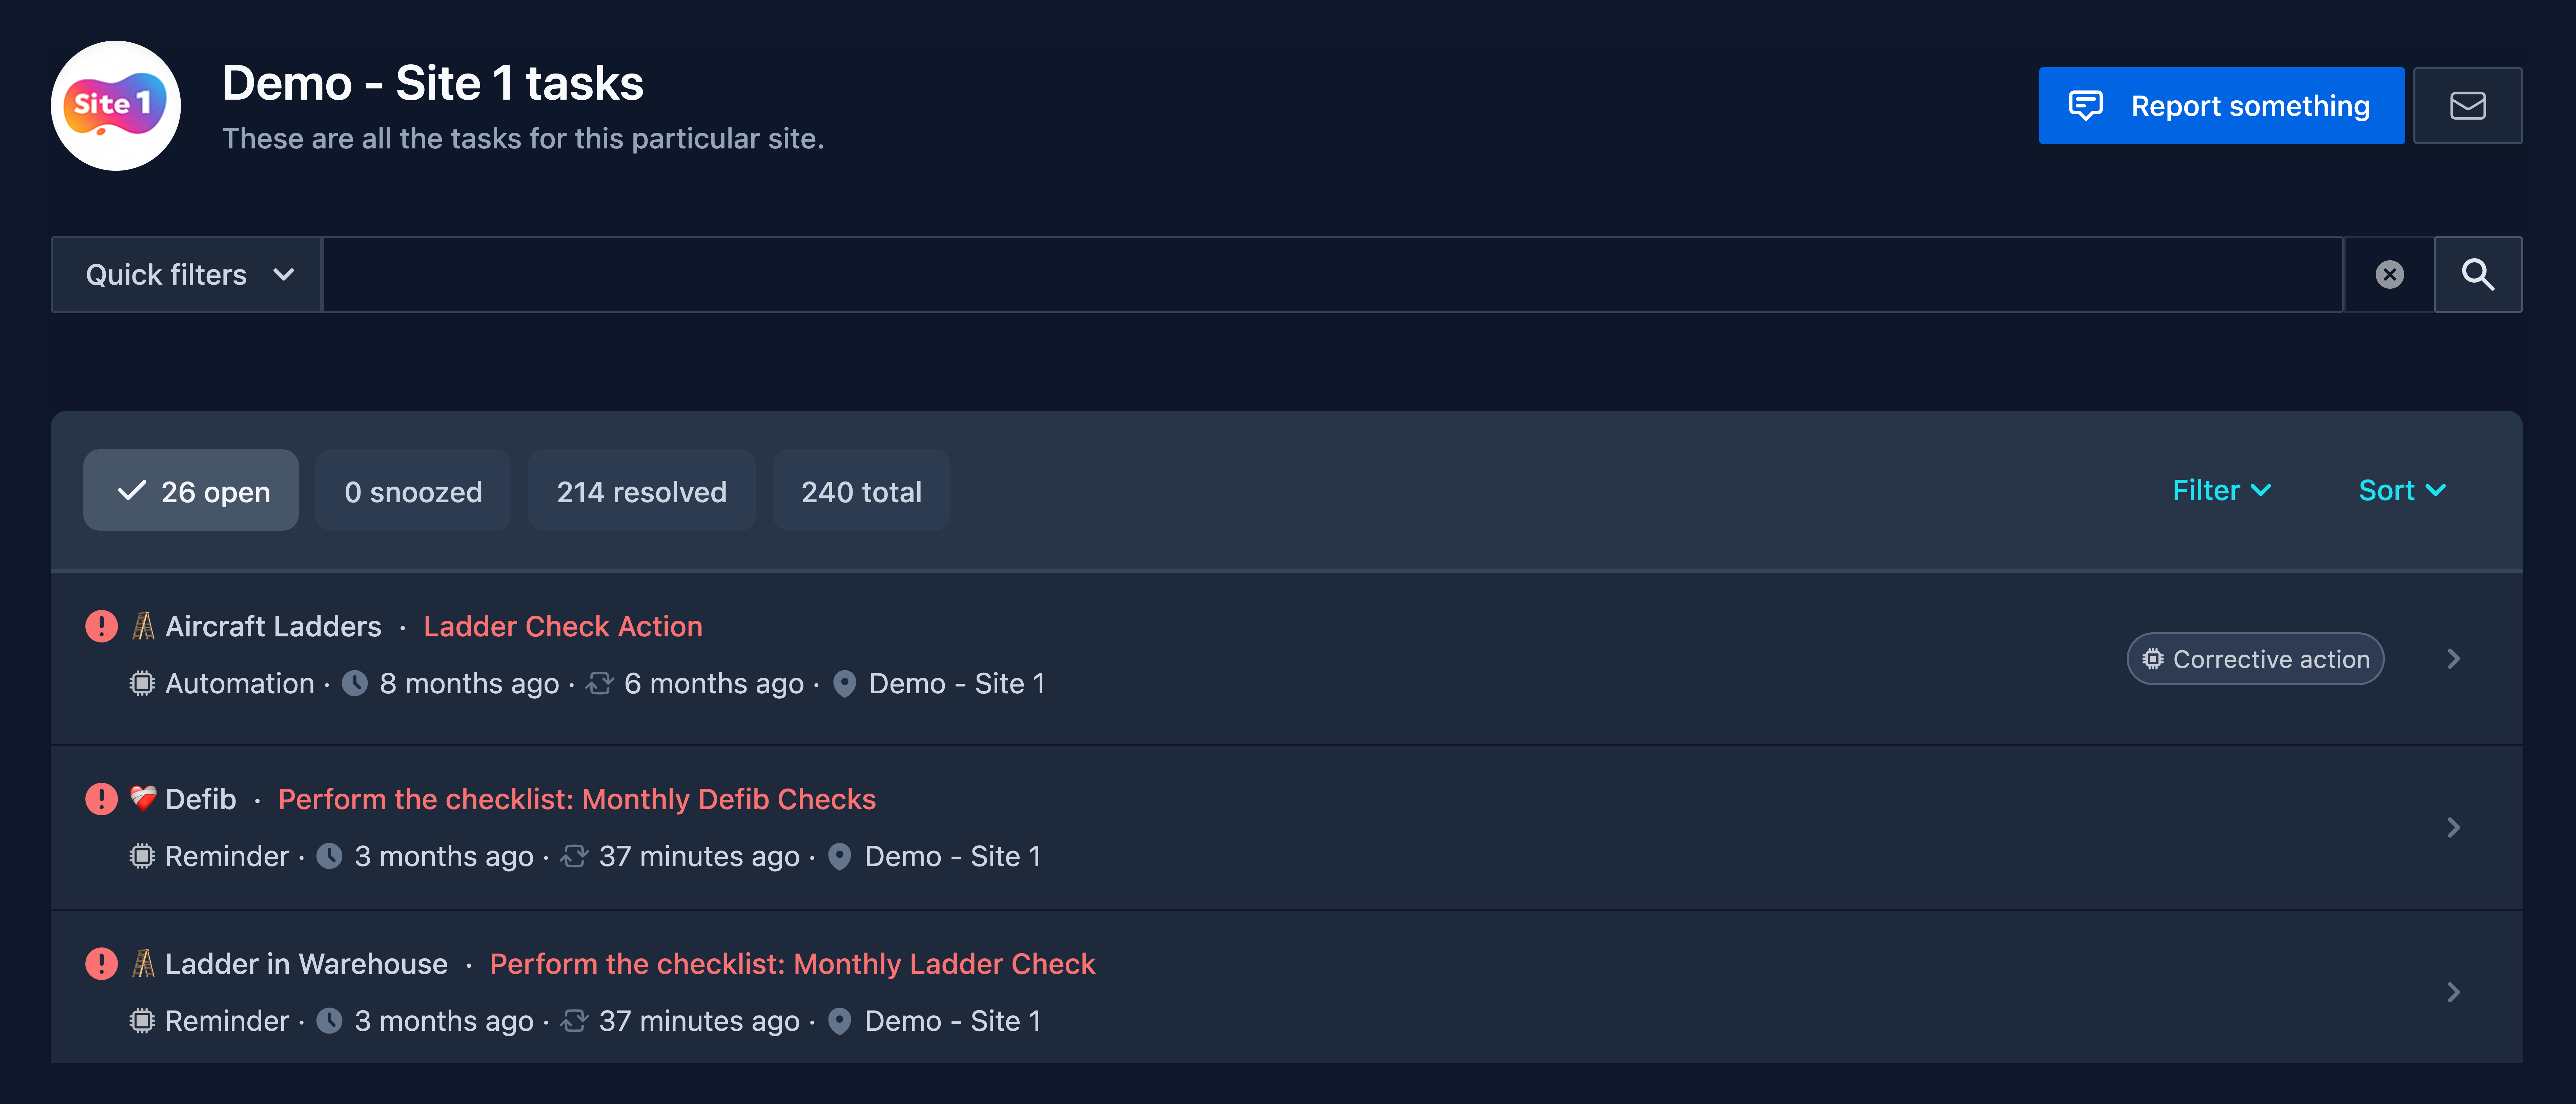
Find the task from the site inbox
If you've been assigned the task, it will appear under My Tasks at the top of the page or can be found via the dedicated My assigned tasks page.
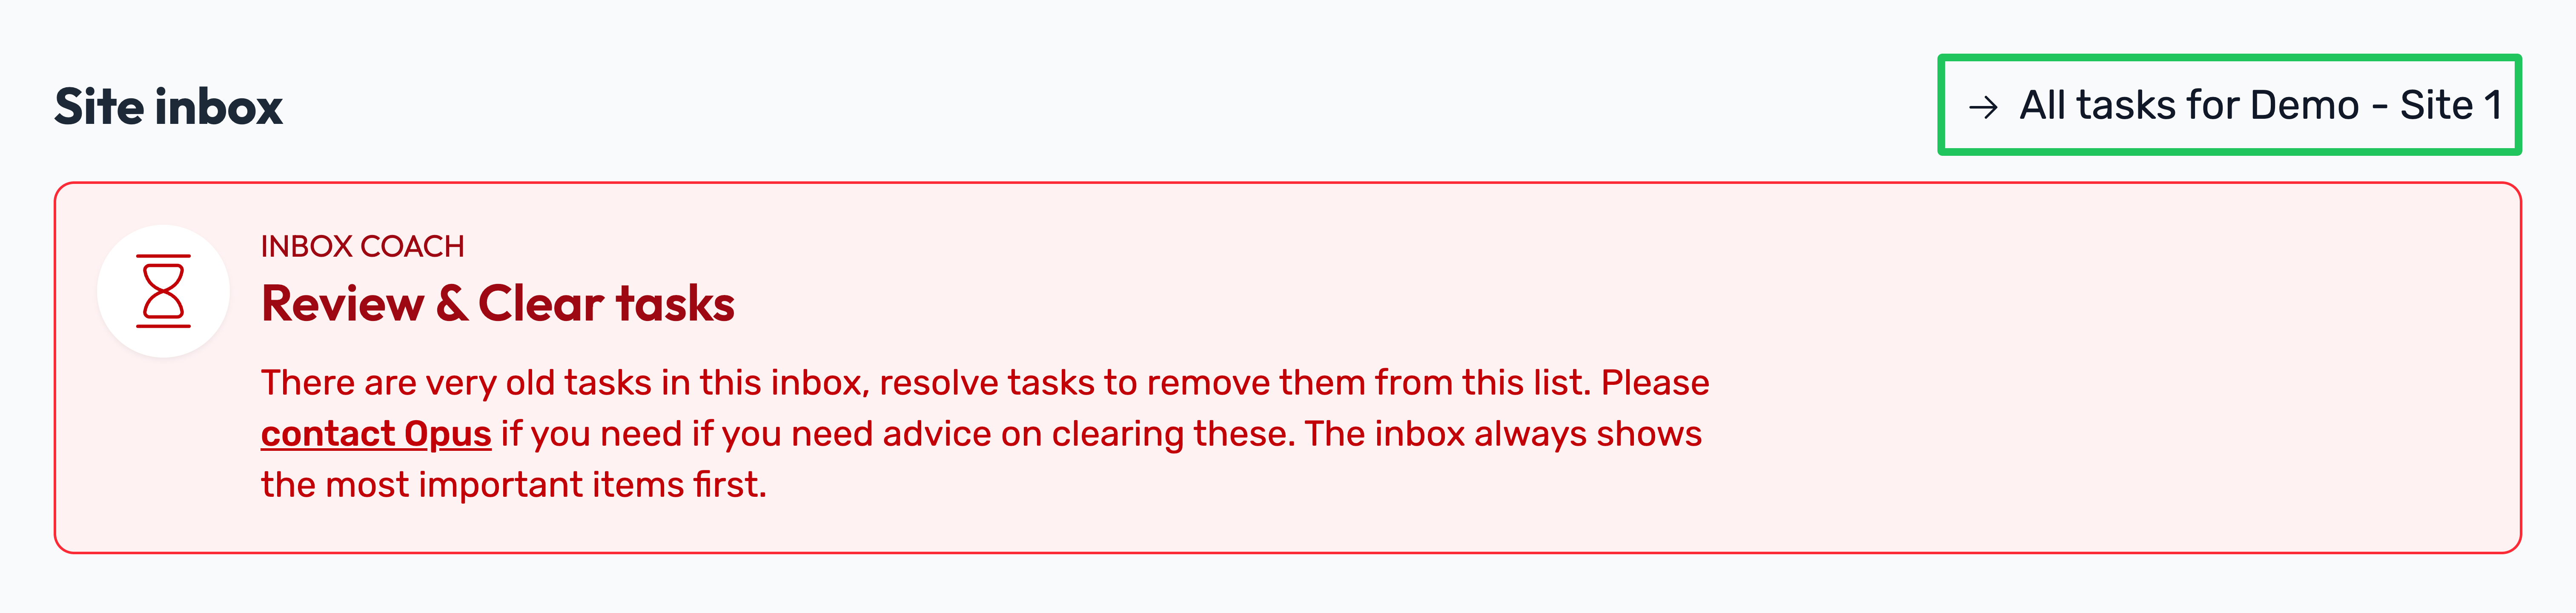
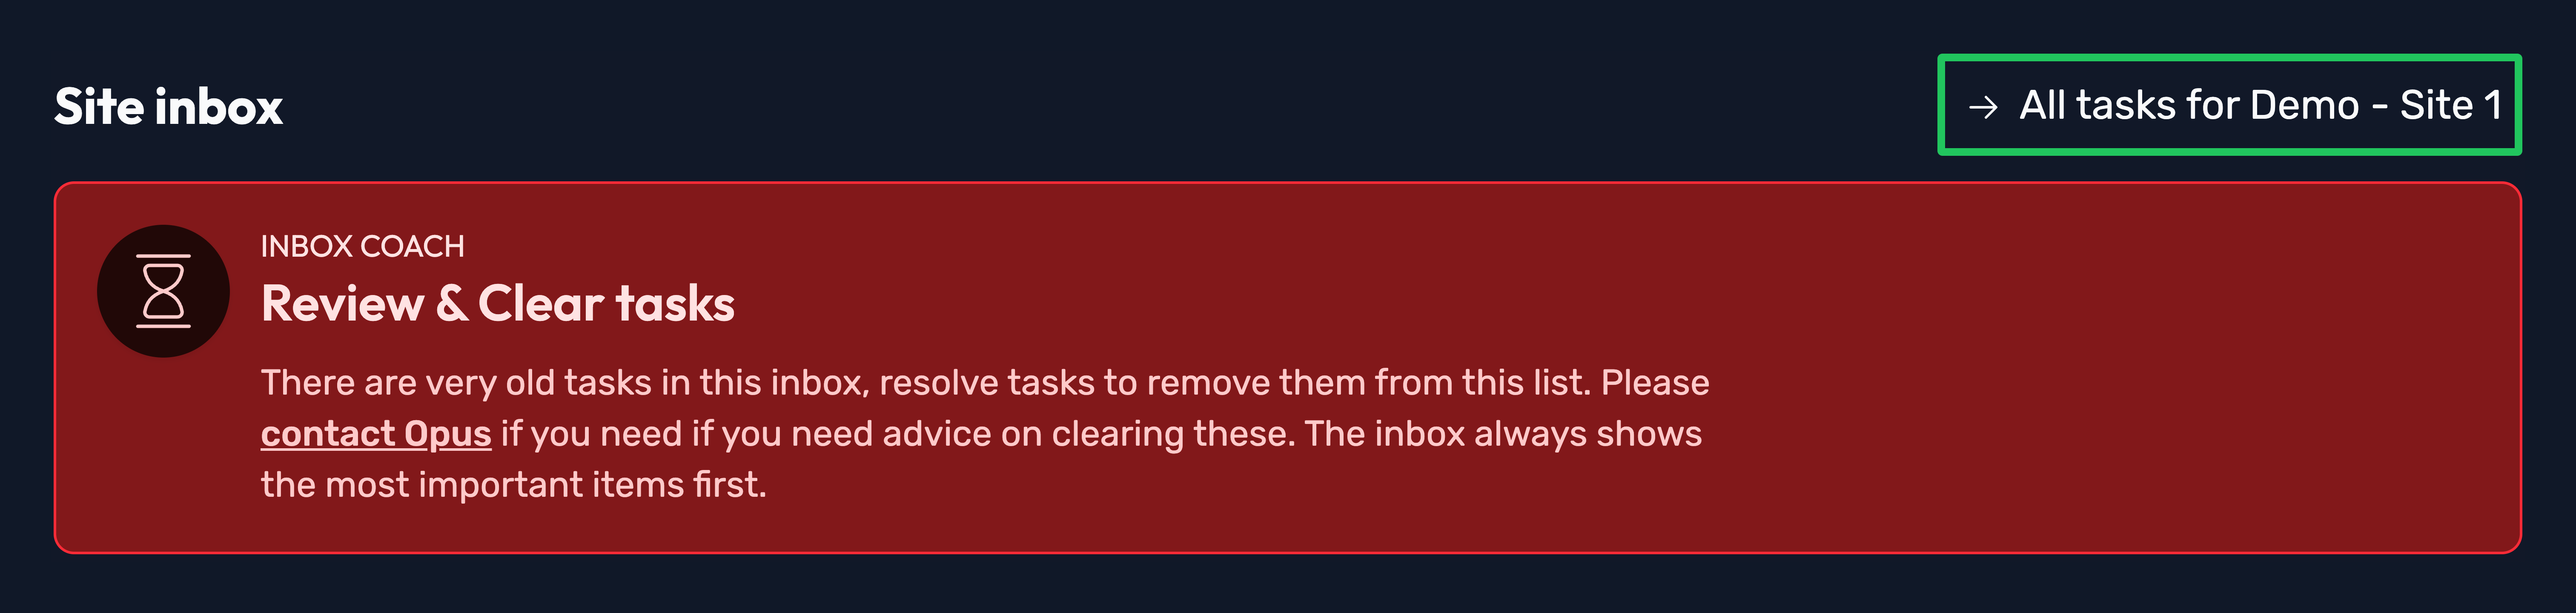
Still can't find the task?
Follow the link at the top of the site inbox to All tasks.
This gives you the ability to search and filter to find specific tasks more easily.
Step
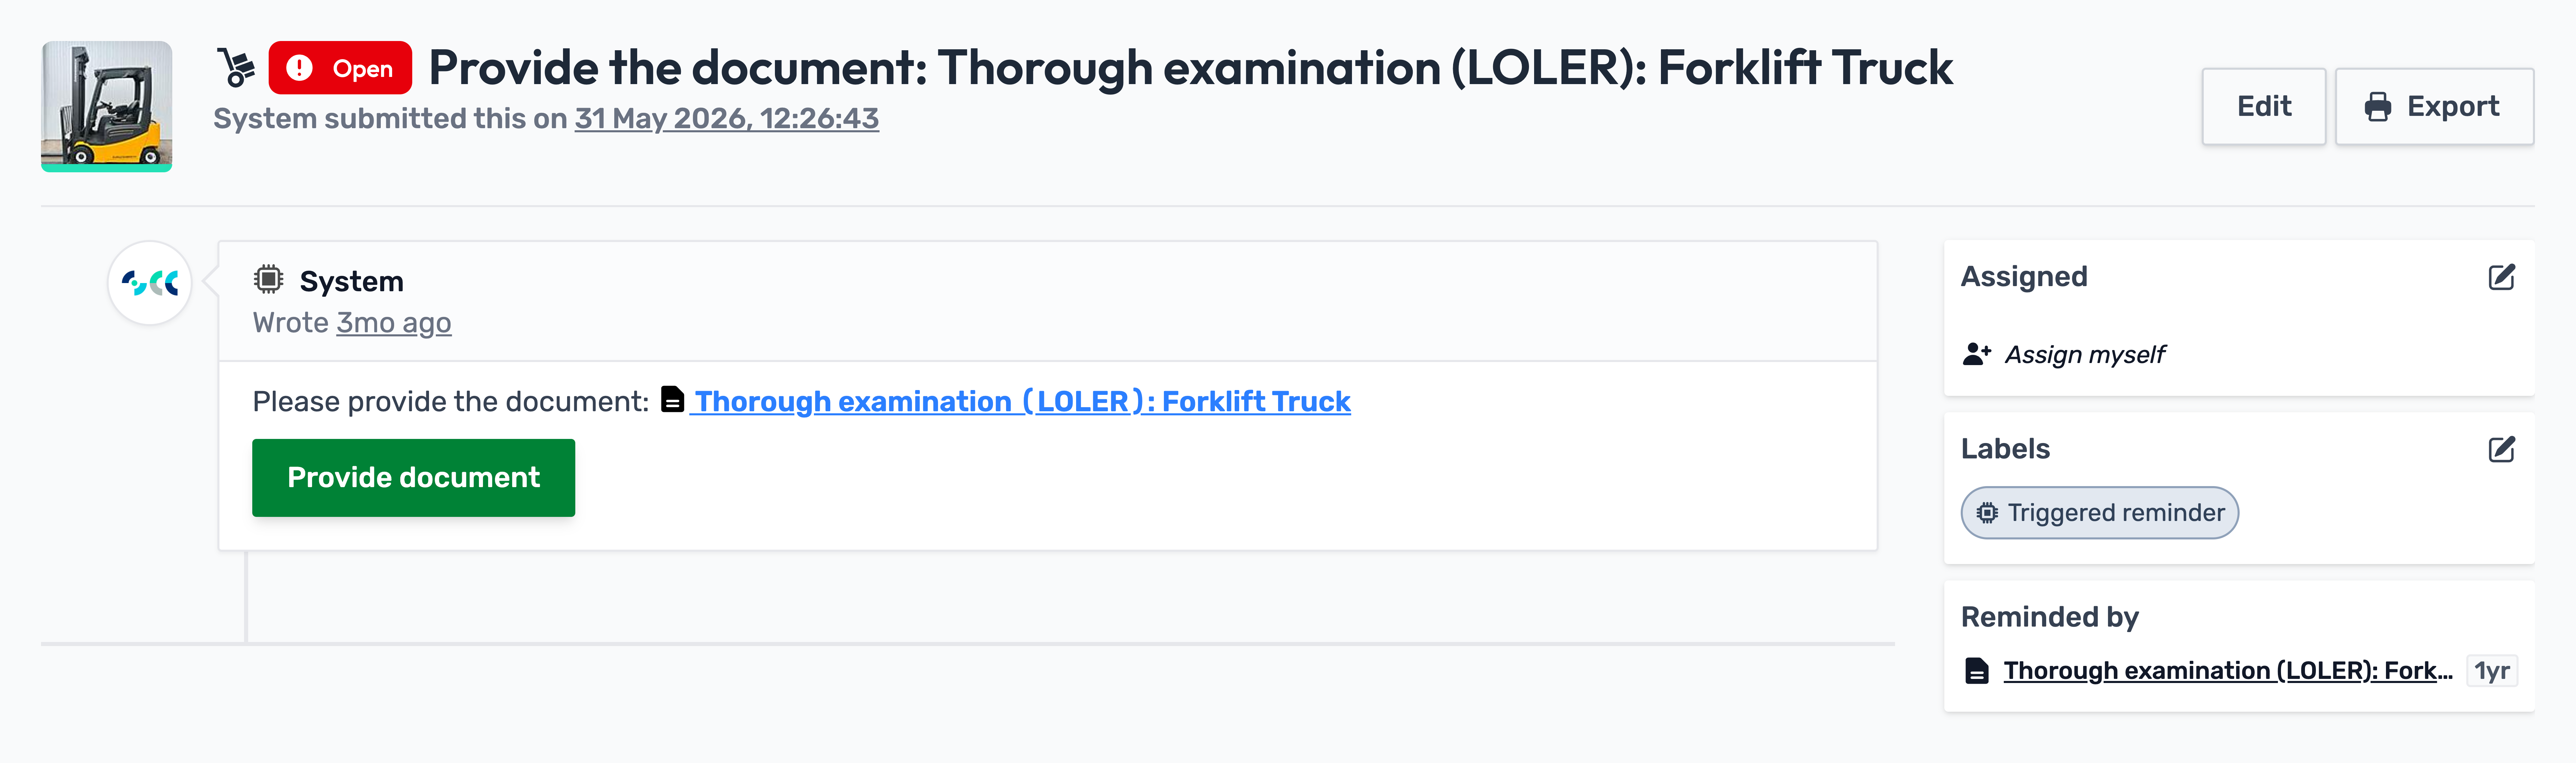
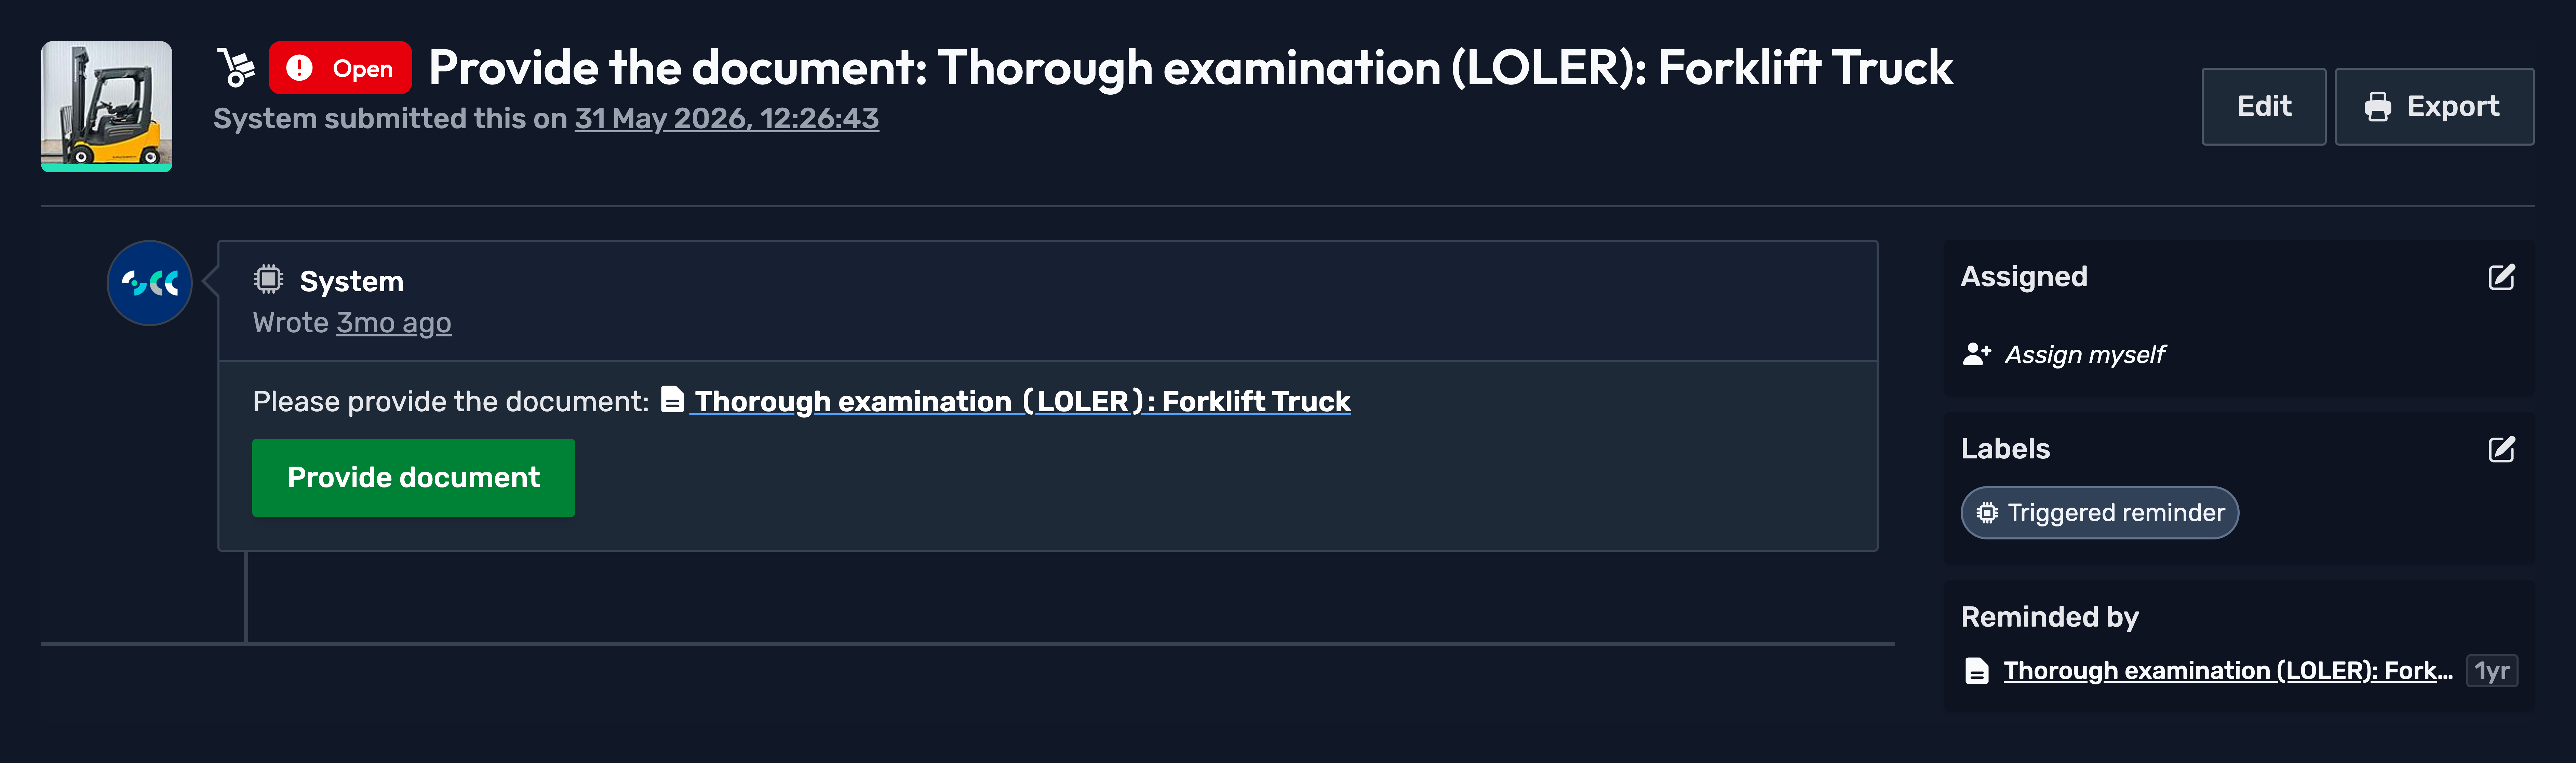
Click the button or blue link in the document reminder task.
Step
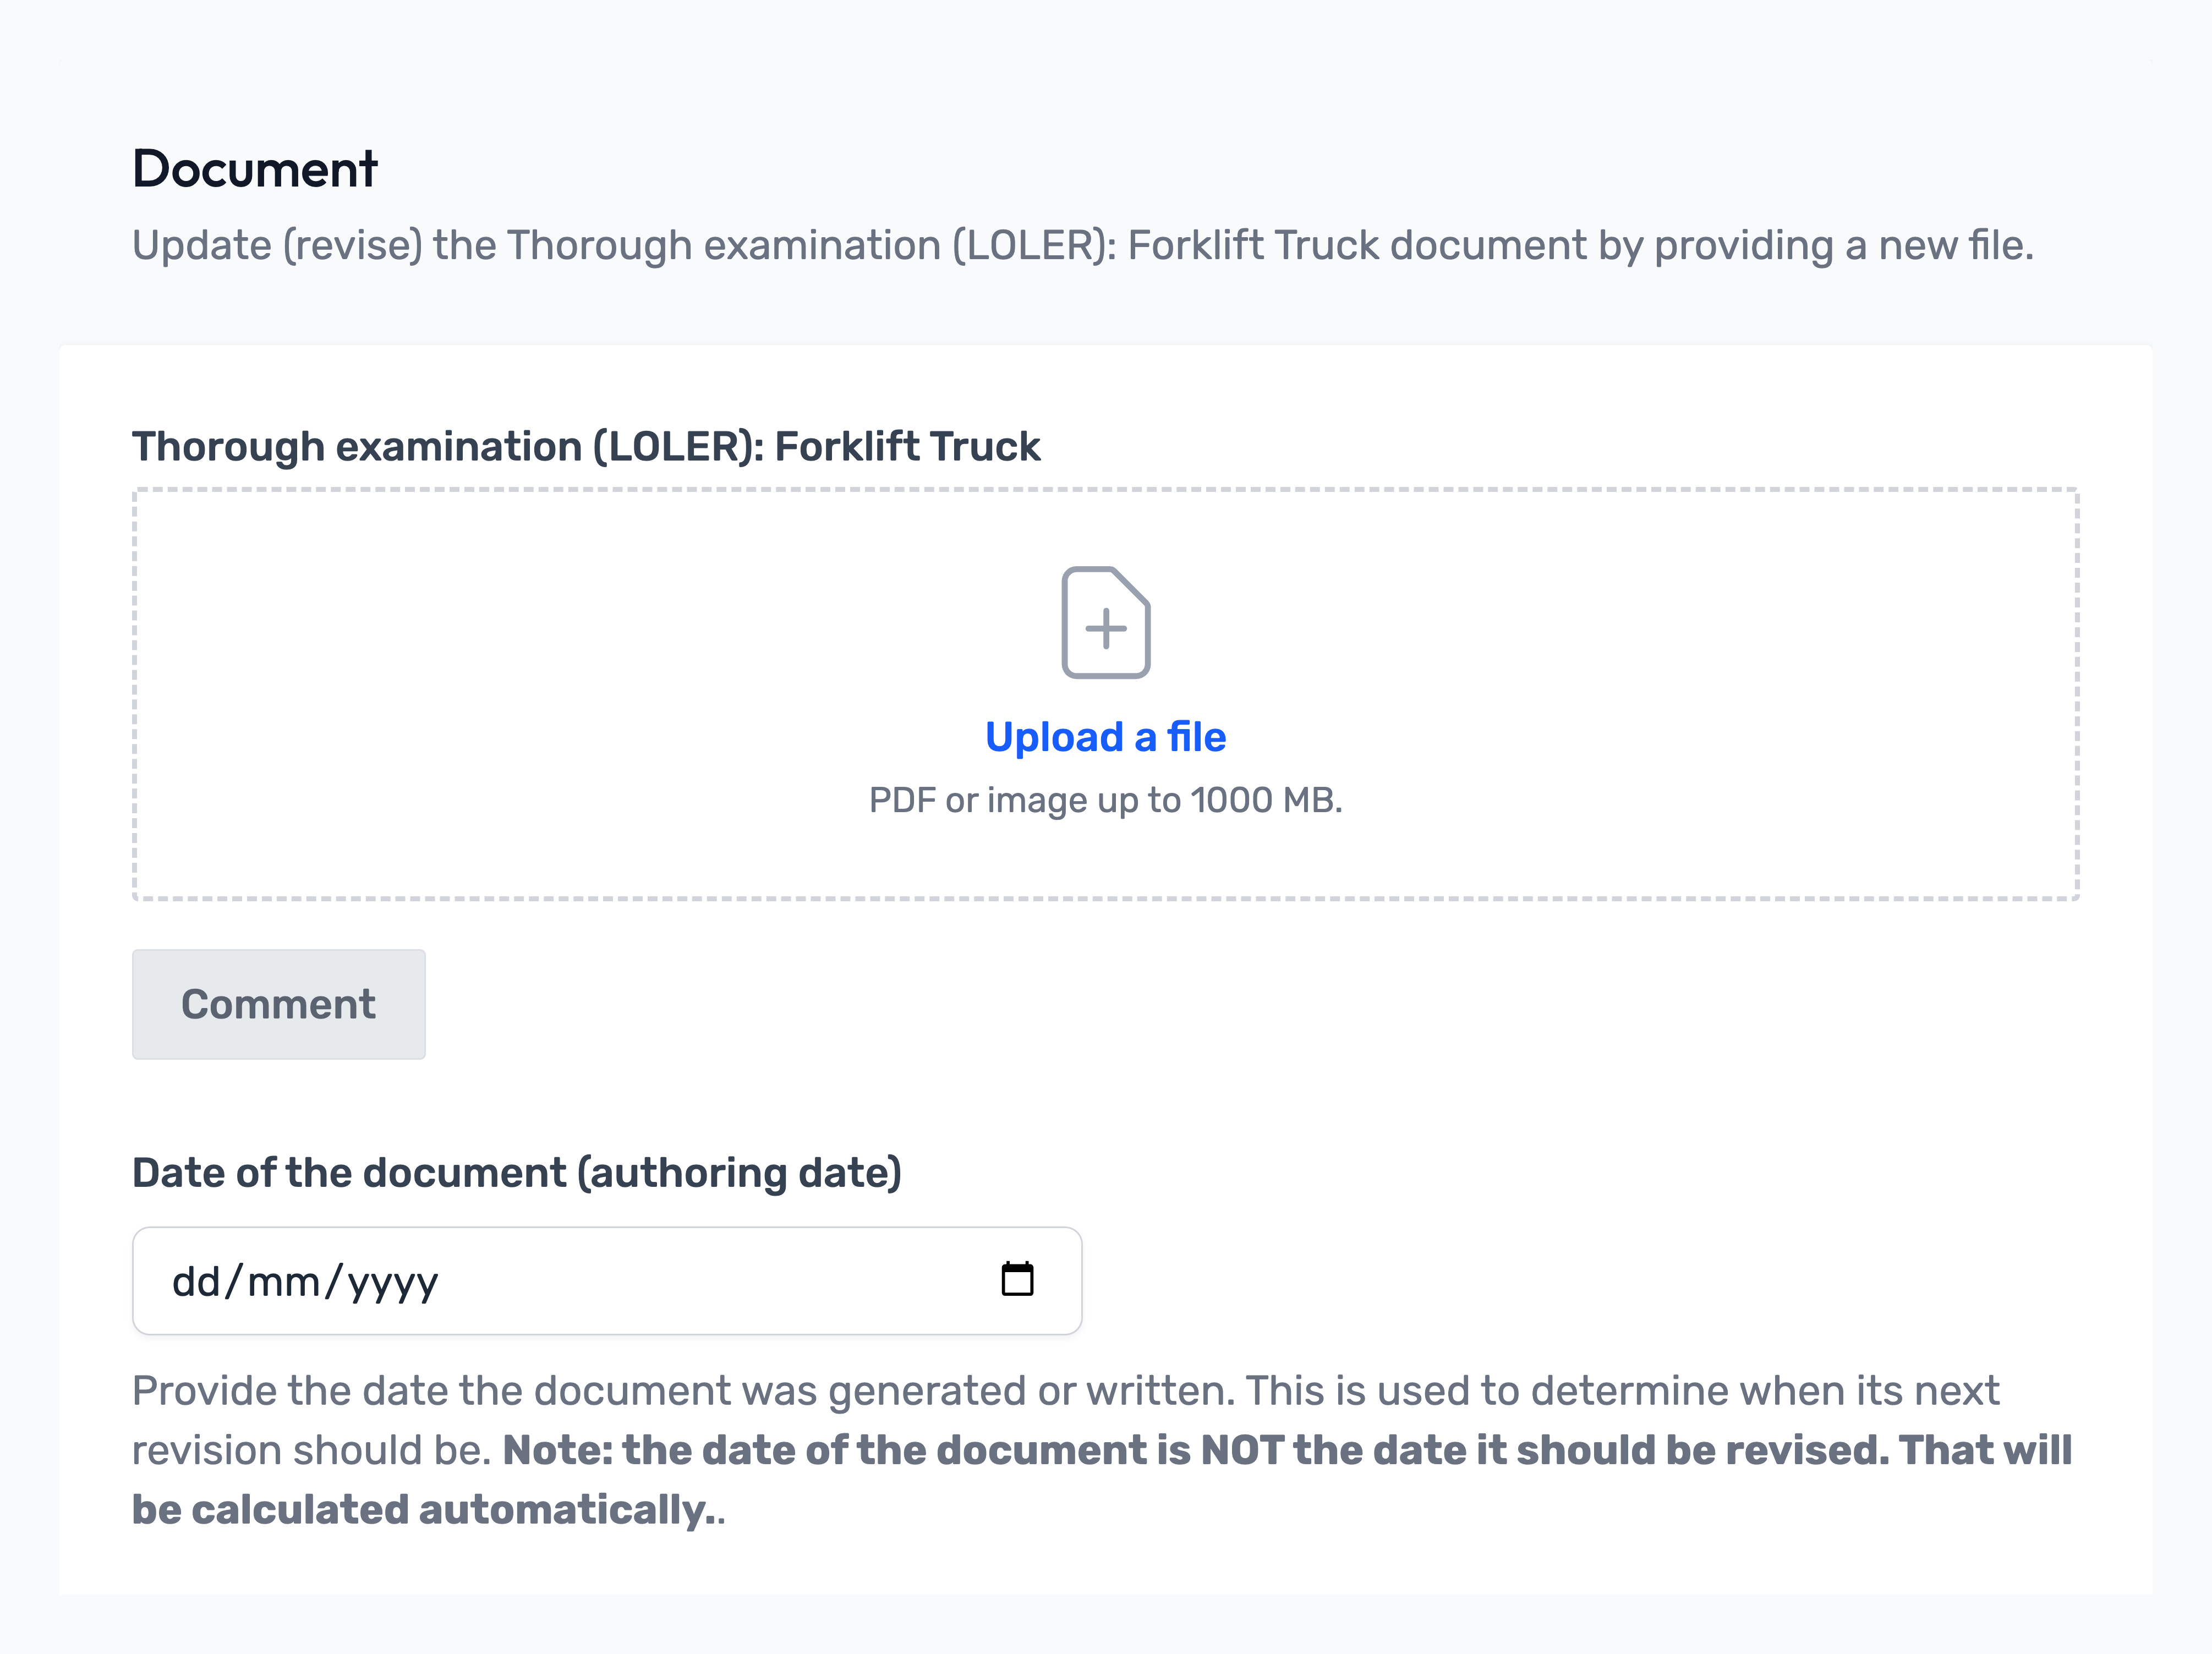
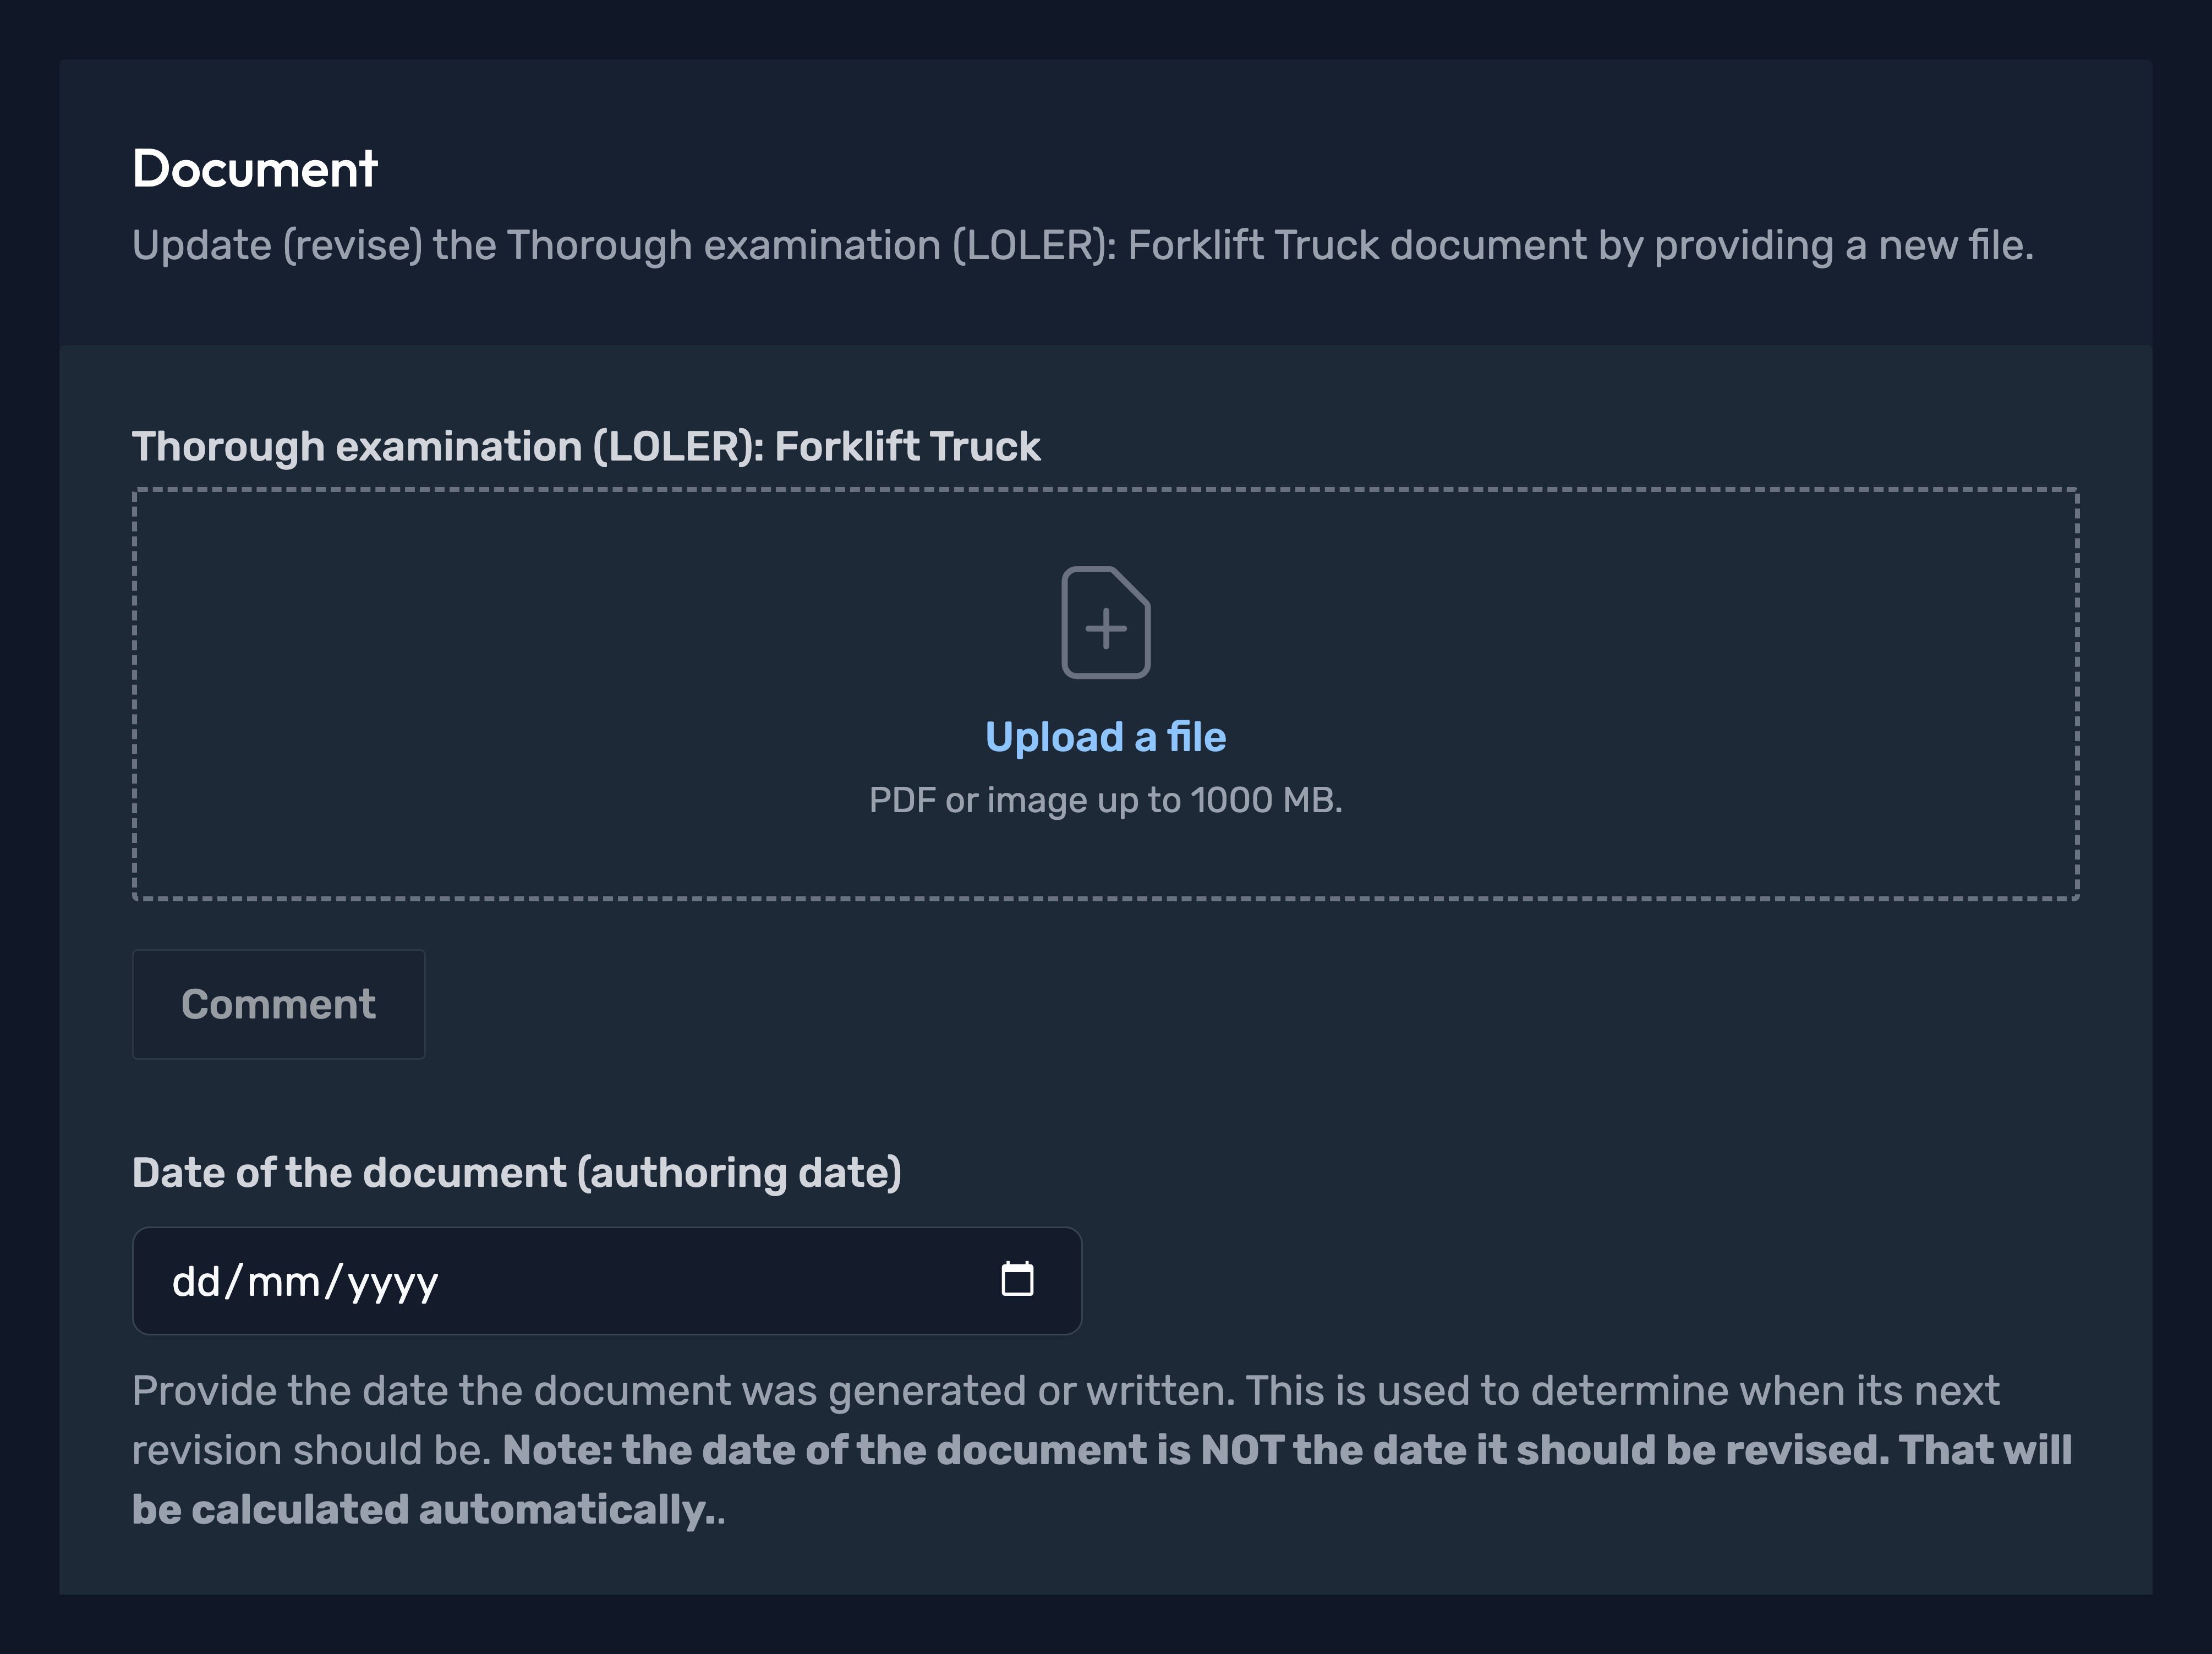
Upload the file and enter the Date of document.
Warning
Date of document (authoring date) is the date the file, service, or certificate was completed, authored or became valid. Entering an inaccurate date may result in unnecessary early re-submission or cause non-compliance to go unnoticed.
Step
Click Store document.
The open reminder task will automatically resolve itself, assuming the provided file/document date satisfies the requirement.


Complete!
You've now uploaded a new revision against the document!
Revising a document via Manage Mode
Sometimes you need to update a document when there is no reminder task for it. Pick the tab below that matches where the document belongs, then continue with the upload steps below.
Use this route when the document belongs to the site itself, such as risk assessments.
Step
From the site inbox, click the Switch to Manage Mode button.


Use this route when the document belongs to an asset, such as a service certificate.
Step
From the site inbox, click the Switch to Manage Mode button.
Step
Click Assets on the manage sidebar.


Step
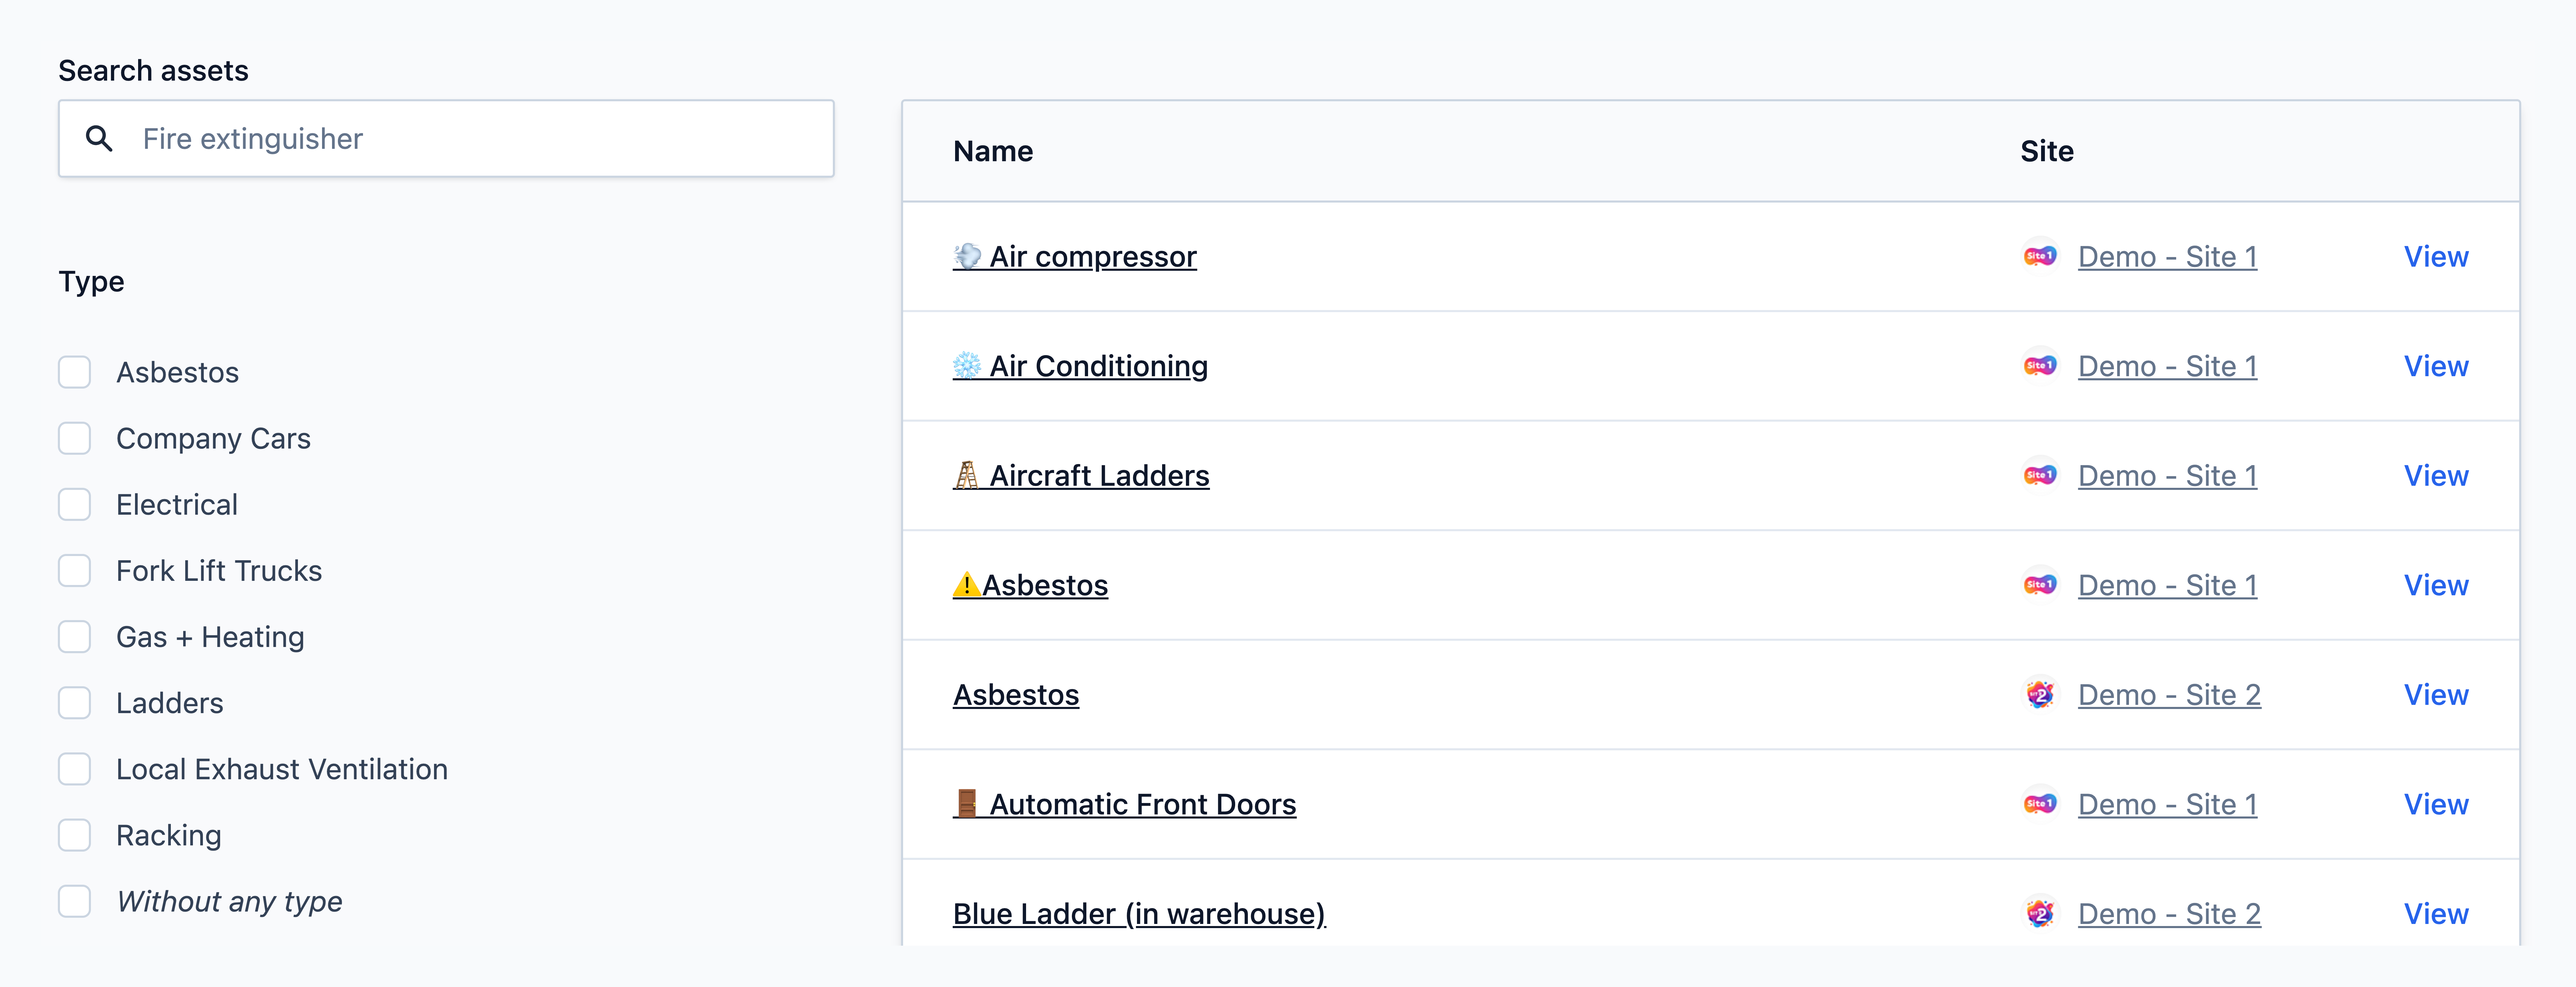
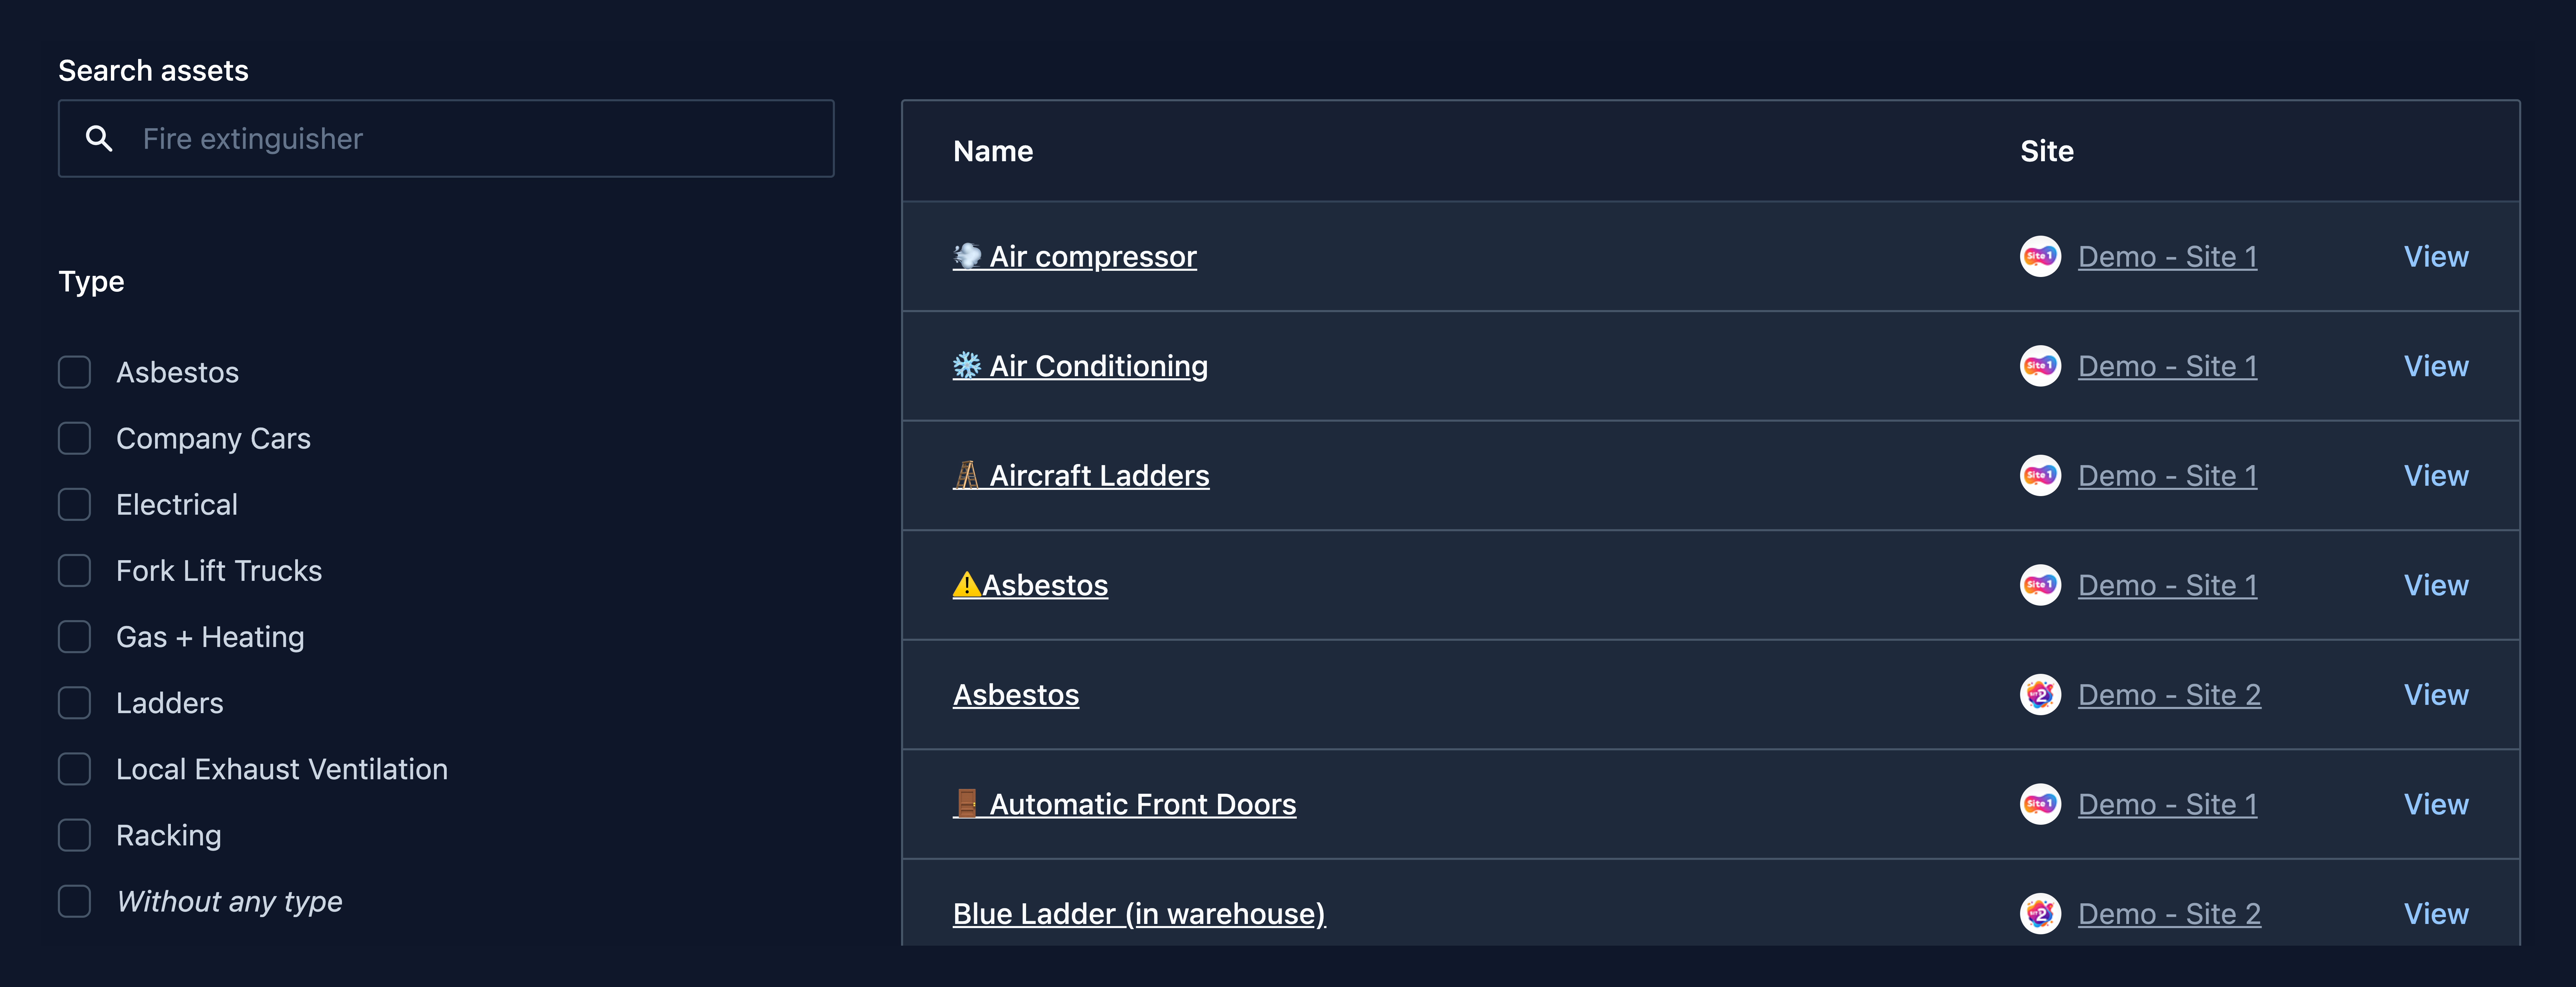
Find and select the asset from the list.
Use this route when the document belongs to an employee, such as employment records.
Step
From the site inbox, click the Switch to Manage Mode button.
Step
Click Employee records on the manage sidebar.


Step
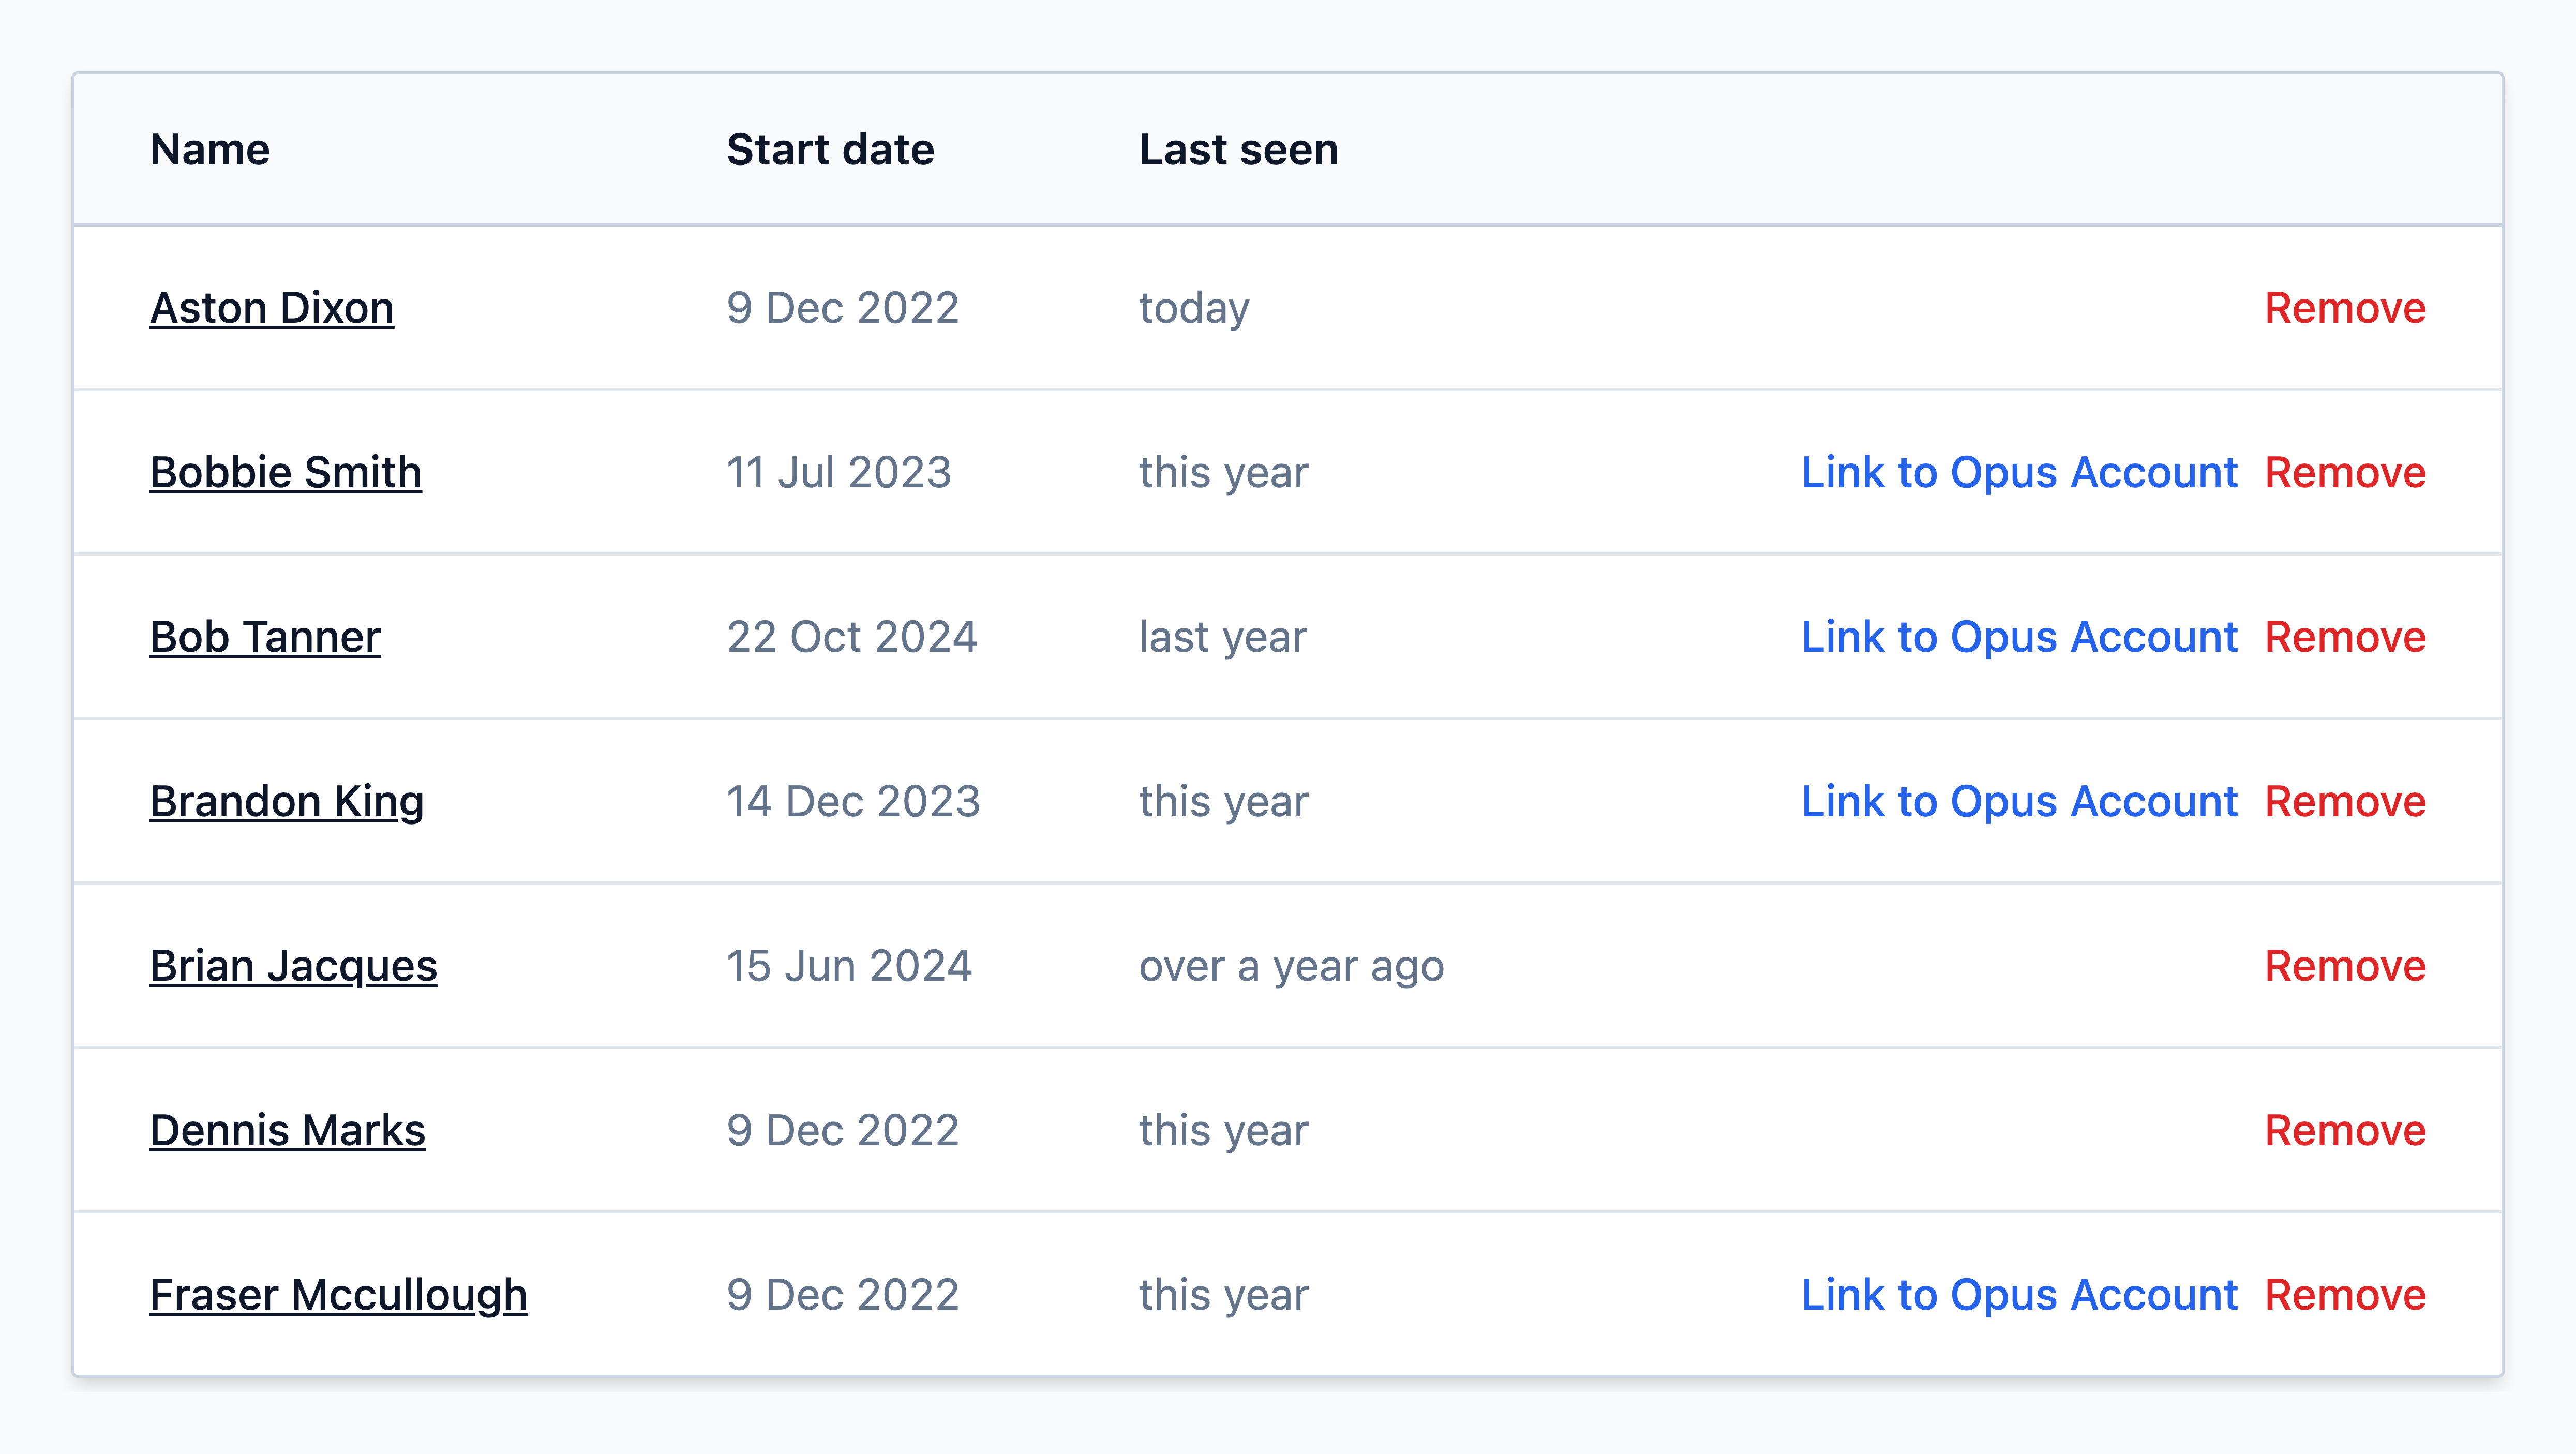
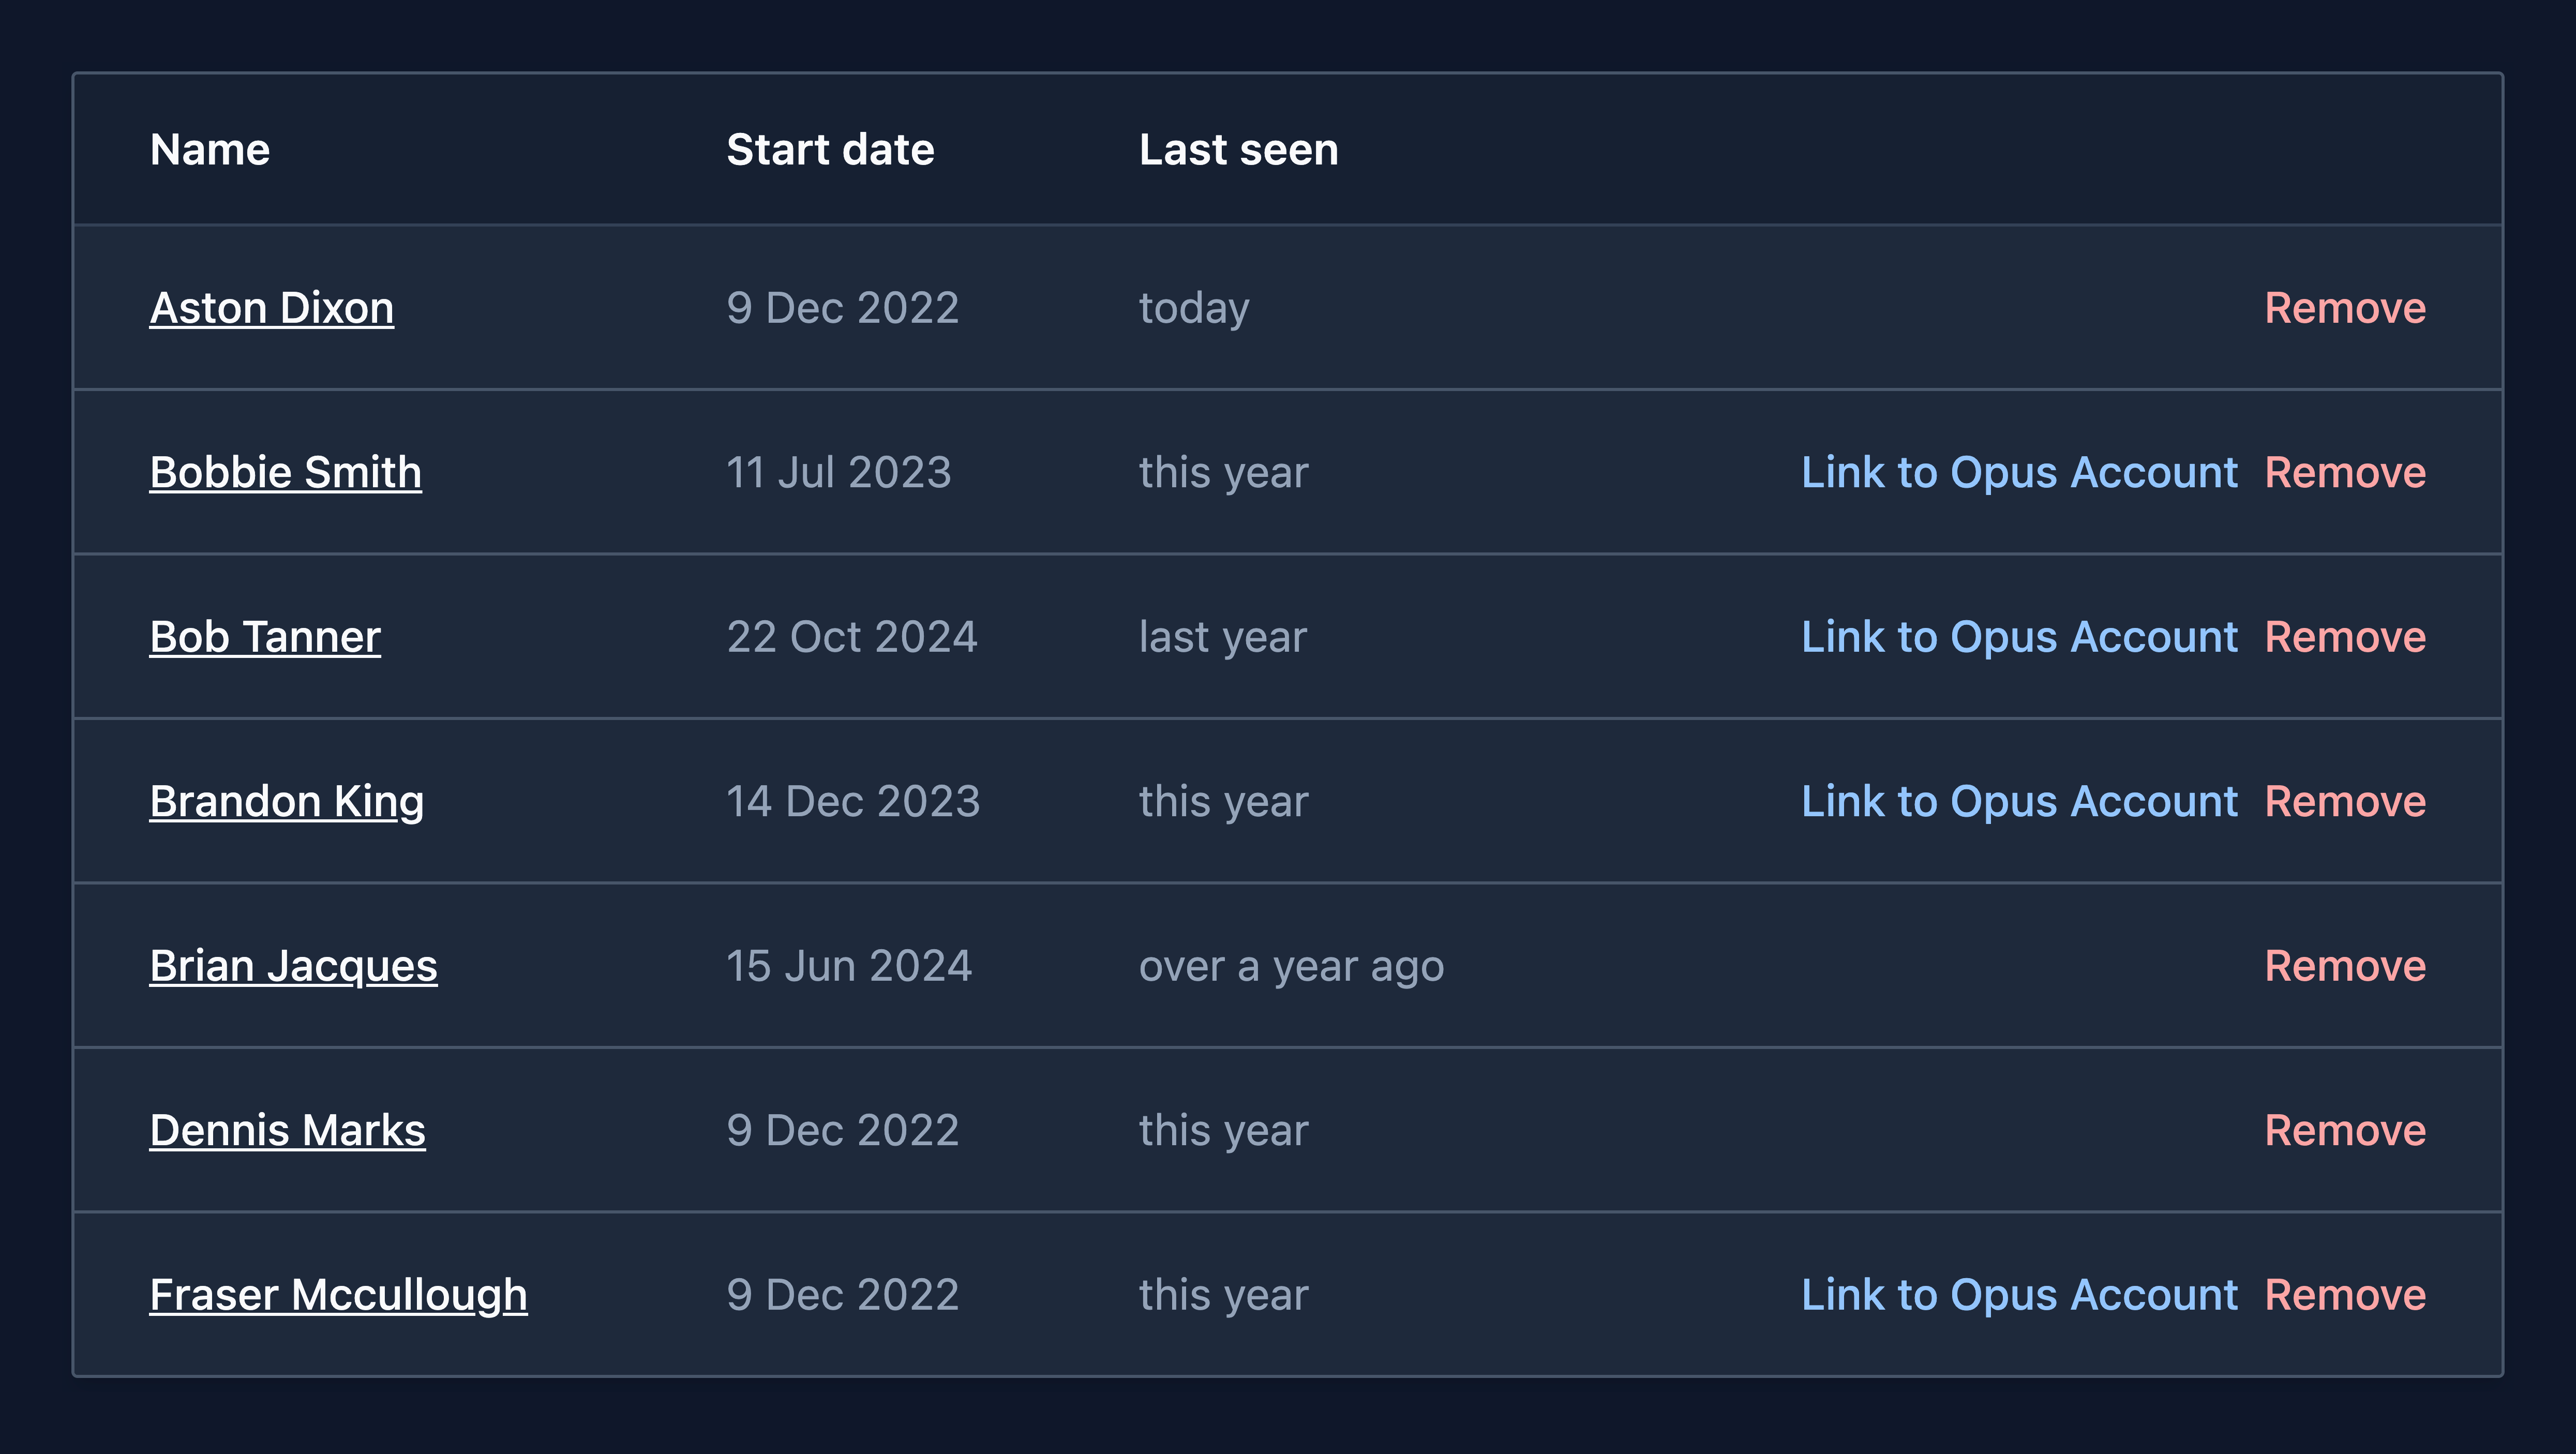
Find the employee from the list and click on their name.
Step
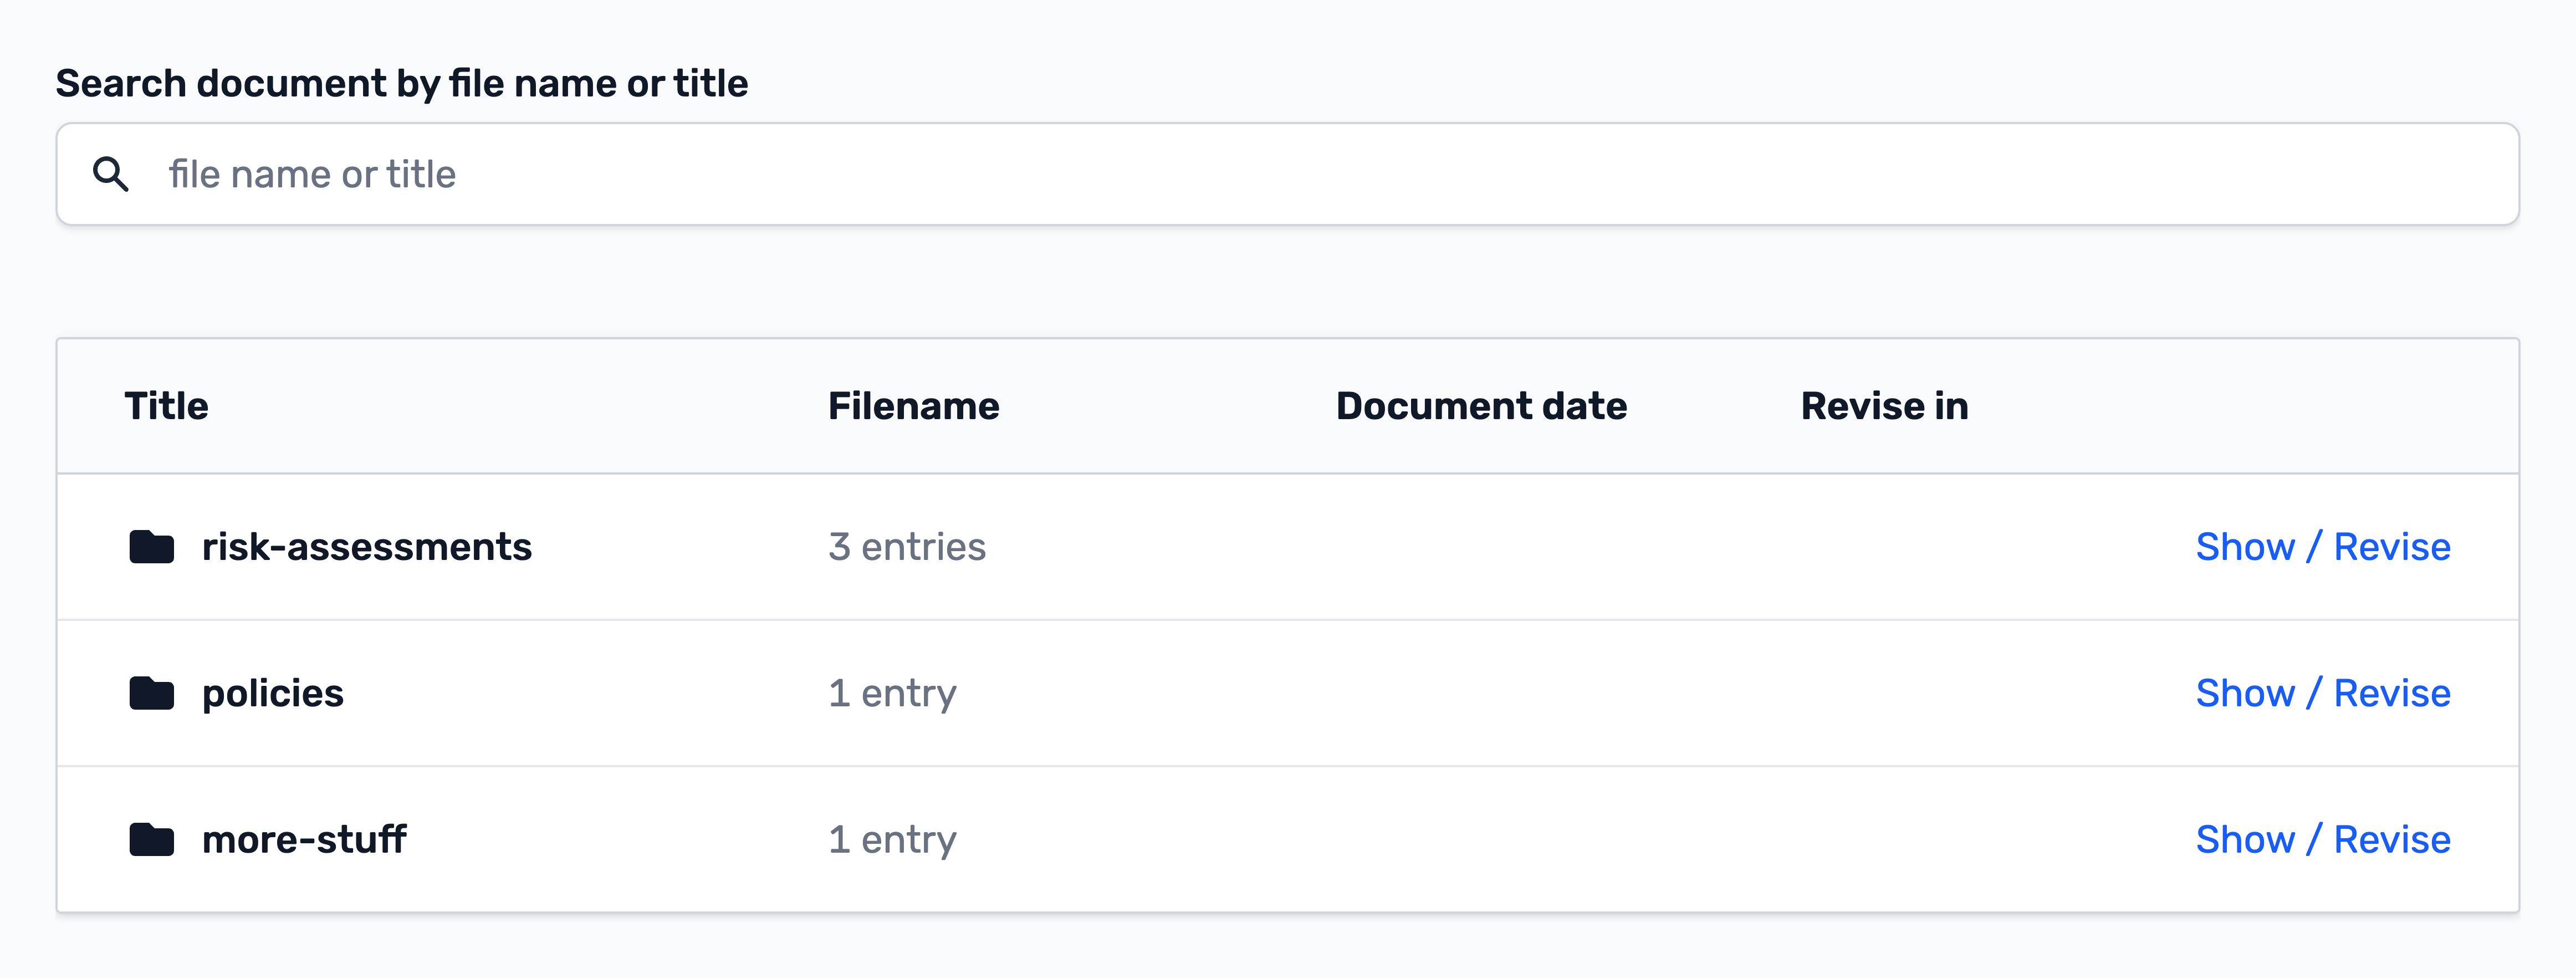
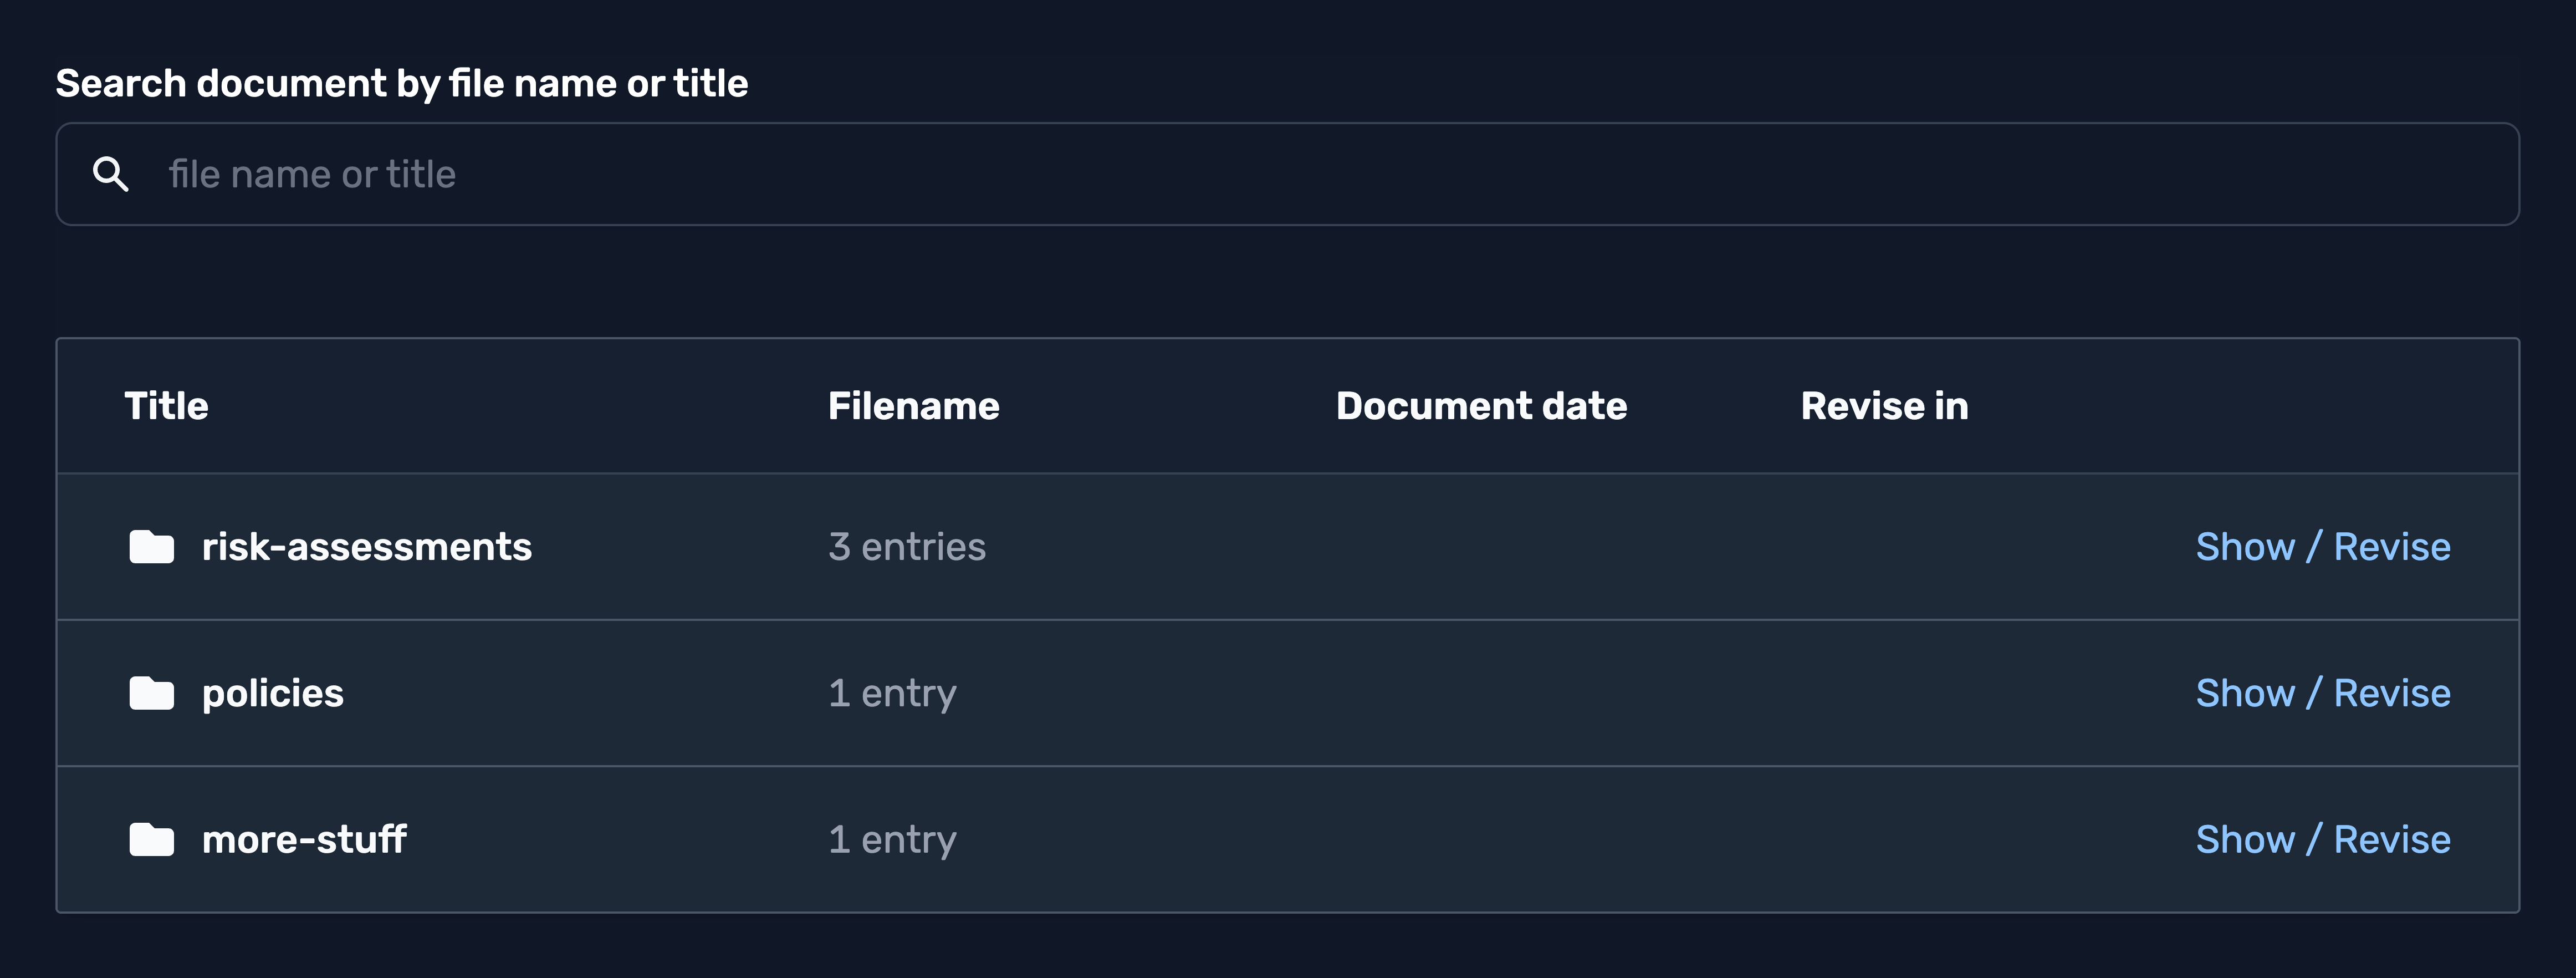
In the sidebar, click Documents.


Step
Find the document you wish to revise and click on it to open it.
Step
On the manage document page, click +Revise (upload file).


Note
Or if a file has never been provided before, it will say +Add file.


Step
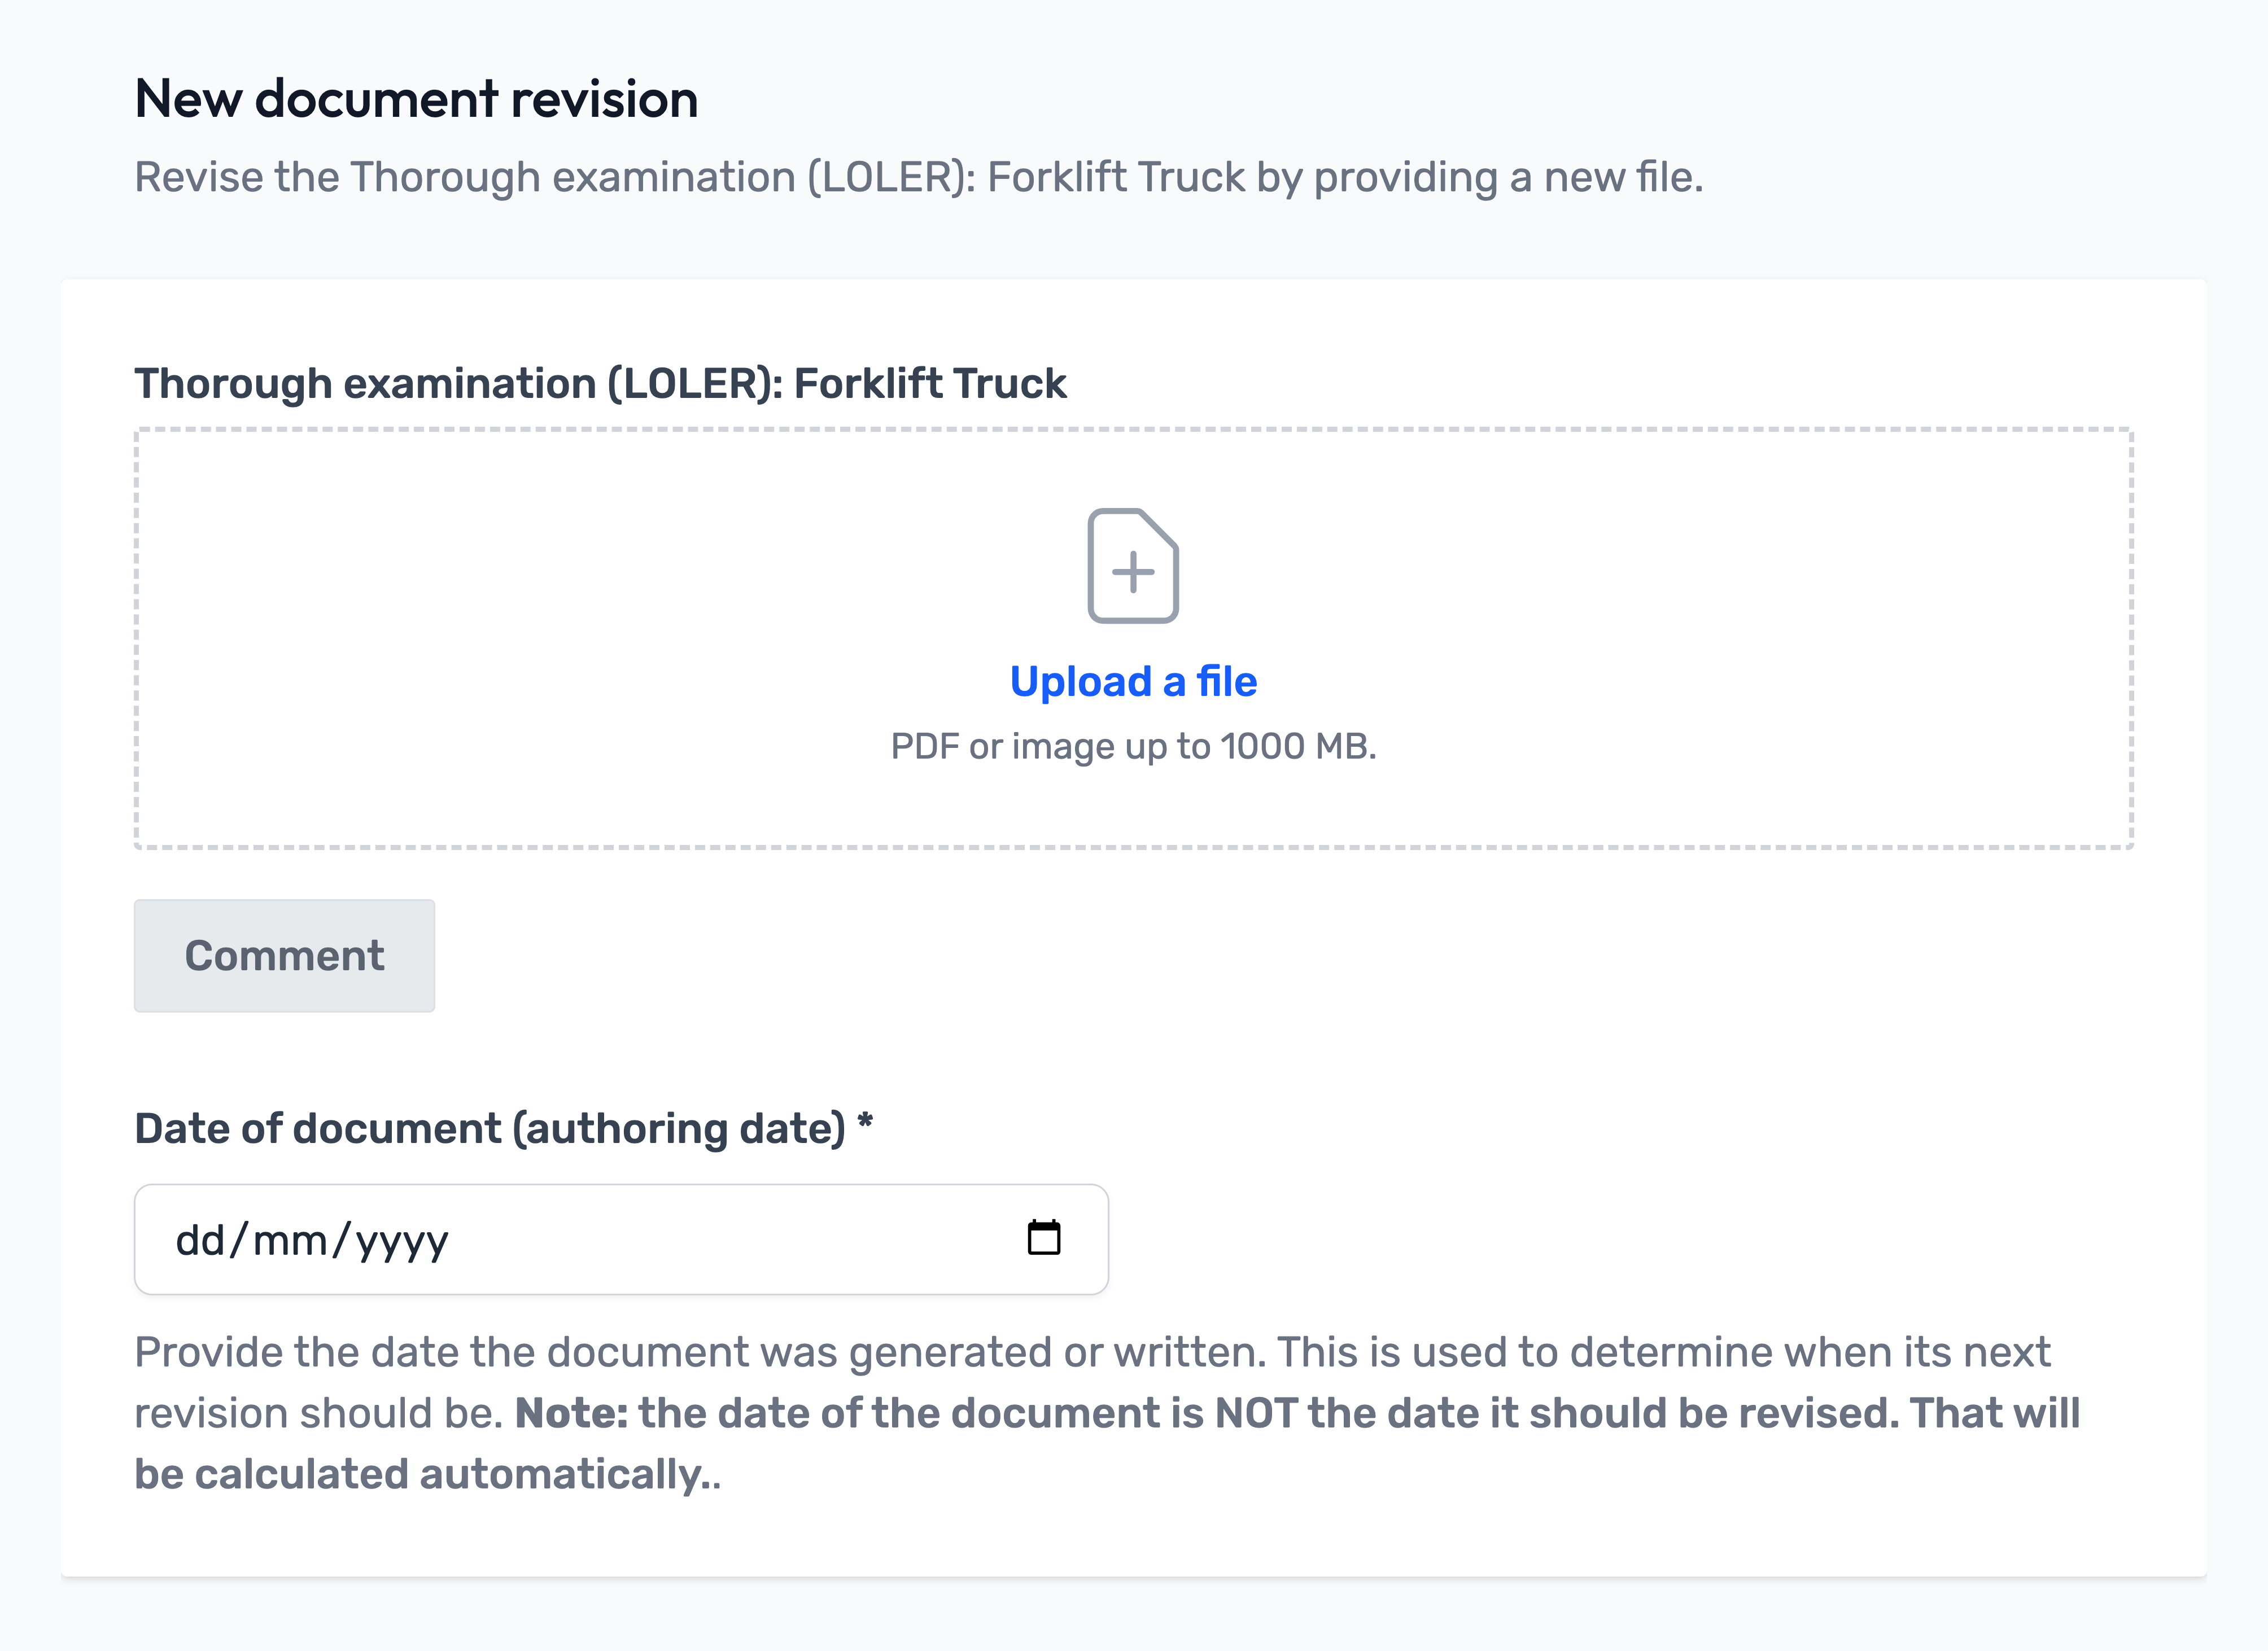
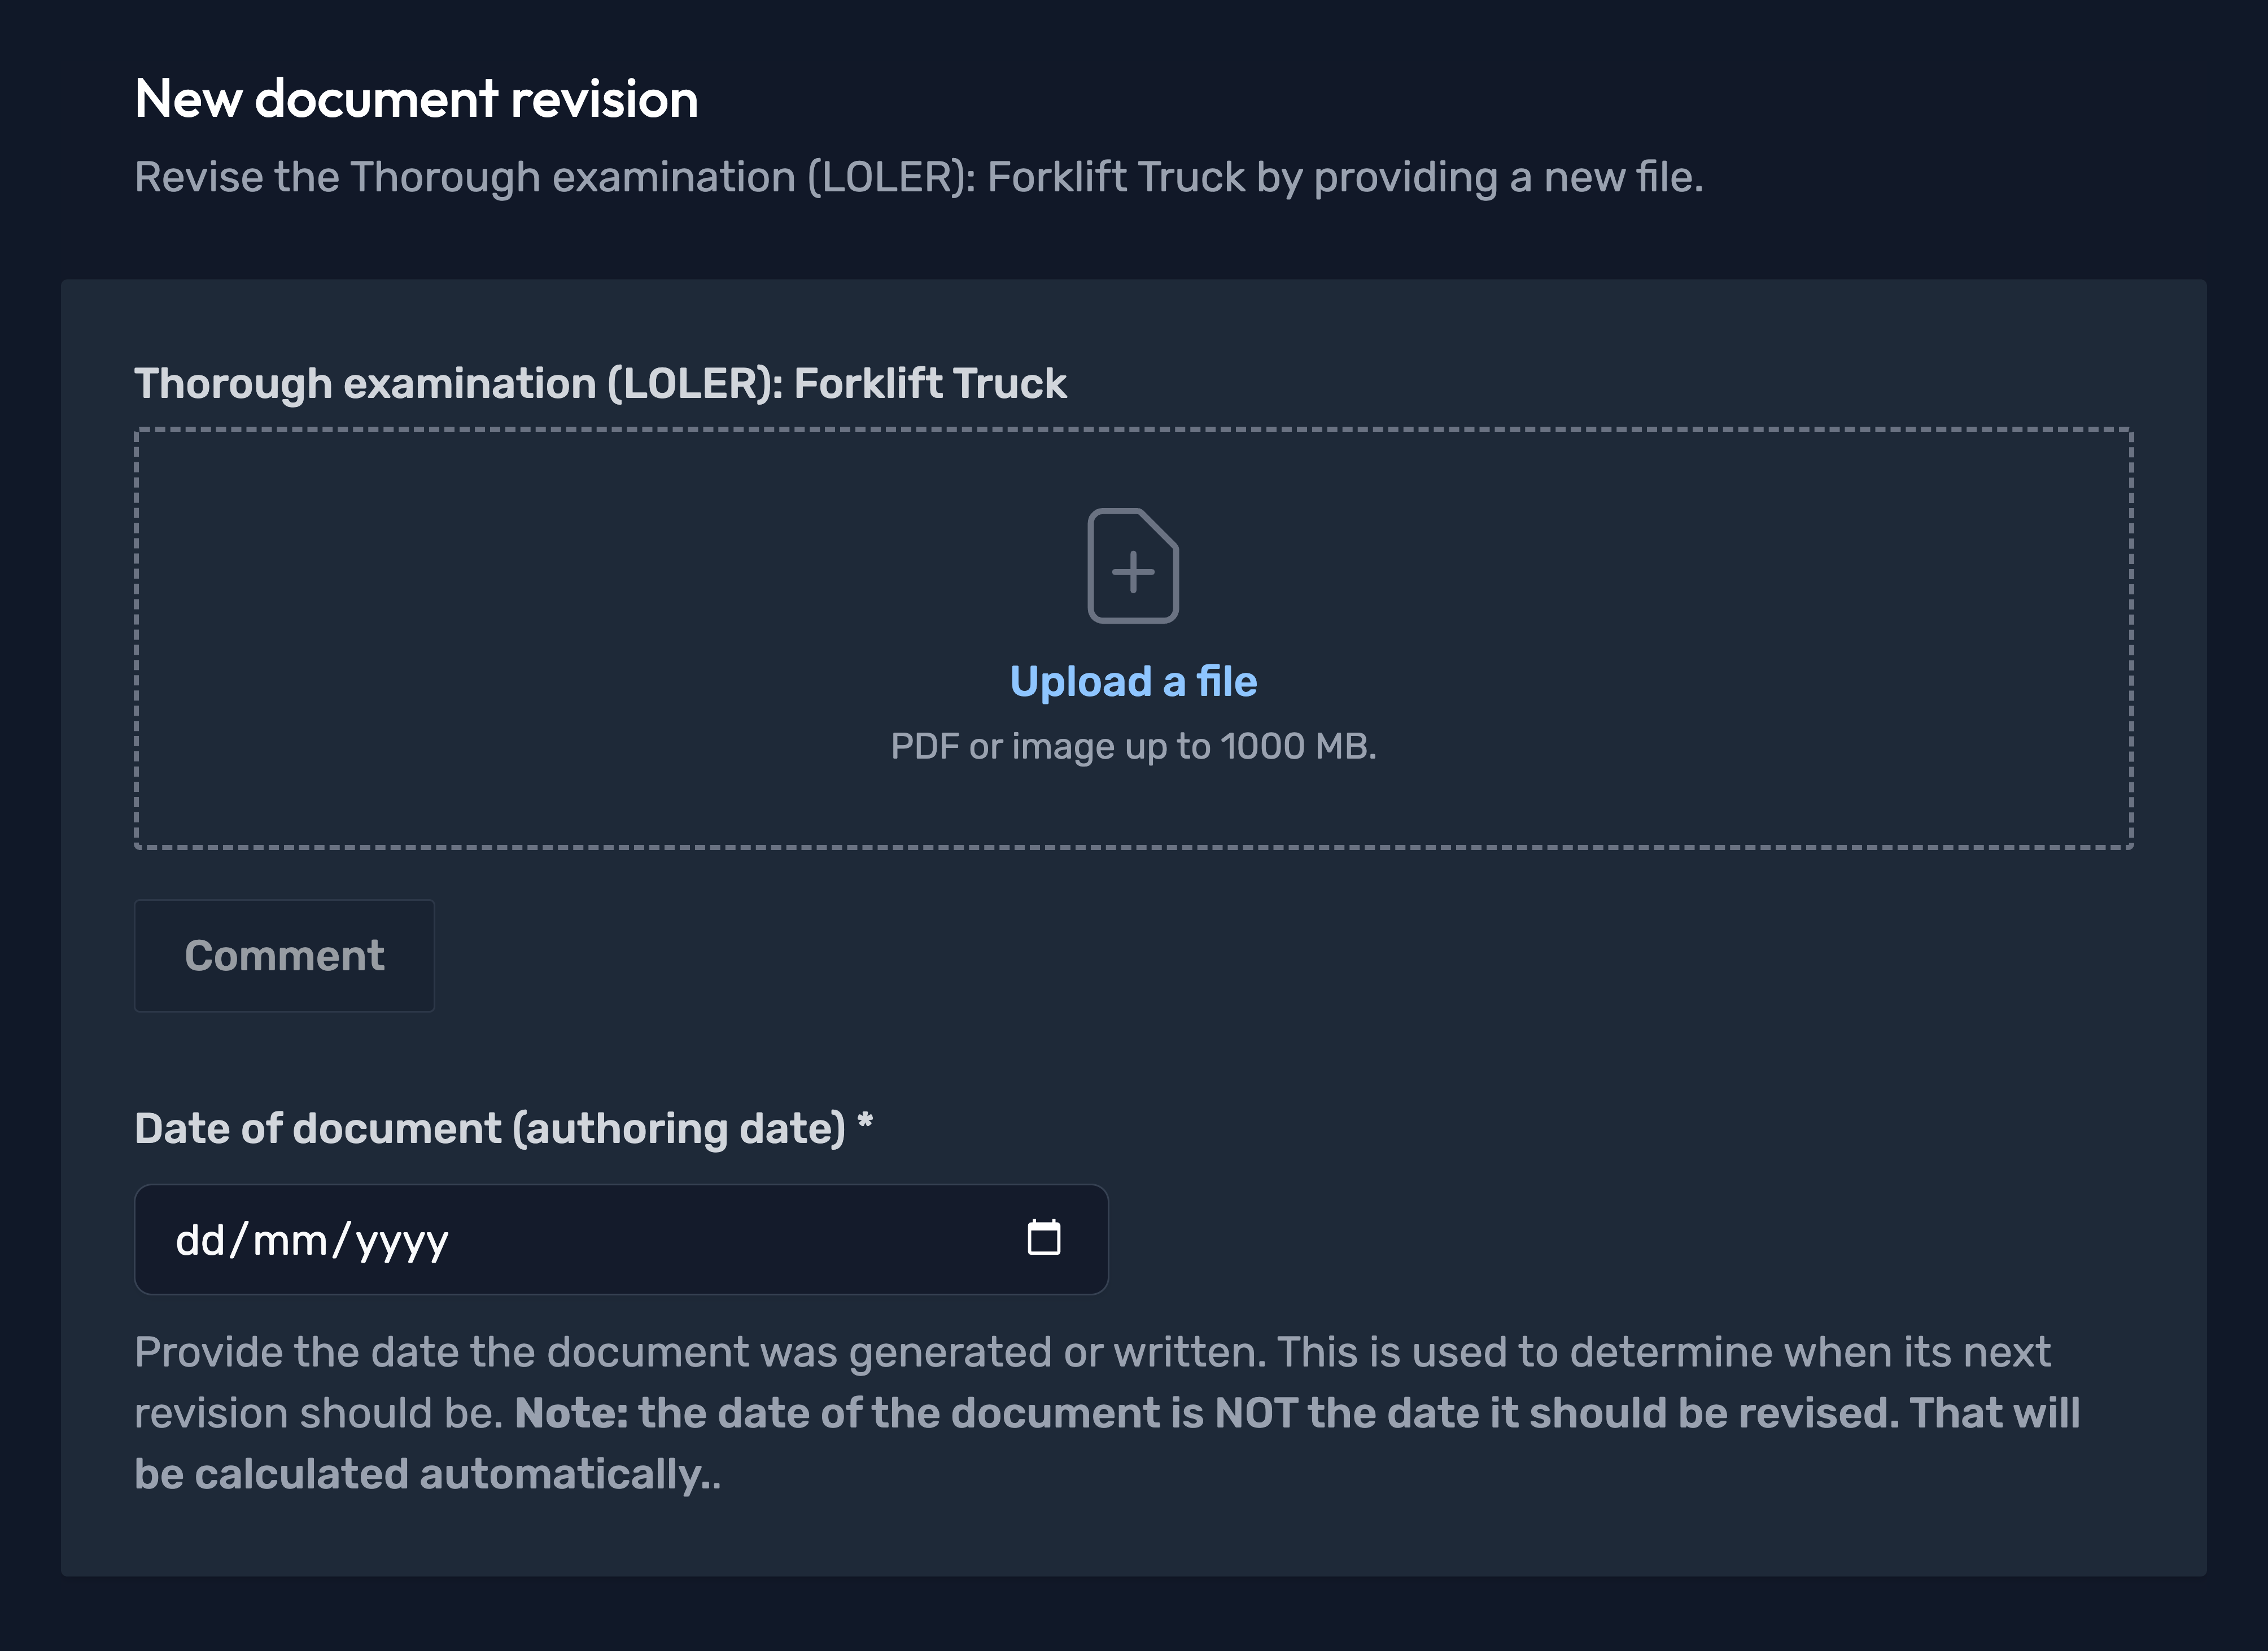
Upload the file and enter the Date of document.
Warning
Date of document (authoring date) is the date the file, service, or certificate was completed, authored or became valid. Entering an inaccurate date may result in unnecessary early re-submission or cause non-compliance to go unnoticed.
Step
Click Store document.
Any open reminder task for this document will automatically resolve itself, assuming the provided file/document date satisfies the requirement.


Complete!
You've now uploaded a new revision against the document!