Adding an asset
Written for Managers Administrators
Step
From My Dashboard, click on Pick workspace and select the site where you want to add the asset.


Step
From the site inbox, click the Switch to Manage Mode button.


Step
Click Assets on the manage sidebar.


Step
Click the +New asset button at the top of the page.


Step
Fill in the asset's details:
Asset name
Make sure the name is easily identifiable. If you have multiple assets, consider numbering them or using an ID, serial number, or registration number.


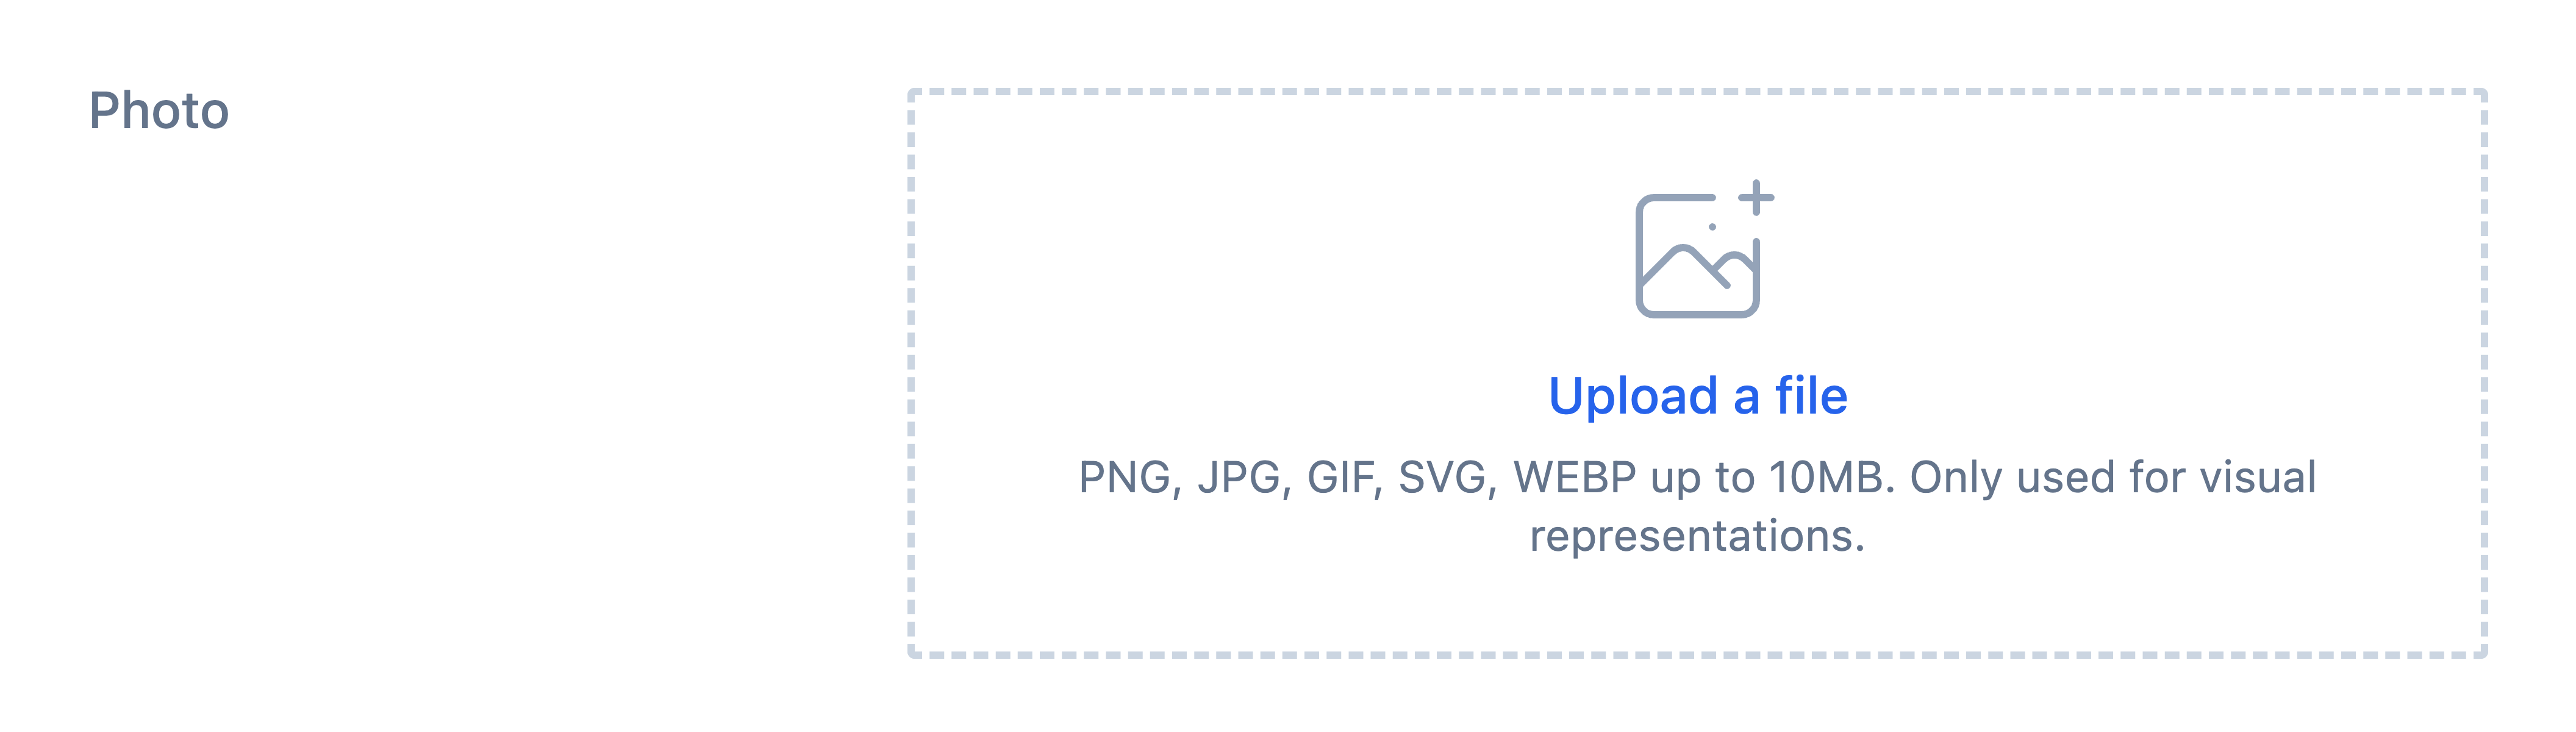
Photo
Upload a photo of your asset to help with clearer identification.
Step
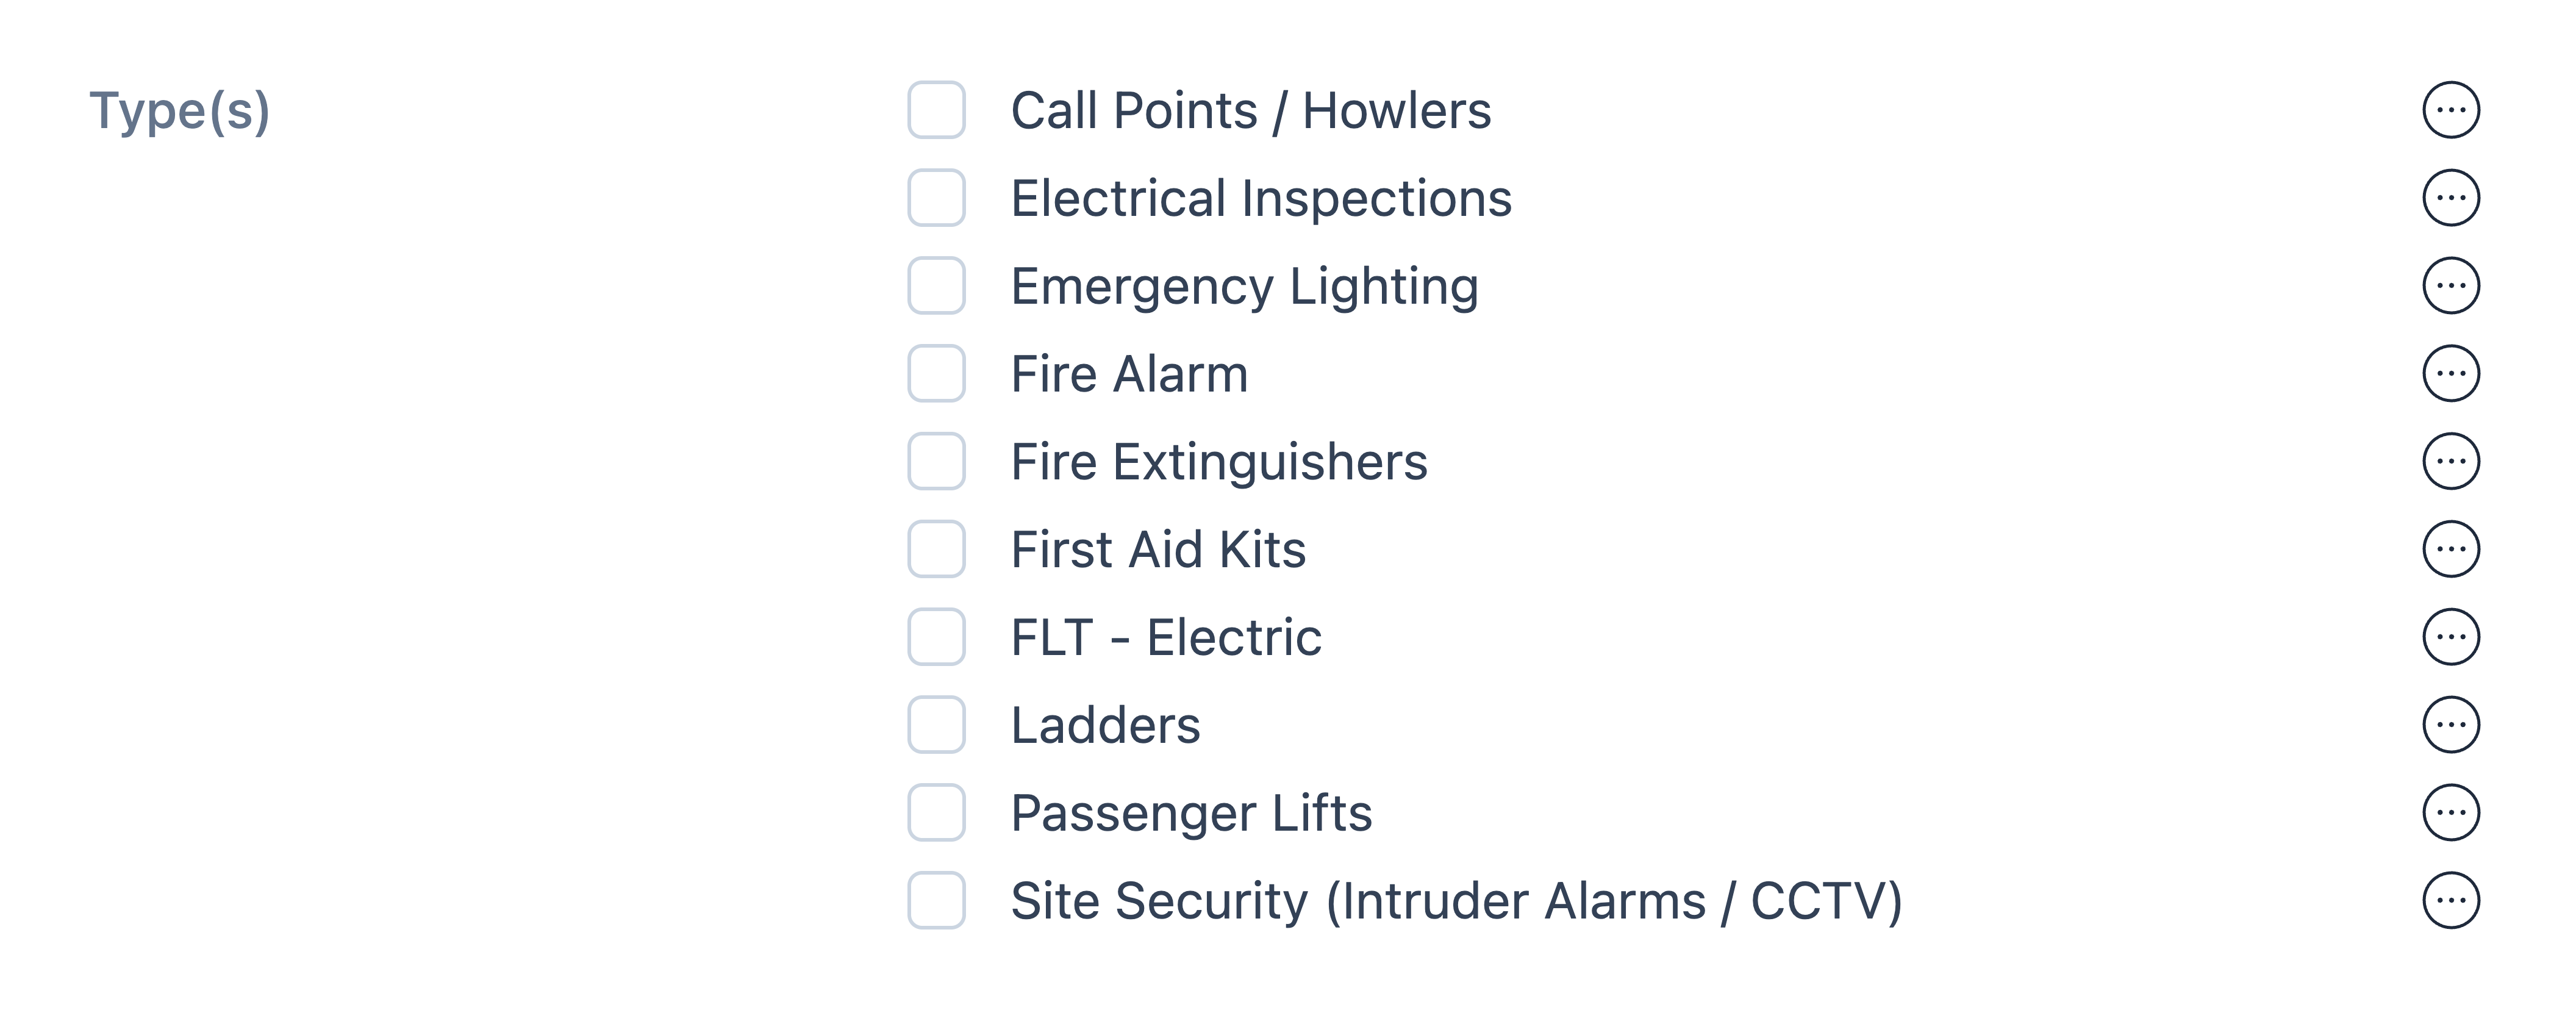
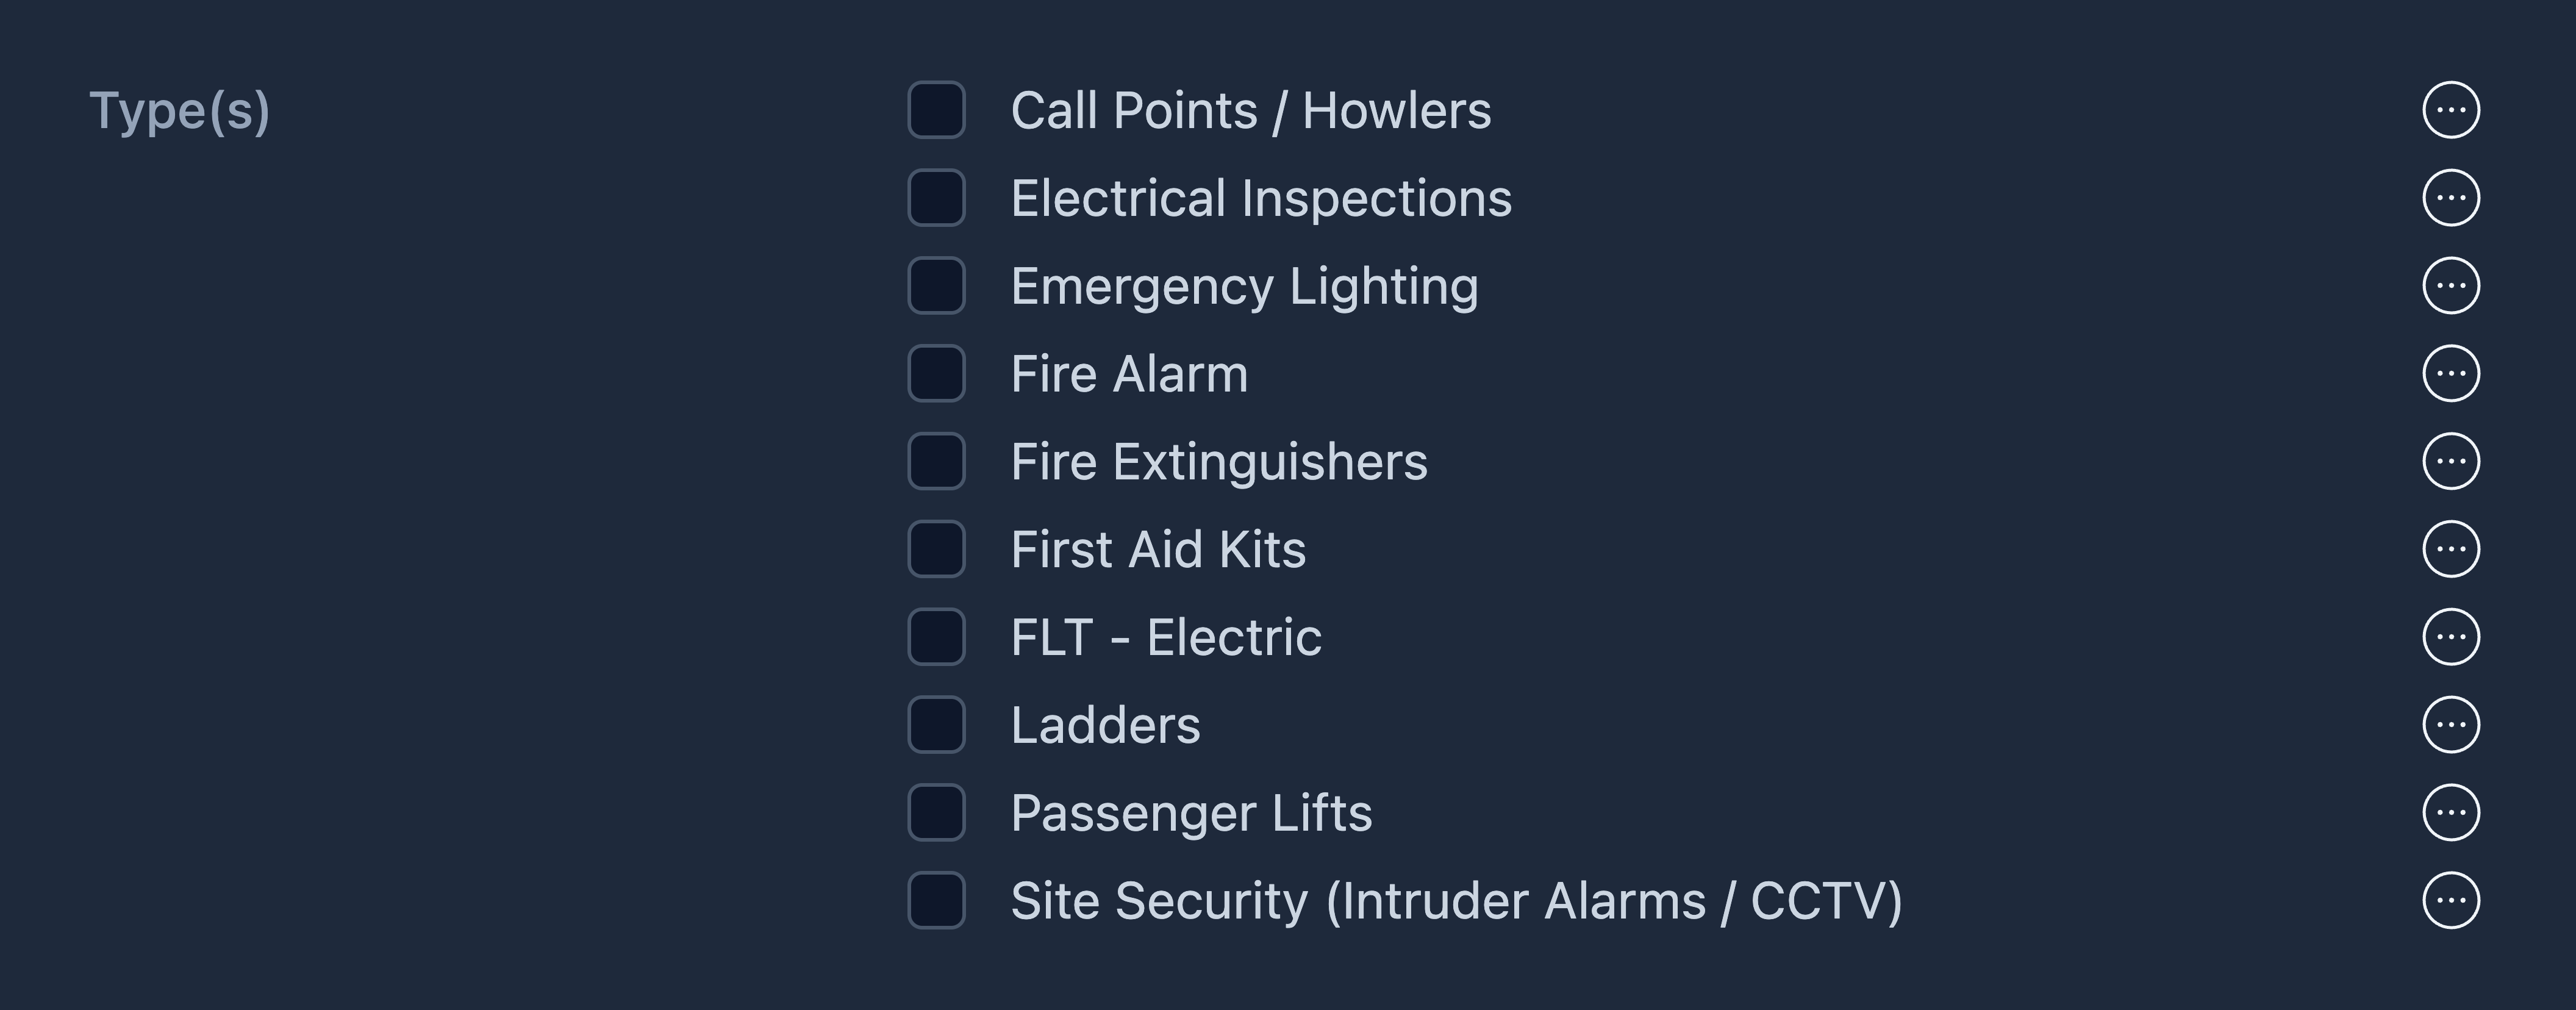
Select the Type(s) for this asset. You may have requirements set up against these types.
Tip
To view the requirements set up against a type, select the ellipsis (…) icon next to it.
Can't find a type that describes your asset?
Contact support for assistance with setting up new asset types.
Step
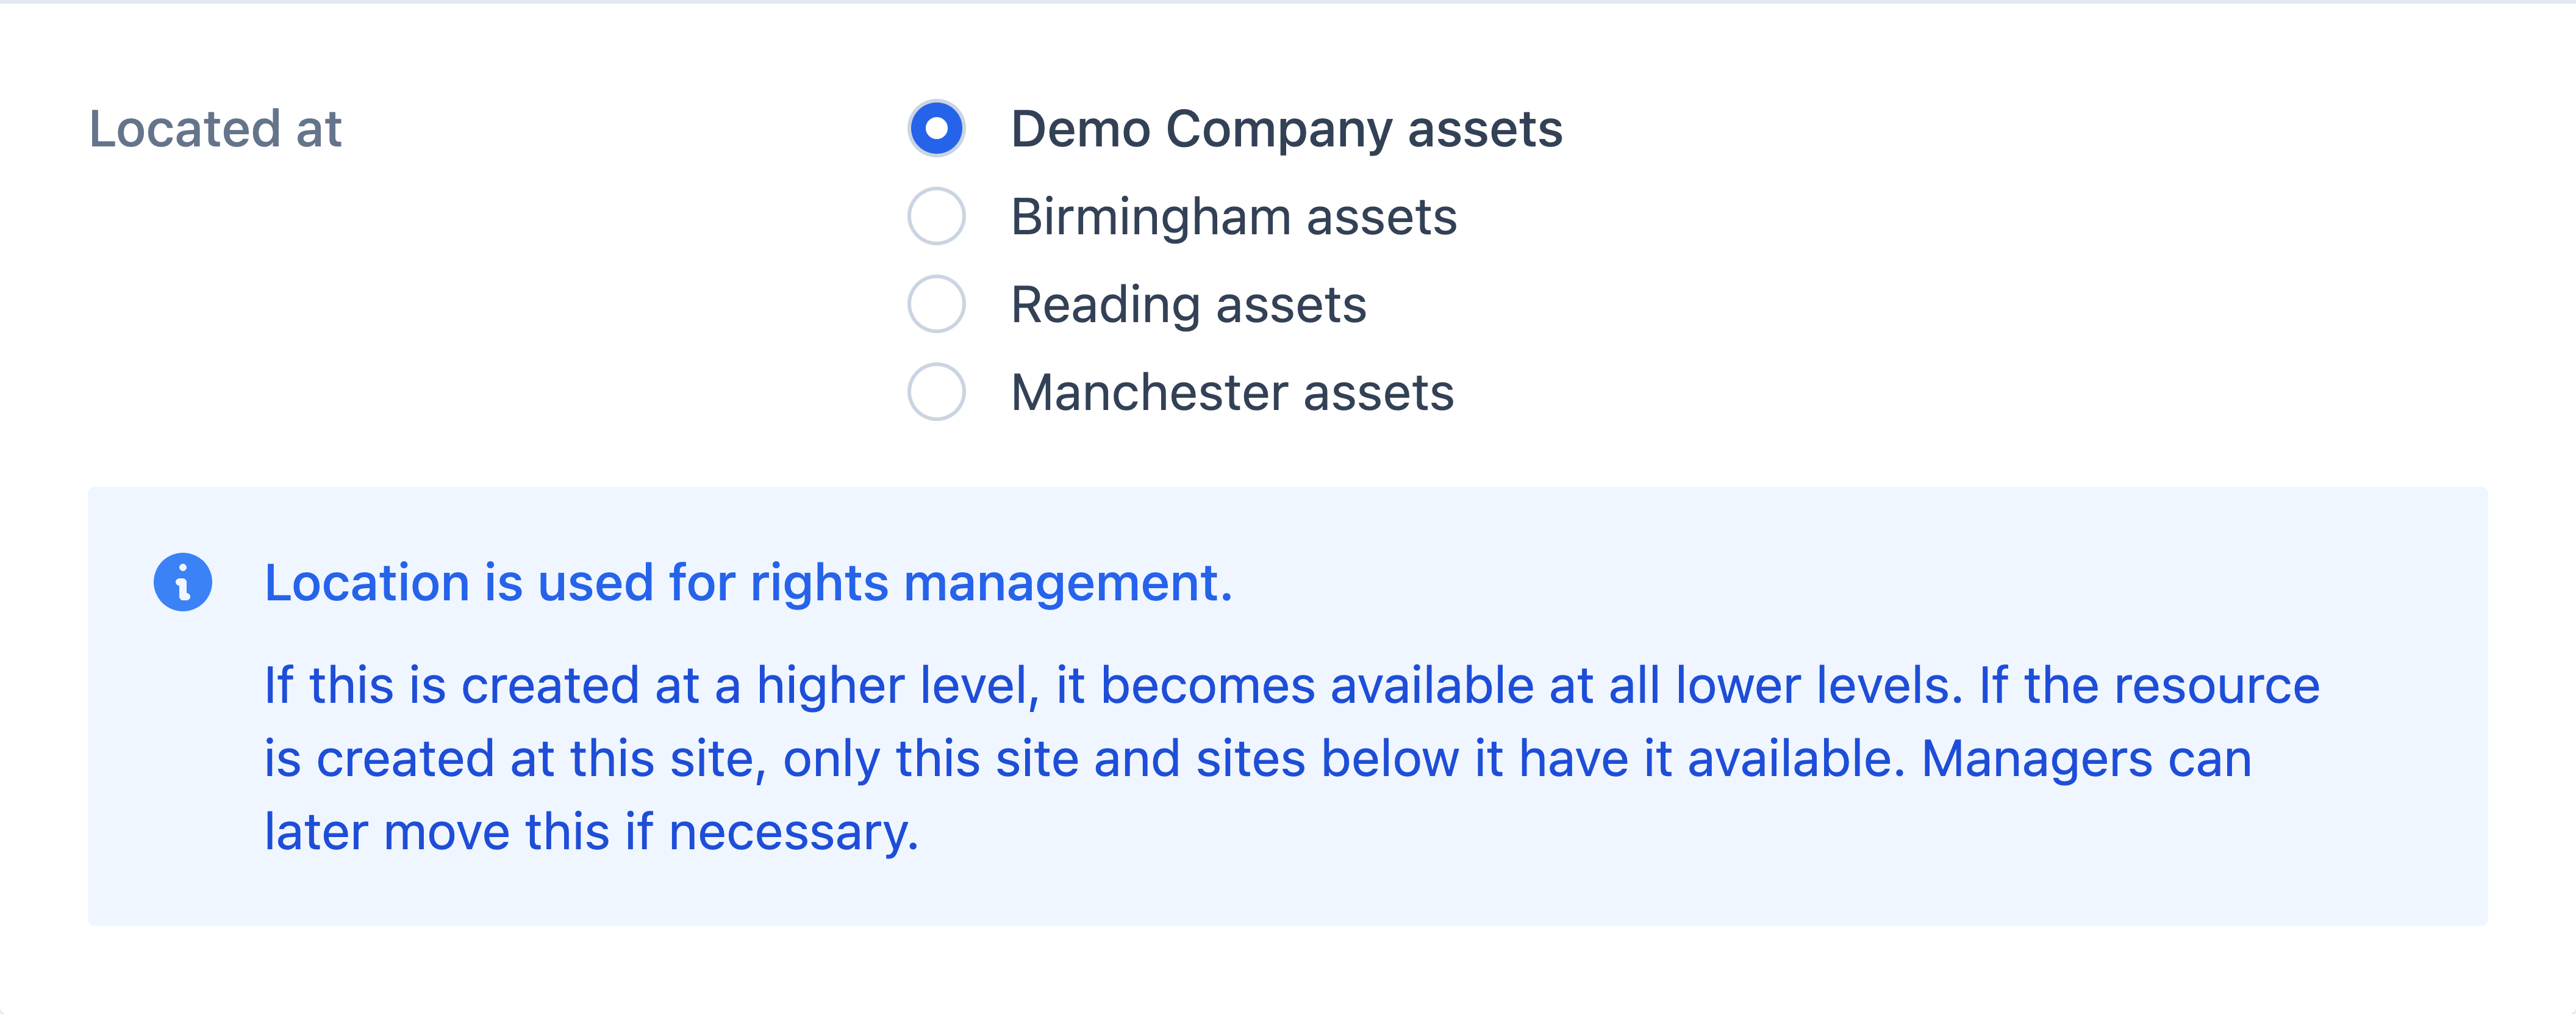
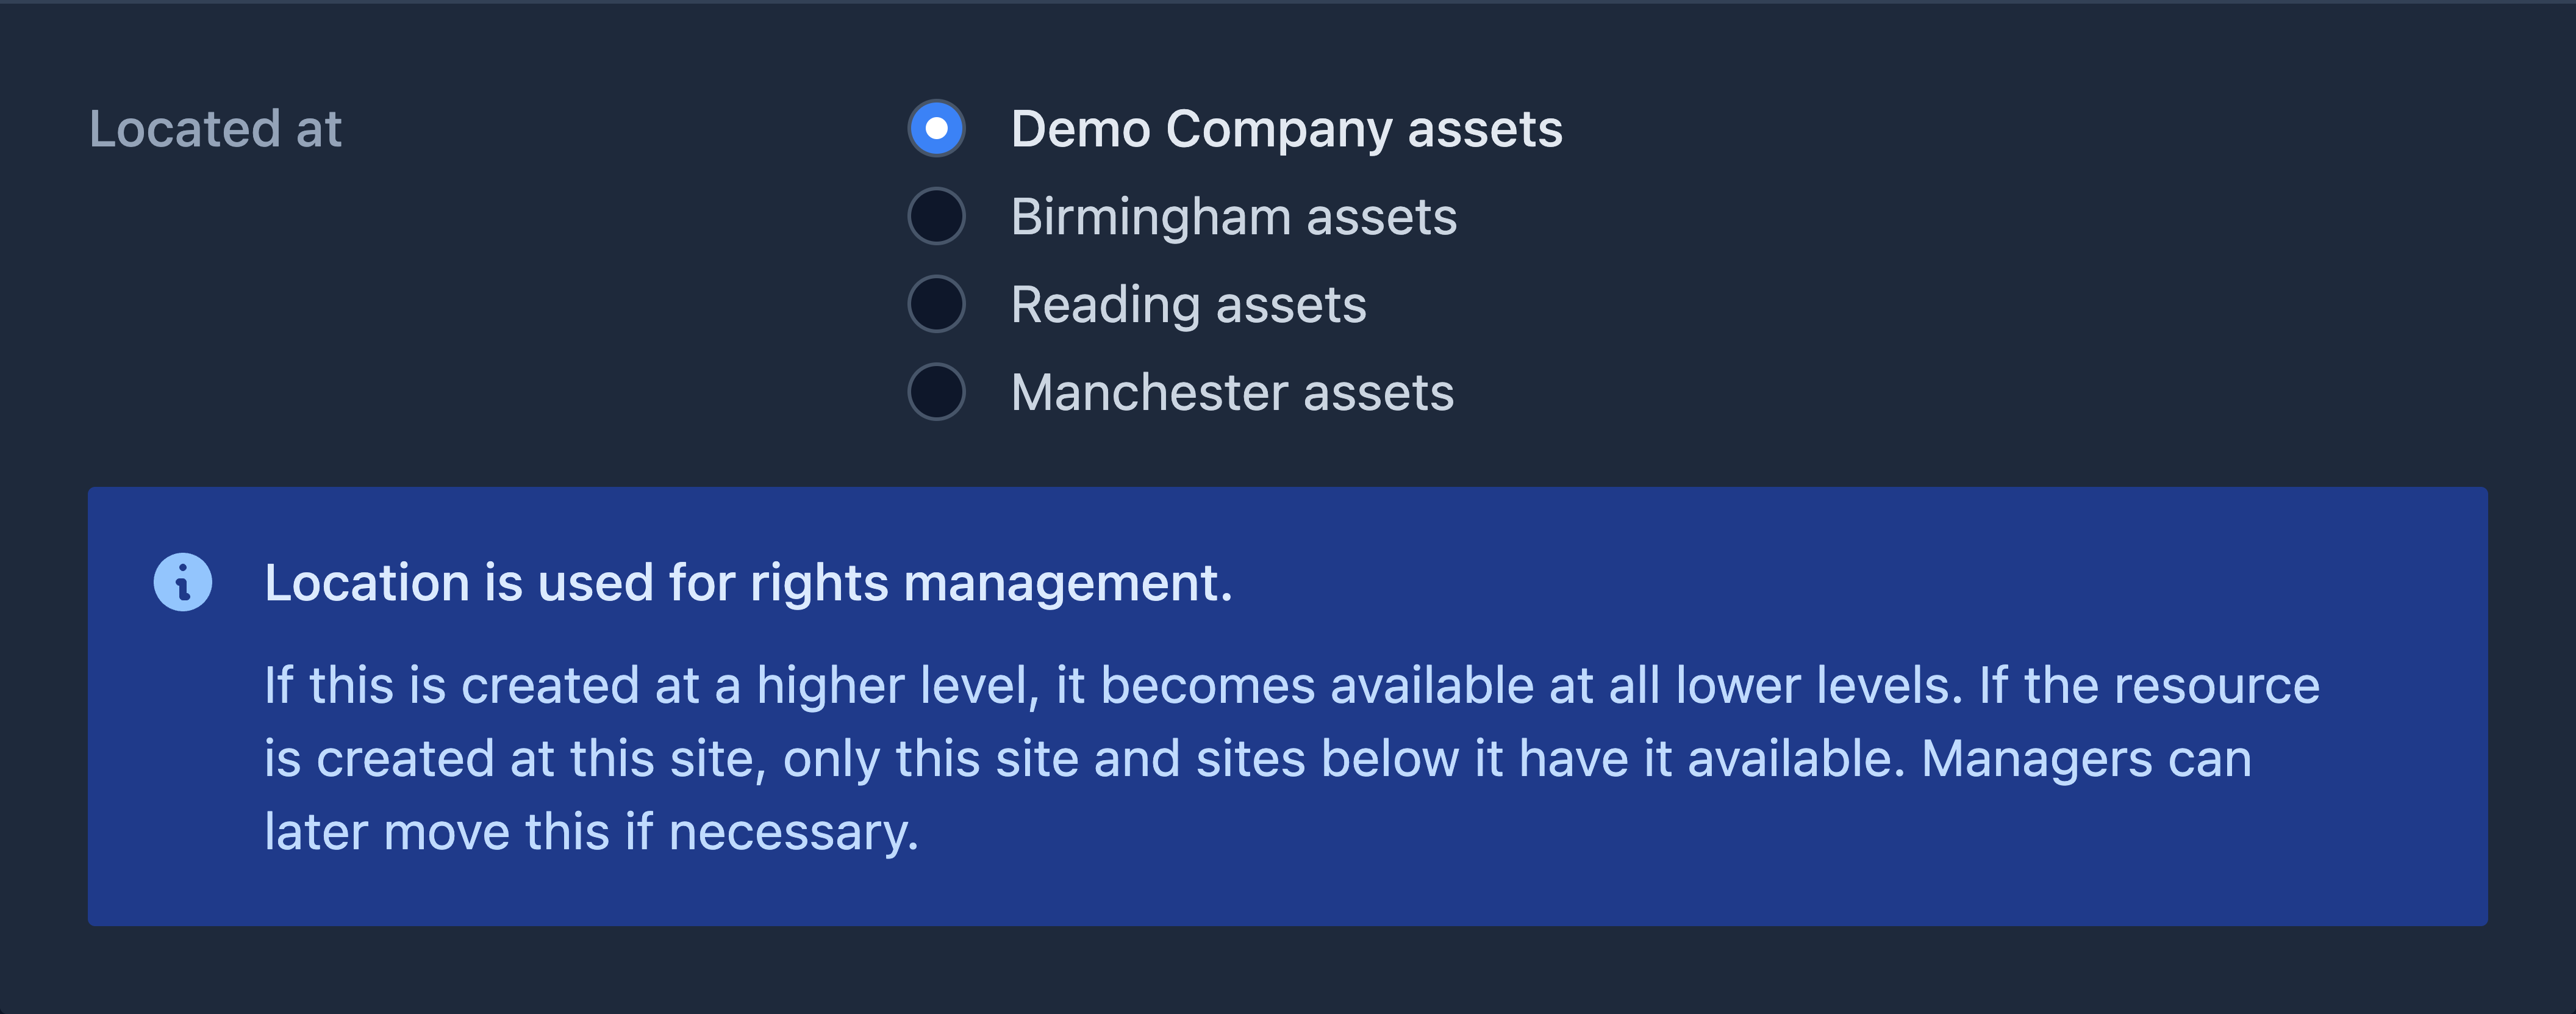
Under Located at, choose where the asset is located. By default, the asset will be located at the site you selected in Step 1, but you can change the location here if needed.
Step
Click Save asset at the bottom of the page.